
Securing an account with two-factor authentication
Learn about the two-factor authentication (2FA) methods we offer and how to enable them.
OVHcloud offers tools to optimize security for your account and services. You can enable two-factor authentication (2FA). This authentication is added to your username/password pair and is managed from a device you own: a phone, tablet, or security key.
This guide will help you:
- Understand the different two-factor authentication methods
- Enable your first two-factor authentication method
- Find out how to log in with two-factor authentication
- Find out what to do if your phone/tablet/key is lost/stolen/damaged
- Find out how to disable two-factor authentication completely
Requirements
- A smartphone or tablet (for the mobile application method) or a Universal Second Factor (U2F) security key
- An understanding of the password management recommendations for accessing your account
OVHcloud Control Panel Access
- Direct link: Account security
- Navigation path:
your name(top right) >your initials>Security
Instructions
You can enable one or more two-factor authentication methods to secure and control access to your OVHcloud Control Panel. We offer three different methods:
For this method, you will need to install an OTP application on your Android or iOS smartphone or tablet. Many OTP applications exist (no OTP applications have been developed by OVHcloud) and can be downloaded from the Google Play Store for Android or the Apple Store for iOS. The following two applications are free:
- FreeOTP for Android
- OTP Auth for iOS
Once the application is linked to your OVHcloud account, the application generates a single-use code that is valid for a short time (a few seconds) each time you try to log in.
Advantages of this method:
- Once you have linked the application to your account for the first time, you no longer need to be connected to the internet on your smartphone/tablet for the codes to be generated.
- You can use a single OTP application for all of your services or sites that require two-factor authentication.
Step 1: Enable your first two-factor authentication method
On the Account security page, click Enable two-factor authentication .
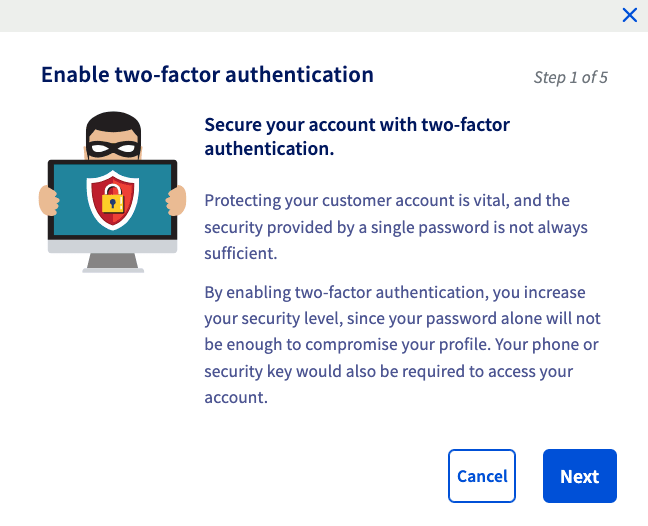
A pop-up window will appear to guide you through the remaining steps. On the first screen, click Next.
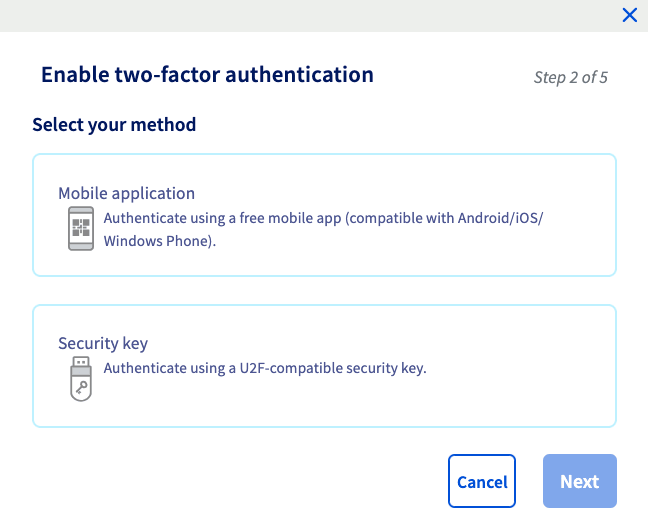
Select Mobile application and click Next.
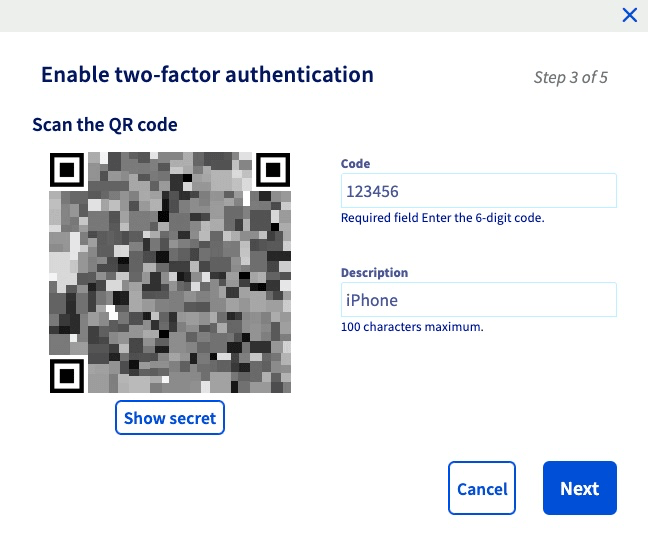
A QR code is generated, scan it via your OTP application. If your OTP application does not offer this option, click Show secret to display a code to enter into the OTP application.
Your application then generates a single-use code. Enter this code in the field to the right of the QR code. You can also add a description for this authentication method.
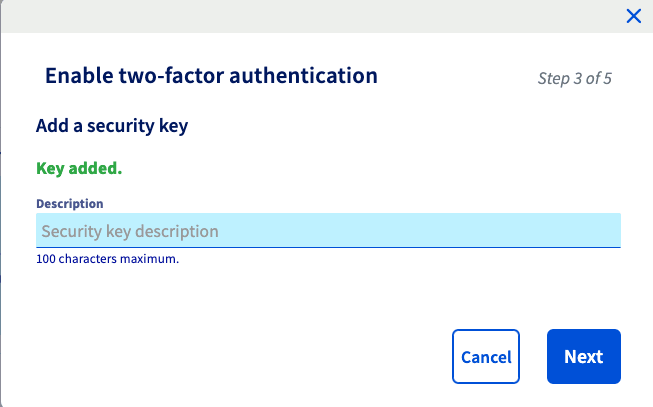
Step 2: Save backup codes
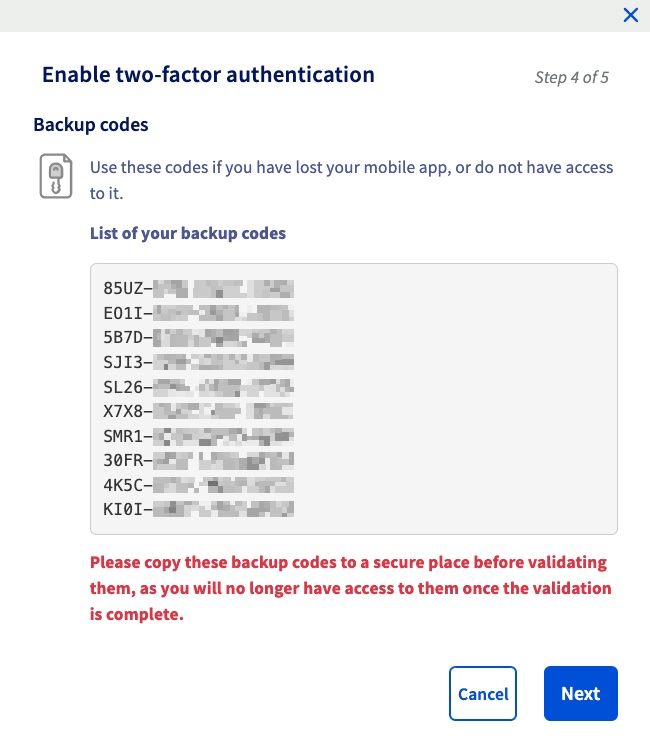
When you add two-factor authentication for the first time, will see 10 single-use backup codes displayed in the OVHcloud Control Panel.
Please keep them safe. We recommend saving them in a password manager, such as KeePass or Bitwarden (both applications are free).
NOTE: It is critical that you save these backup codes and ensure that they are valid. If you don't have a security code and your phone/smartphone/tablet or security key is lost or stolen, access to your Control Panel and your services may be blocked.
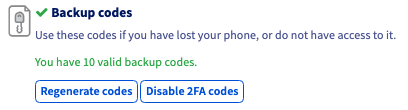
NOTE: You can regenerate or delete backup bodes from your Control Panel:
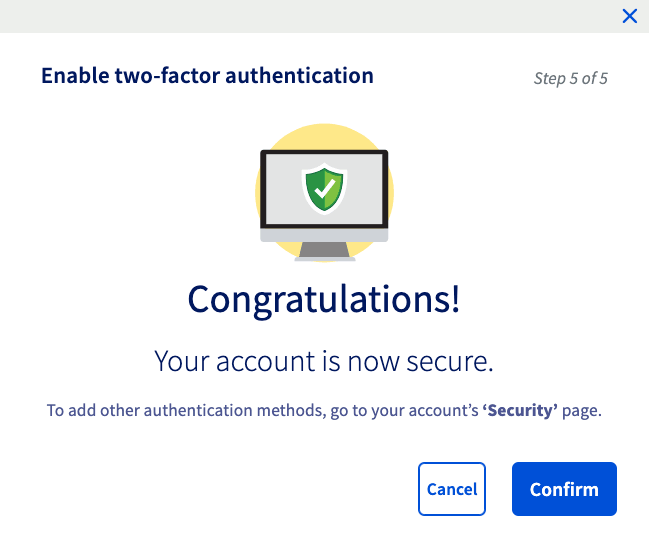
Two-factor authentication is now enabled! Click Confirm to finish.
Step 3: Log in to the OVHcloud Control Panel with two-factor authentication
Go to the OVHcloud login page and enter your account D or primary email address and password.
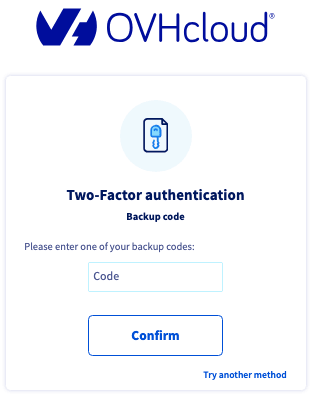
The login screen displays the last two-factor authentication method used or entered. If you would like to use another method, click Try another method.
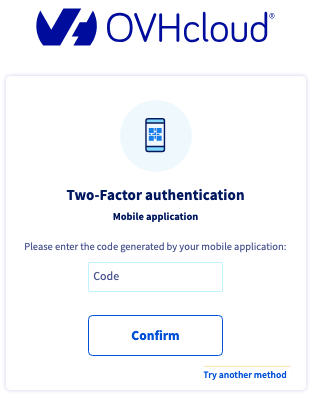
All the methods you have enabled will then appear, including the backup codes method.
If you choose Use a backup code, you will only need to use one of your backup codes.
What do I do if I lose one of my devices, or if it stops working?
If your device (mobile phone/smartphone/security key) is lost, stolen, or no longer works, you can:
- Use one of the 10 single-use backup codes.
- Use another two-factor authentication device, if you have enabled several.
- Disable two-factor authentication.
NOTE: If one of your devices has been lost or stolen, this can compromise the security of your OVHcloud account. Once you regain access to your Control Panel, you must remove this device from the list of devices used for two-factor authentication.
Remove a device linked to two-factor authentication
NOTE: Before removing a device, and to avoid blocking access to your account, please check that you have:
- Another functional device,
- Another functional two-factor authentication method, or
- Valid backup codes.
To remove a device, go back to the Account security page and click on the more options ... button to the right of the device you want to delete, and select Delete.
A final validation code will be sent to the device you want to delete. Enter it into the pop-up window that appears and click Confirm.
NOTE: Removing a single device does not disable two-factor authentication on your OVHcloud account.
Disabling two-factor authentication completely
If you still have access to the OVHcloud Control Panel
To completely disable two-factor authentication on your OVHcloud account, you will need to delete all of the devices entered as well as disable the emergency codes.
To remove each device, please refer to the section above.
Once you have removed all of your devices, disable the Backup codes by clicking the Disable 2FA codes button. You will need to enter one of your backup codes as confirmation.
If you no longer have access to your OVHcloud Control Panel
If you no longer have valid devices and if you no longer have emergency codes, you can request that two-factor authentication be disabled by contacting our support teams.
Before contacting us, you must gather the following documents:
Once you have gathered your supporting documents, contact our OVHcloud support team.
NOTE: Your documents must be sent to us from an email address registered in your OVHcloud account.
After verifying your documents, a support agent will manually disable two-factor authentication on your OVHcloud account.
Go further
Browse all the Account information guides.
Browse the rest of the OVHcloud US documentation for guides on our other products and services.