
First steps with the OVHcloud API
Learn how to use OVHcloud APIs and pair them with your applications.
The APIs available on https://api.us.ovhcloud.com/ allow you to purchase, manage, update, and configure OVHcloud products without using a graphical interface such as the Control Panel.
Requirements
-
Access to your OVHcloud account
-
Access to the OVHcloud API
Topics
Instructions
NOTE: OVHcloud provides services for which you are responsible for their configuration and management. You are therefore responsible for their proper functioning.
This tutorial is designed to help you as much as possible with common tasks. If you are having difficulty performing these actions, please contact a specialized service provider. OVHcloud cannot provide you with technical support in this regard.
Simple Use
Sign in to OVHcloud APIs
On the OVHcloud API page, click Explore the OVHcloud API to view the list of APIs.
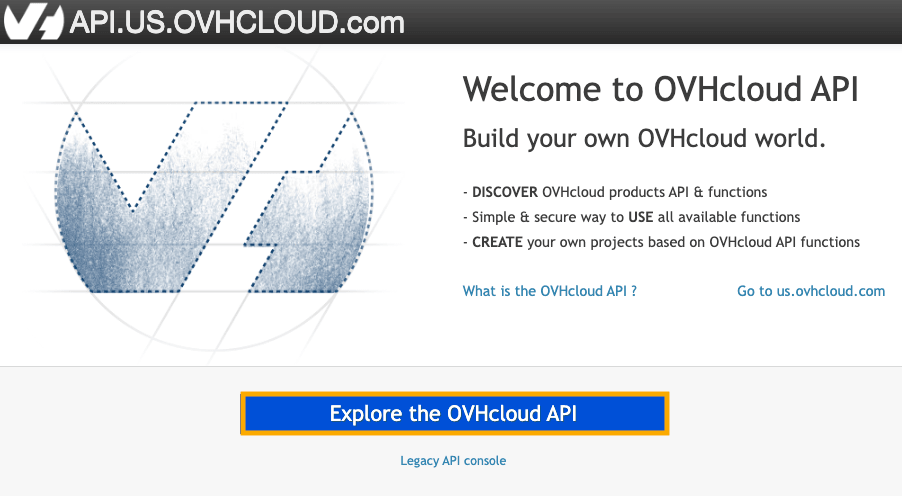
To use the APIs on your products, you must sign in to this site using your OVHcloud credentials.
- Click
Authenticationin the upper left. - Select
Login with OVHcloud SSO.
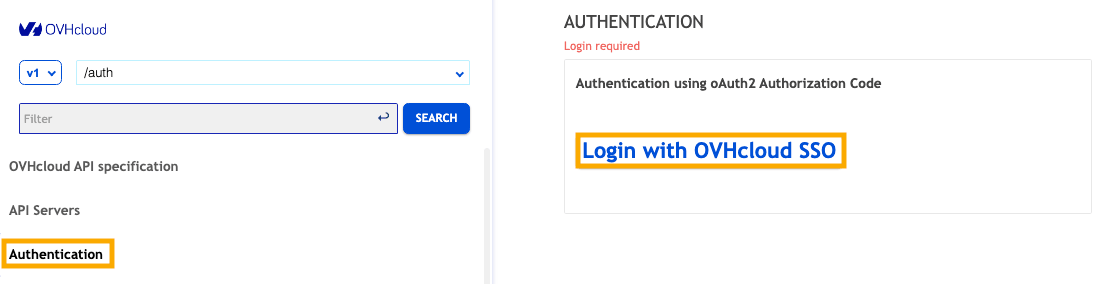
-
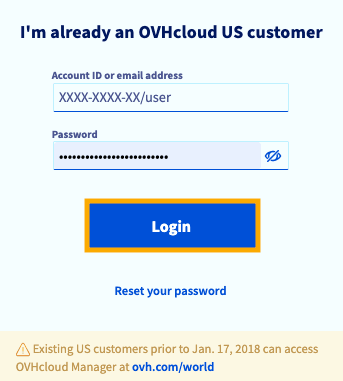
Enter your OVHcloud credentials and click
Login.InfoIf you are a sub-user, enter your account ID (in the format XXXX-XXXX-XX/user) and password.
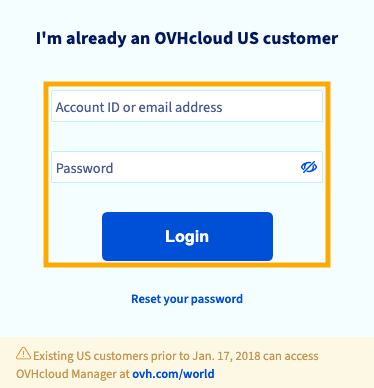
-
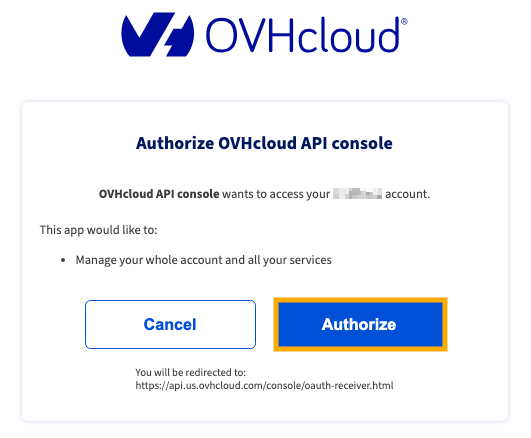
Click
Authorize.InfoIf your OVHcloud account is protected by two-factor authentication, you will also need to enter the code generated by SMS or OTP mobile application or U2F key.
Explore available APIs
You can see a list of OVHcloud products that can be managed with APIs in the upper-left corner. This list is sorted alphabetically.
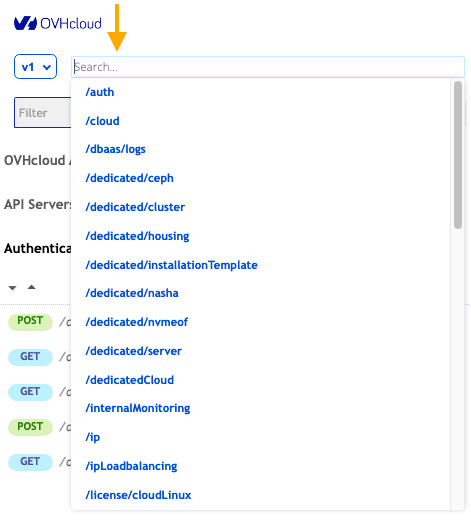
For example, to view the Public Cloud APIs, click /cloud in the list.
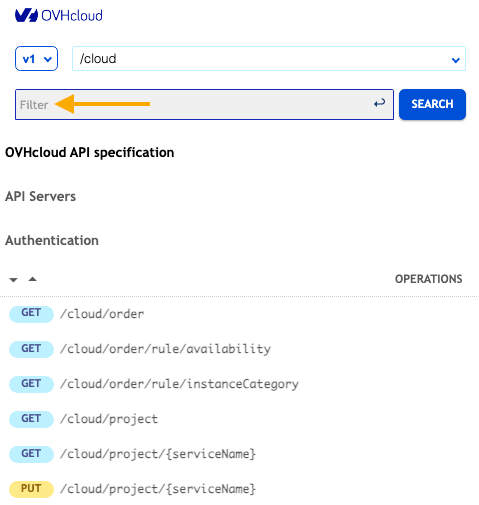
After you click the product, a list of the product’s APIs appears below.
There is also a Filter feature to limit the visible API calls. You can also use the selector to the left of the branch name to switch between the /v1 and /v2 branches of the API.
Run API
There are four types of APIs available that use what are called HTTP methods:
GET
The GET method is used to retrieve data from a resource.
For example, to retrieve a list of your instances, use the following API:
POST
The POST method is used to send additional data to the resource.
For example, to create a new instance, use the following API:
PUT
The PUT method is used to replace the current data in the resource with the data in the query.
For example, to alter an instance in your project, use the following API:
DELETE
The DELETE method is used to delete the called resource.
For example, to delete an instance from your project, use the following API:
API parameters
After you click the API you want, the REQUEST section allows you to assign variables for its application.
For example, when retrieving a list of instances in a project, you must enter the serviceName and can also add information in the region variable.
Once you have set the parameters, you can launch the API by clicking TRY.
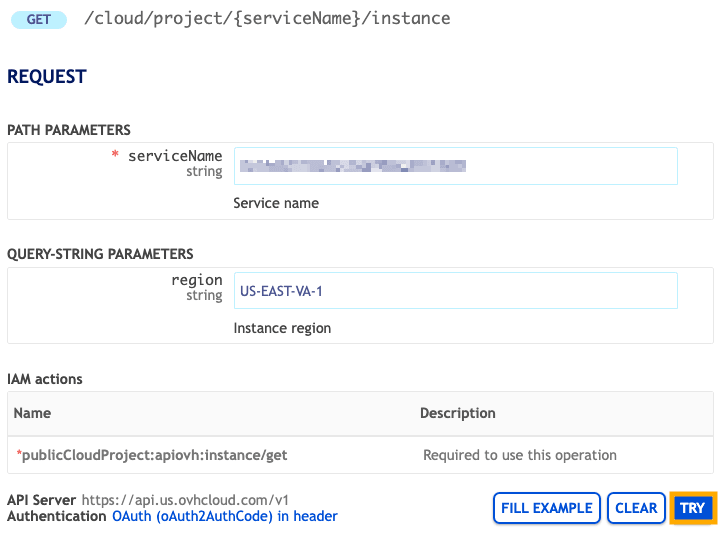
The RESPONSE tab below provides the API execution report.
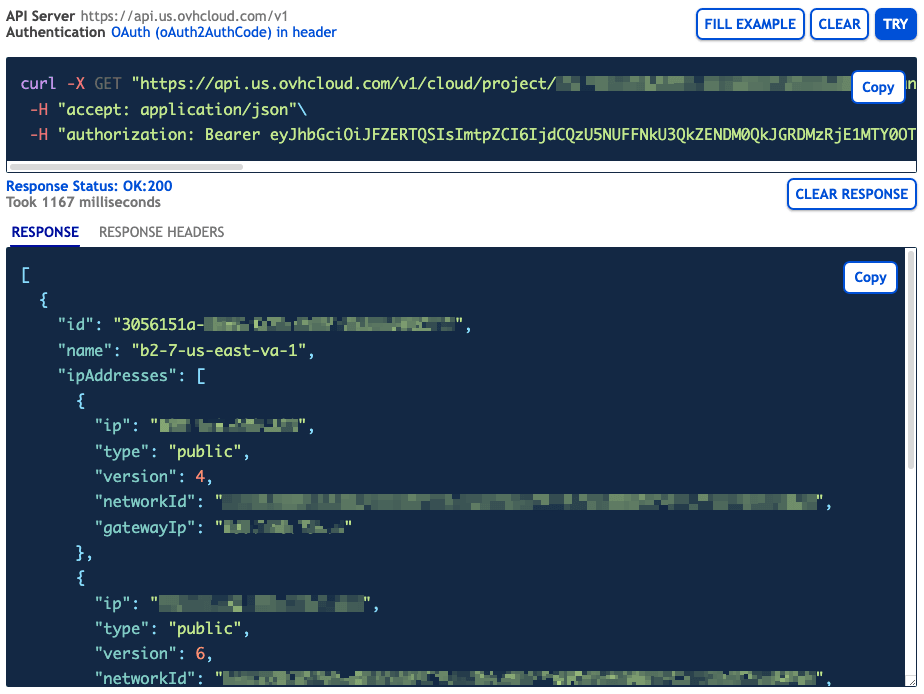
Scrolling down further will reveal PHP and Python tabs containing the elements to be added to your script, depending on the language used.
Advanced usage: pair OVHcloud APIs with an application
Create your app keys
Any application that wants to communicate with the OVHcloud API must be declared in advance.
Click the tab for the type of user you are: Root or Sub.
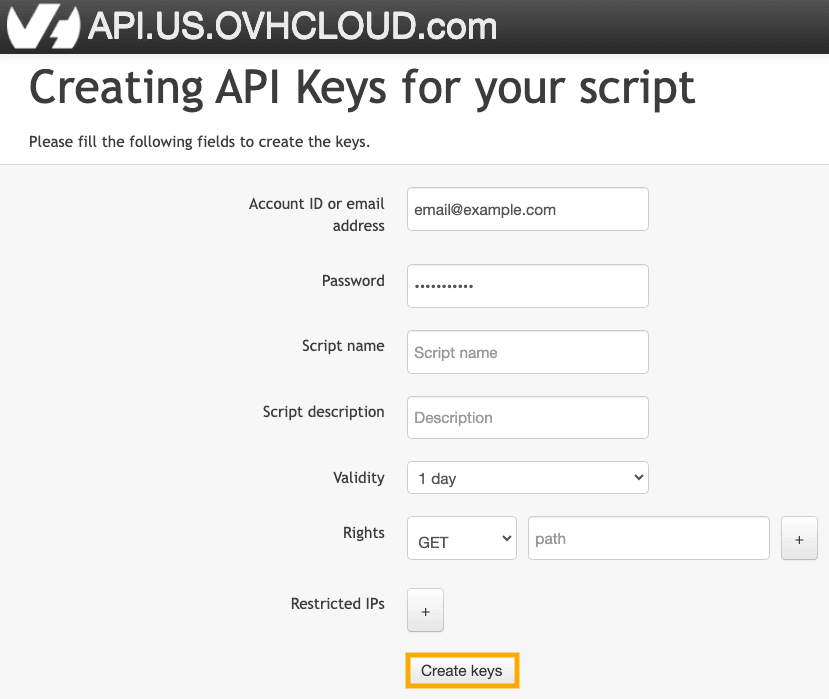
Use the following link: https://api.us.ovhcloud.com/createToken/.
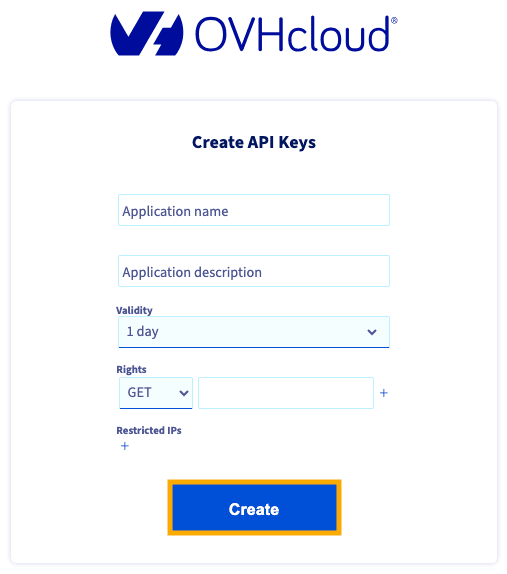
Fill in:
- your OVHcloud Account ID (email address) and password
- a script name and description
- a Validity period
- the Rights you want to allow
To allow all OVHcloud APIs for an HTTP method, put an asterisk (*) into the "path" field.
Click the + button to add additional rights to PUT, POST, and/or DELETE. Click the - button to remove any of those rights.
Click Create keys.
The next screen will show you a set of three keys:
- the application key, or AK. For example:
- the application secret, or AS, is not to be disclosed. For example:
- the consumer key, or CK, is not to be disclosed. For example:
In this case, the CK key is attached to your account.
The CK token can be used for rights delegation.
First API usage
Once you have obtained your three keys (AK, AS, CK), you can sign API requests. The signature is calculated as follows:
To simplify the development of your applications, OVHcloud provides API wrappers in multiple languages. Using them will help you avoid worrying about signing requests so that you can focus on developing your application.
- Perl: https://api.us.ovhcloud.com/wrappers/OvhApi-perl-1.1.zip
- Python: https://github.com/ovh/python-ovh
- PHP: https://github.com/ovh/php-ovh
- Node.js: https://github.com/ovh/node-ovh
- Swift: https://github.com/ovh/swift-ovh
- C#: https://github.com/ovh/csharp-ovh
Here is an example of how to use the /me section to manage your OVHcloud account:
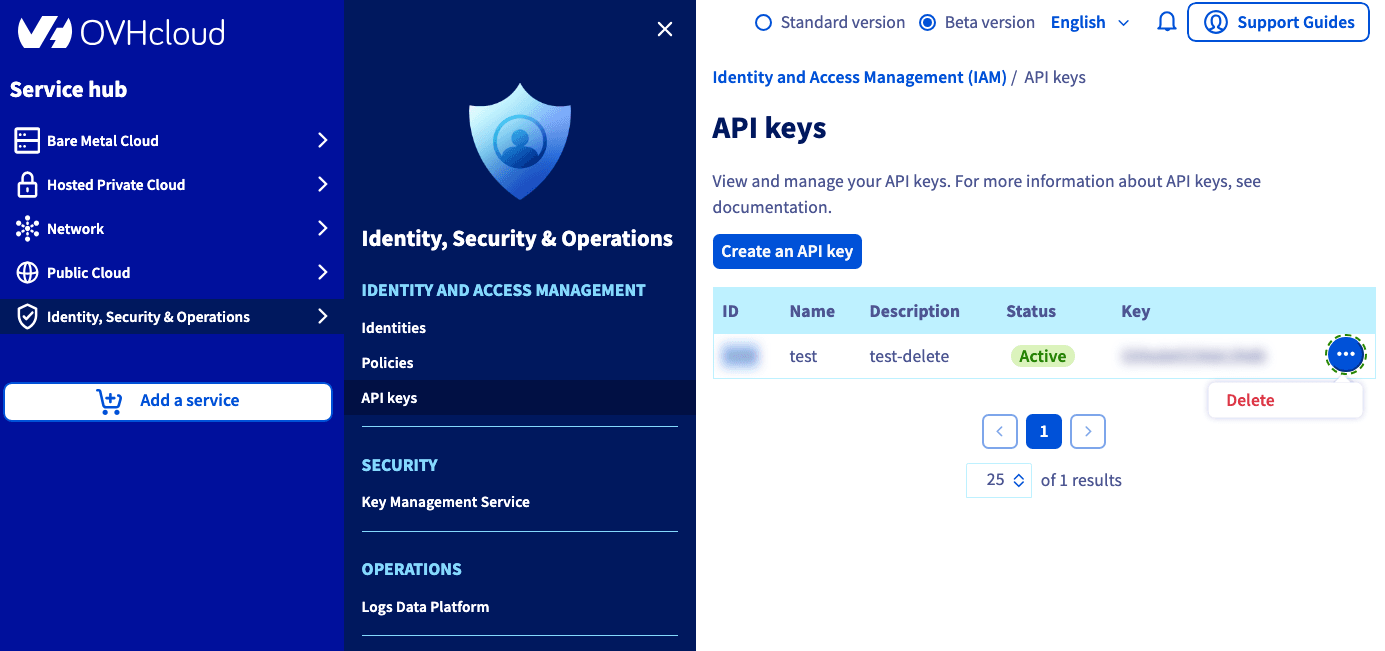
List and revoke your keys
To see or revoke your keys, you must use the OVHcloud API.
List the keys IDs:
Get key details:
Revoke a key:
Go further
Browse all the API guides.
Browse the rest of the OVHcloud US documentation for guides on our other products and services.