
Managing snapshots of an instance in Horizon
Learn how to manage snapshots from the OpenStack Horizon interface.
During your activity, you will probably need to back up your data, configurations, and even your entire instances. To do this, you can create snapshots of your instances. These can be used to restore a later configuration on your instance or to create an exact copy of an instance.
Requirements
Instructions
Snapshot creation
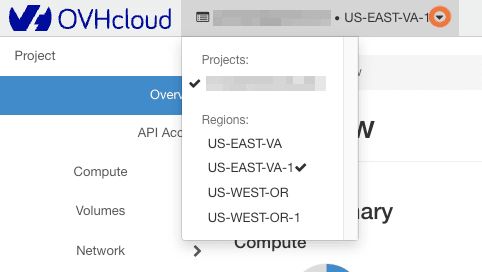
Log into the Horizon interface, and ensure that you are in the correct region. You can verify this in the top left corner.
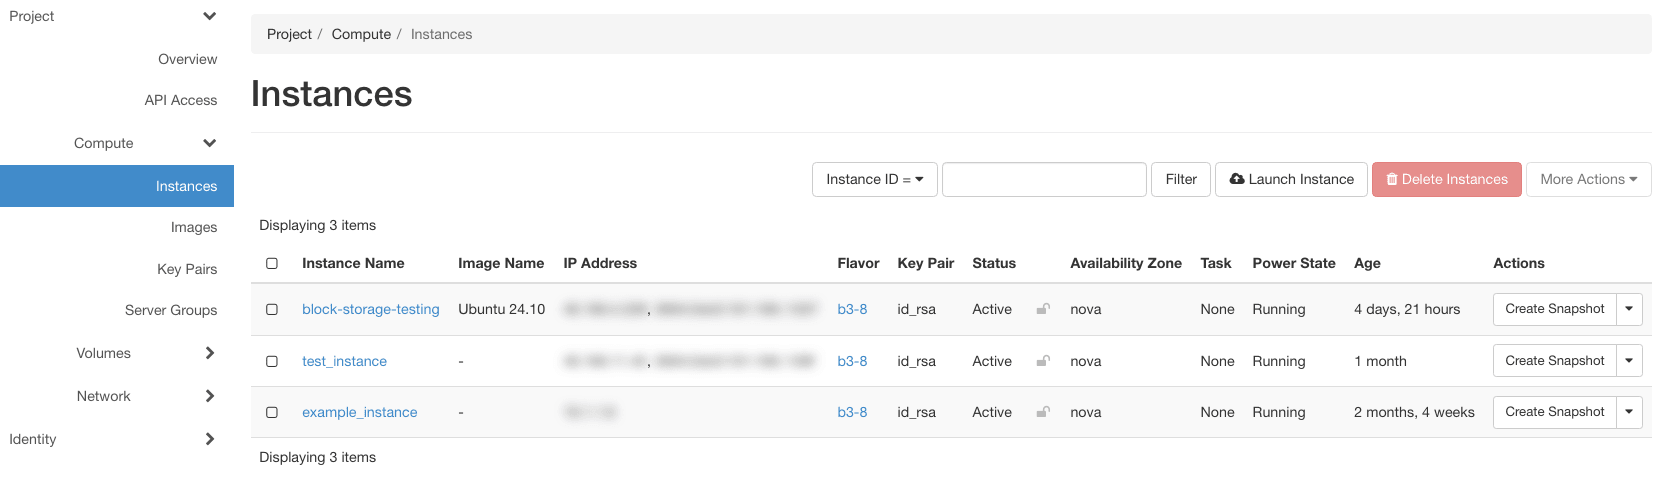
Next, click on the Compute menu on the left side and select Instances. Select Create Snapshot next to the corresponding instance.
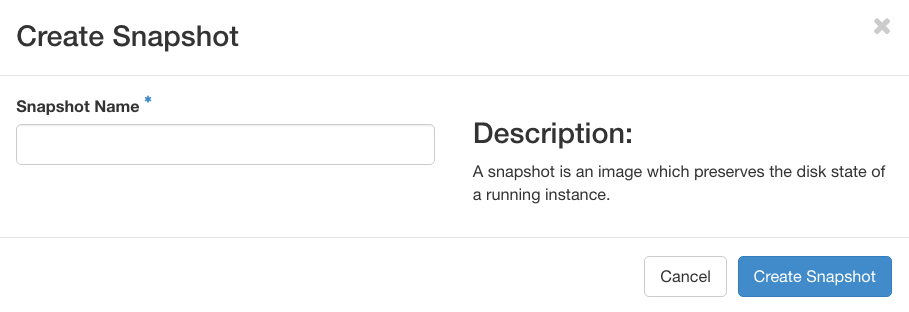
In the pop-up window, enter a name for the snapshot and click Create Snapshot.
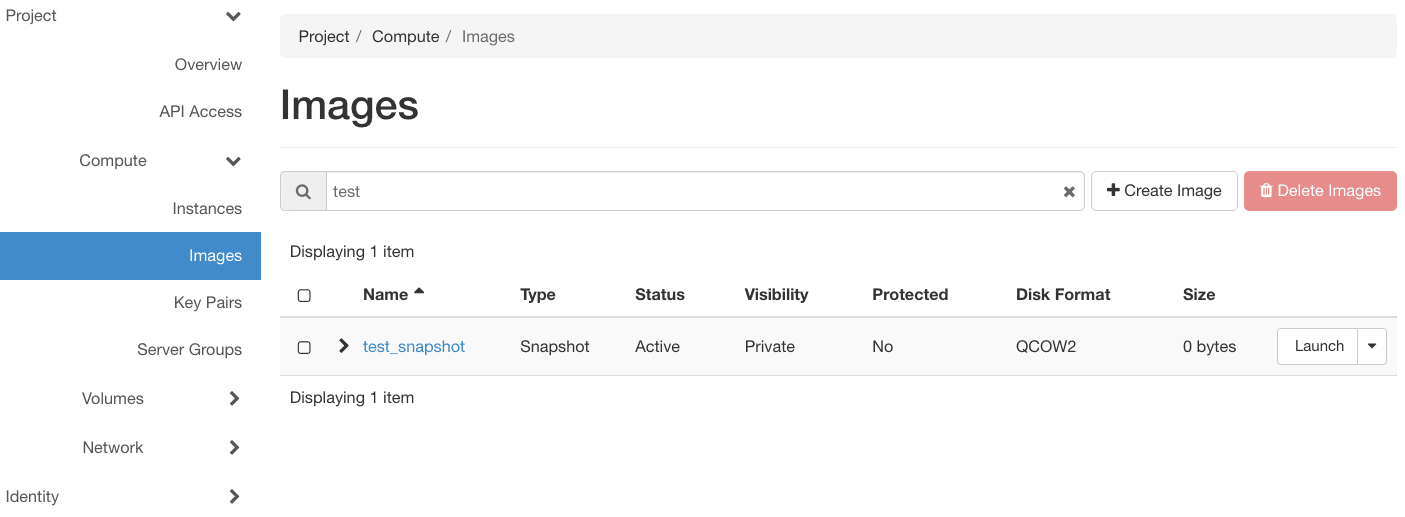
The snapshot will then be listed in the Images section. For this reason, we recommend naming each snapshot explicitly.
Restore a snapshot
You can restore a snapshot by creating a new instance from it.
In the horizon interface, click on the Compute menu on the left side, then click on Images.
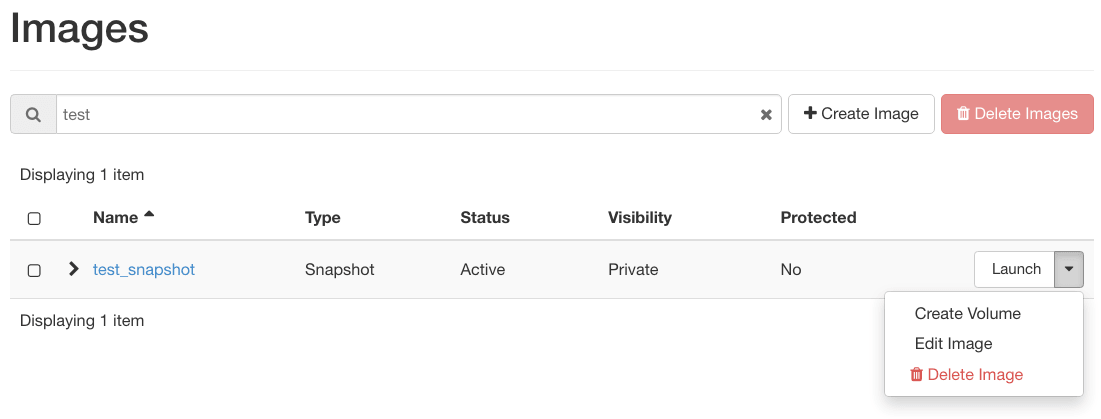
Click on Launch next to the selected snapshot.
In the pop-up window, several options need to be selected to complete the restoration of the snapshot.
Instance Name: Specify the name you want for the instance.
Count: Select the amount of instances you want to launch from the snapshot.
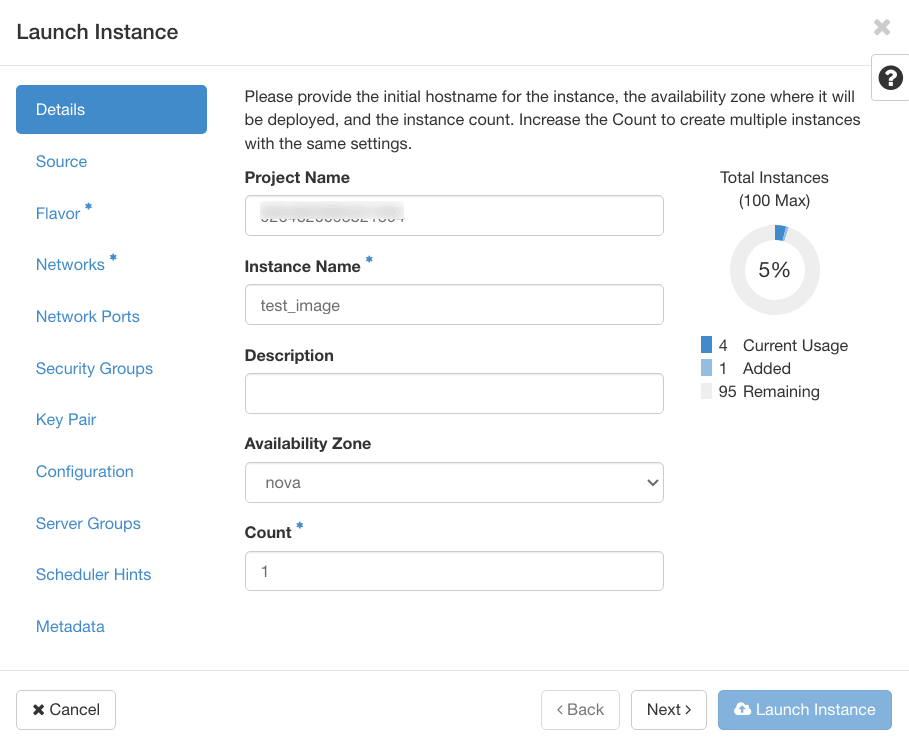
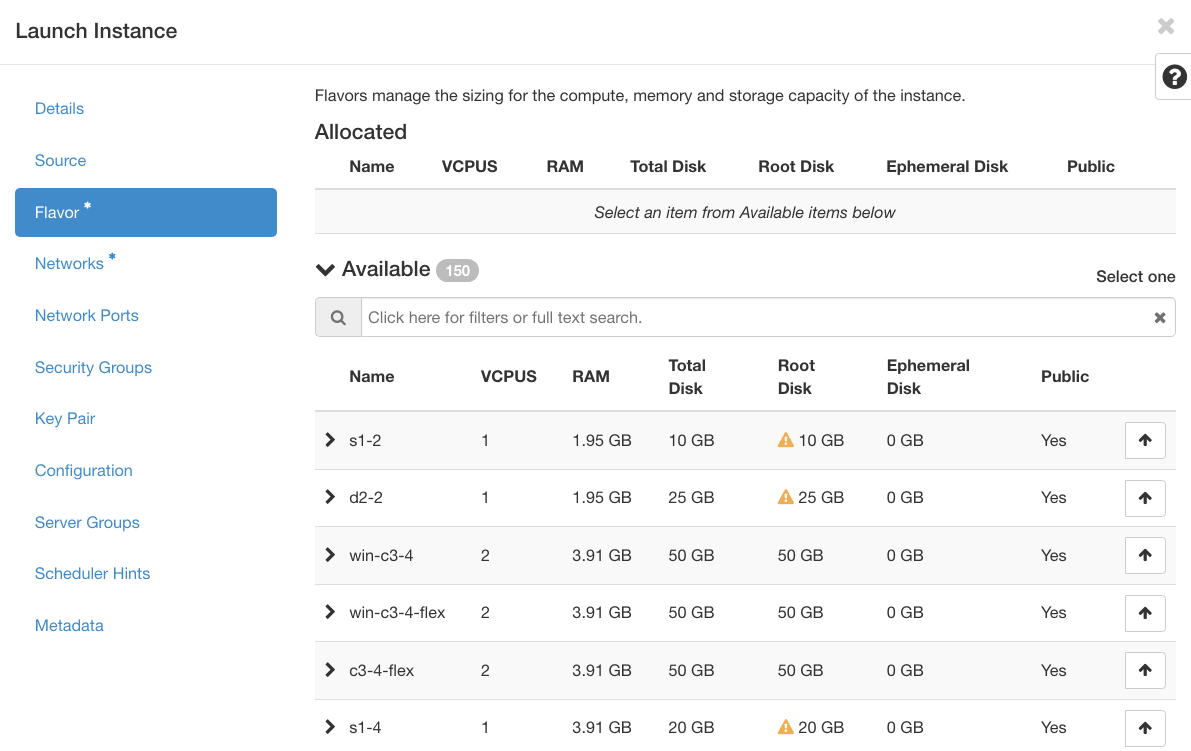
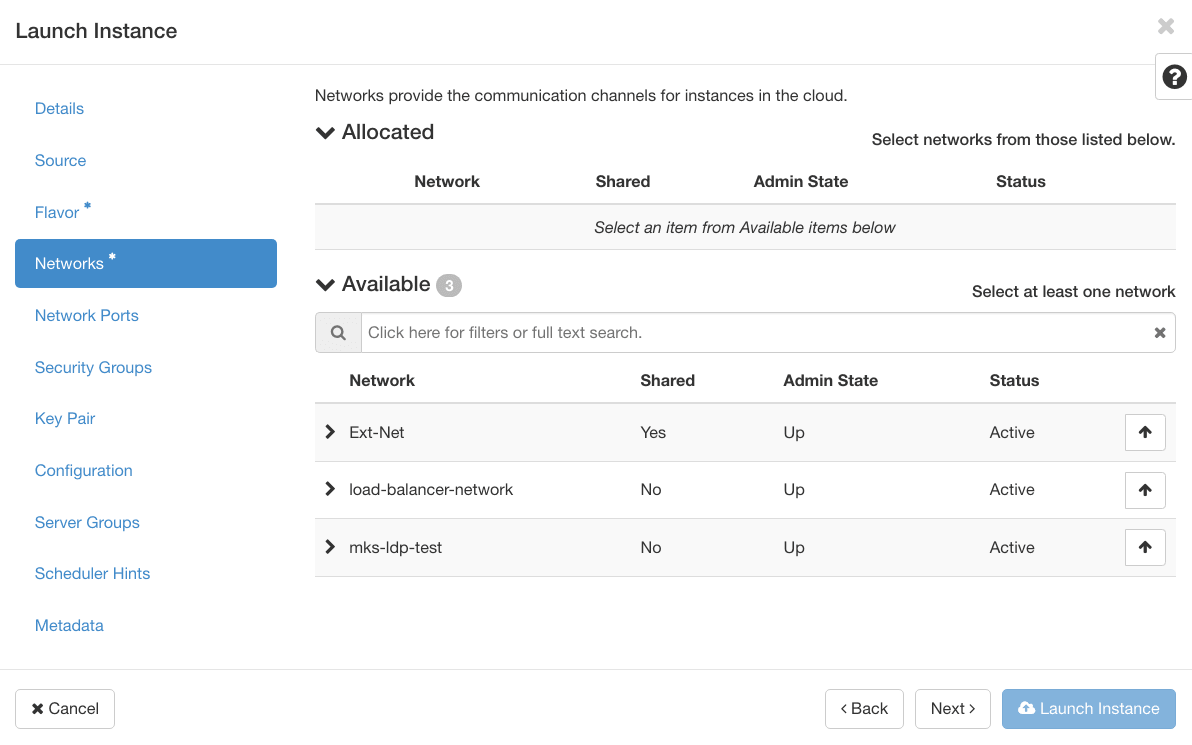
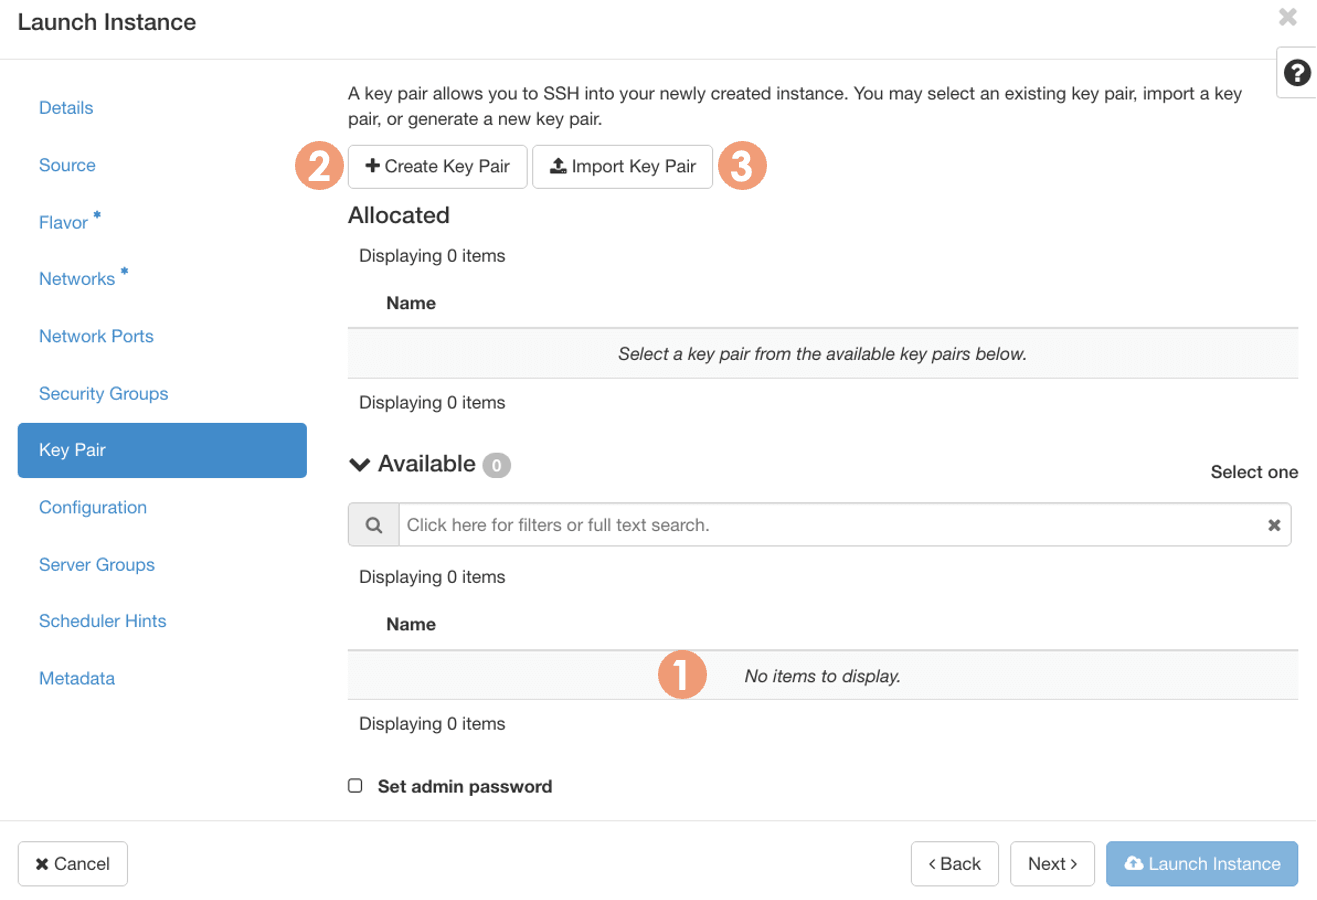
Once done, click on Launch Instance to begin the creation of your instance.
Deleting a snapshot
In the horizon interface, click on the Compute menu on the left side, then click on Images.
Next, click the drop-down arrow next to the snapshot you want to delete and click on Delete Image. Confirm the deletion of the snapshot.
Go further
Browse all the Compute guides.
Browse the rest of the OVHcloud US documentation for guides on our other products and services.
Learn more about Public Cloud Compute on the OVHcloud US website.