
How to manage a Savings Plan
This guide provides a clear, detailed method for creating and updating Savings Plans for your resources. You will discover how to manage your Savings Plans using the OVHcloud Control Panel, the OVHcloud API, and Terraform. By following this guide, you will be able to:
- Create a Savings Plan for your resources.
- Modify a Savings Plan.
- Automate the management of Savings Plans via the API or Terraform for greater efficiency and flexibility.
Requirements
- A Public Cloud project in your OVHcloud account
- Access to the OVHcloud API (create your credentials using this guide)
- Being familiar with Terraform if you intend to use it
- Being familiar with the principles of Savings Plans
Instructions
OVHcloud Control Panel Access
- Direct link: Public Cloud Projects
- Navigation path:
Public Cloud> Select your project
Click on Savings Plans in the left-hand navigation bar under Settings.
Create a Savings Plan
You can create your Savings Plan for the type of resource you want by following these steps:
Click the Create a Savings Plan button.
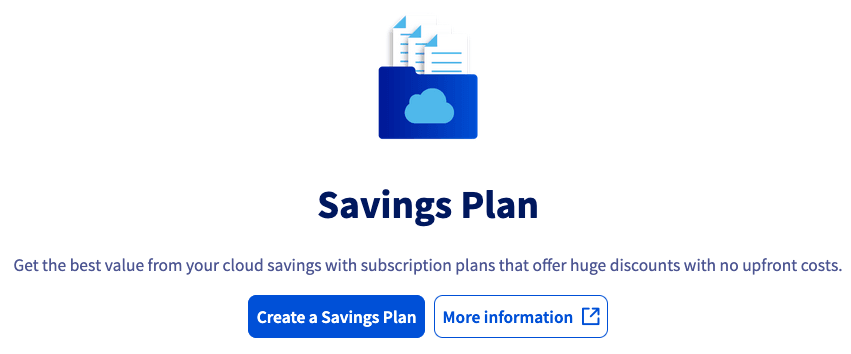
On the next screen:
- Select a service
- Choose a deployment mode
- Choose model
- Specify the number of resources
- Select the subscription period
- Select a date
- Enter a name
When you have configured all of your options, click Create a Subscription Plan.
In the pop-up window, confirm all of your selections, agree to the terms of service, and click Create a Savings Plan.
Modifying a Savings Plan
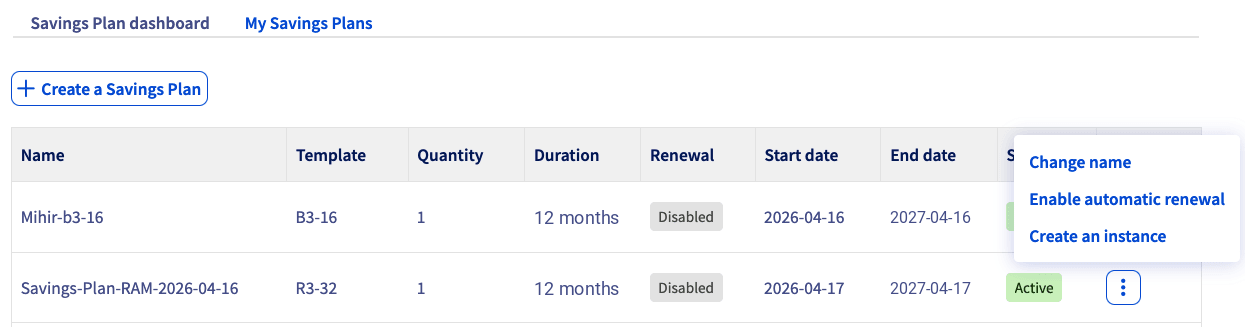
In the OVHcloud Control Panel, clicking the more options ⋮ button to the right of your plan gives you the option to:
- Edit the name of the Savings Plan,
- Activate/deactivate its automatic renewal, and
- Create an instance to be included in your plan.
Go further
Browse all the Public Cloud - General information guides.
Browse the rest of the OVHcloud US documentation for guides on our other products and services.
Learn more about Public Cloud on the OVHcloud US website.