
How to Configure Reverse DNS in the OVHcloud API
Reverse DNS allows you to map your domain name directly to your OVHcloud service. In this article, we will show you how to configure reverse DNS from the OVHcloud API.
Prerequisites
- A domain name with an A record pointing to an OVHcloud IP address
Topics
- Configuring Reverse DNS in the OVHcloud API
Configuring Reverse DNS in the OVHcloud API
Note: In this article, we use an example domain name and IP address. Change your inputs accordingly.
To begin configuring reverse DNS, log into the OVHcloud API using the same credentials you use for the OVHcloud Control Panel. Use the following API command and fill in the relevant fields:
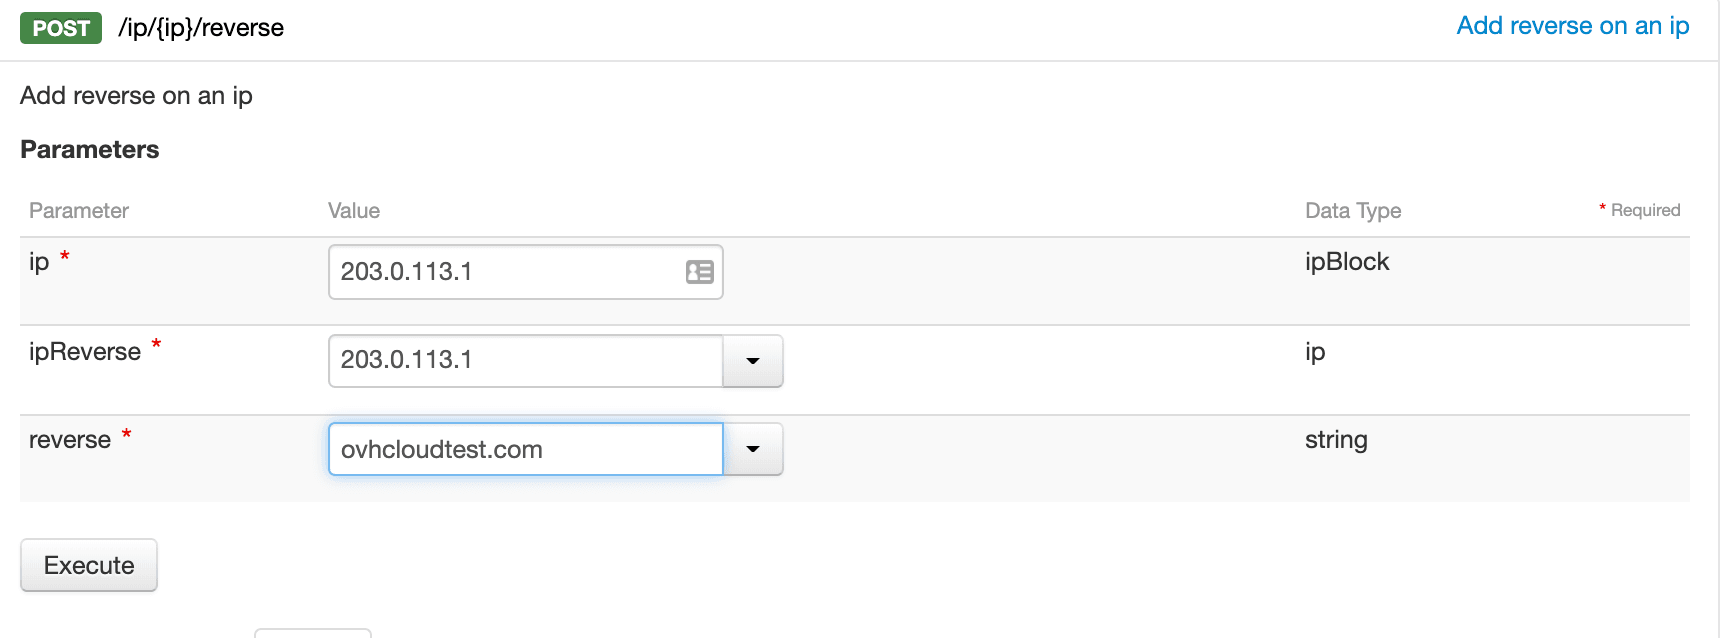
Press Execute when you have confirmed that the information is correct. The output should look like this:
To confirm that the reverse DNS has been configured, use the following command in the OVHcloud API:
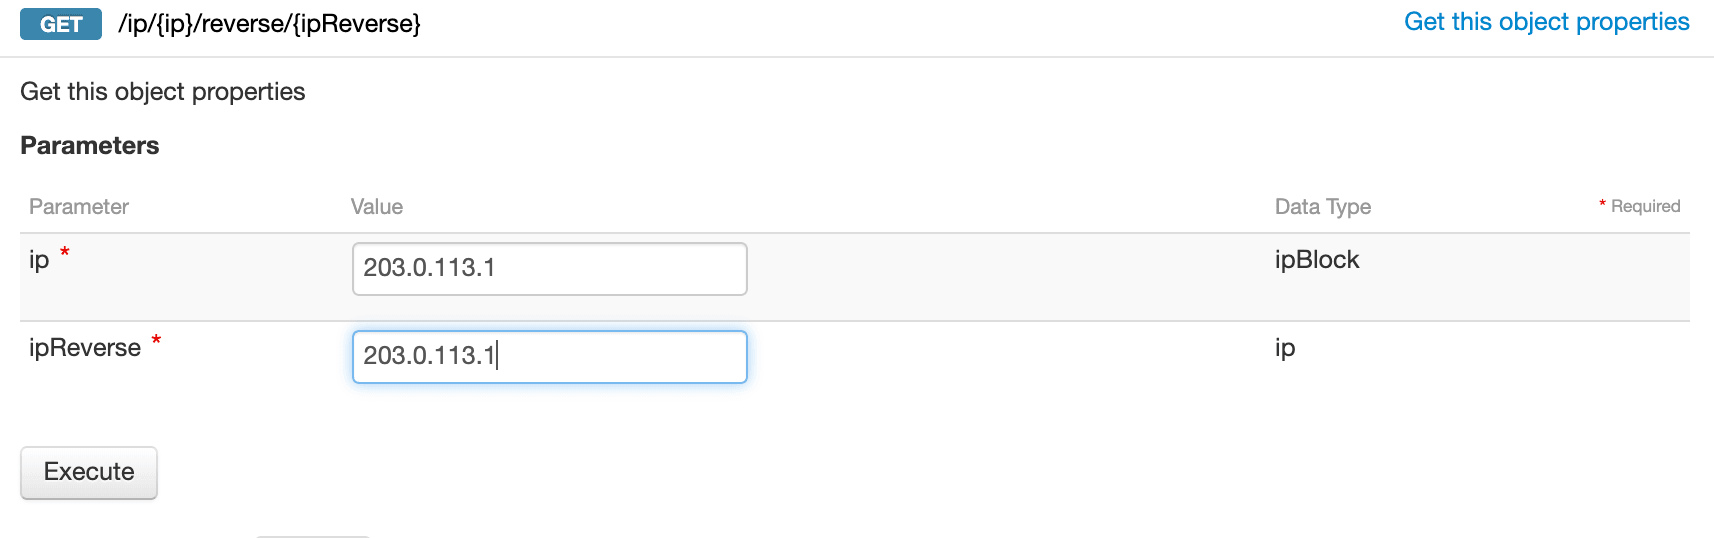
The output should look like this:
Conclusion
Having read this article, you should be able to configure reverse DNS on any valid OVHcloud IP address from the OVHcloud API.