
Using instance backups to create or restore an instance
Learn how to use backups to duplicate and restore your instances.
The OVHcloud Control Panel enables you to create backups of your instances. You can make use of these instance backups in two ways:
- Creating a new instance with the backup as a template to duplicate the original instance's root disk, for example, if you are configuring a load-balancing infrastructure.
- Restoring instances from a backup, for example, if recent changes broke critical configurations on the instance.
Requirements
-
Access to the OVHcloud Control Panel or OVHcloud API
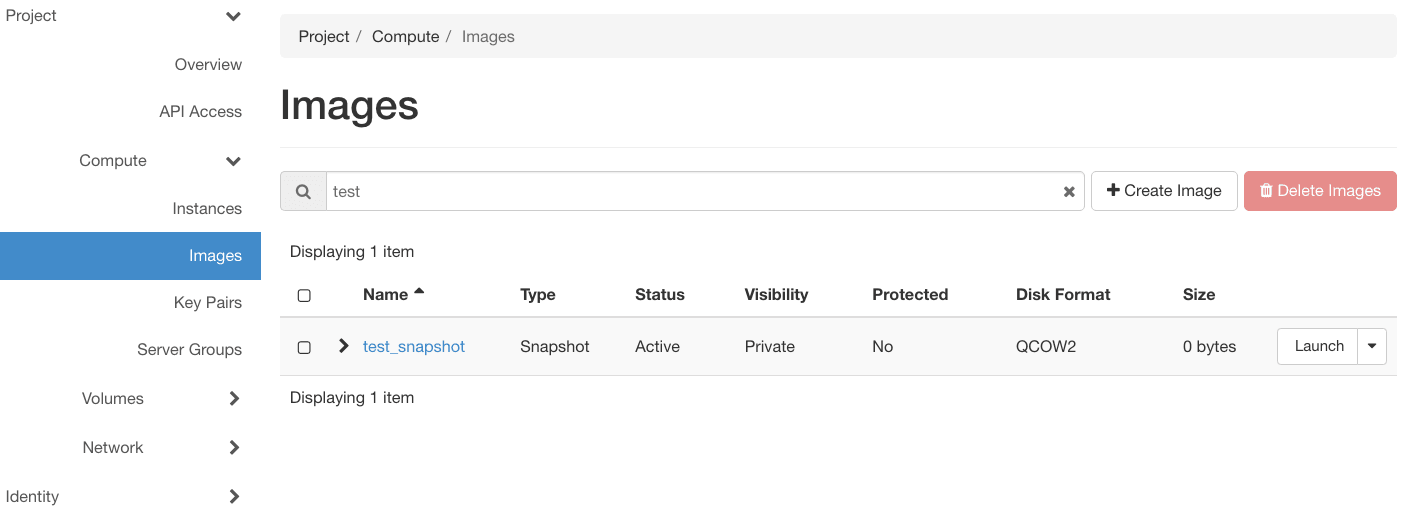
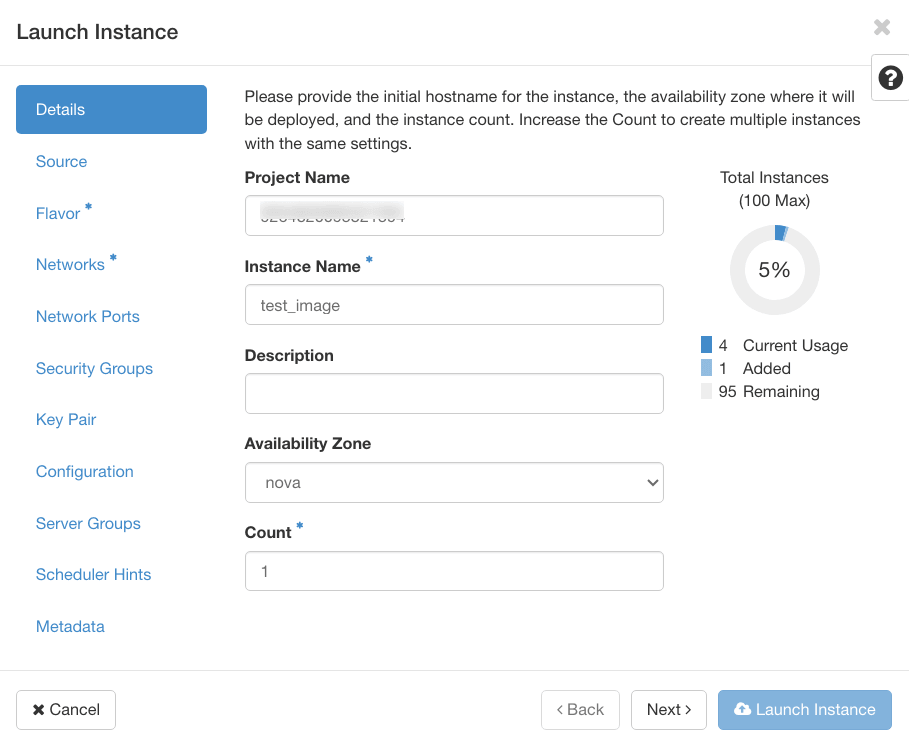
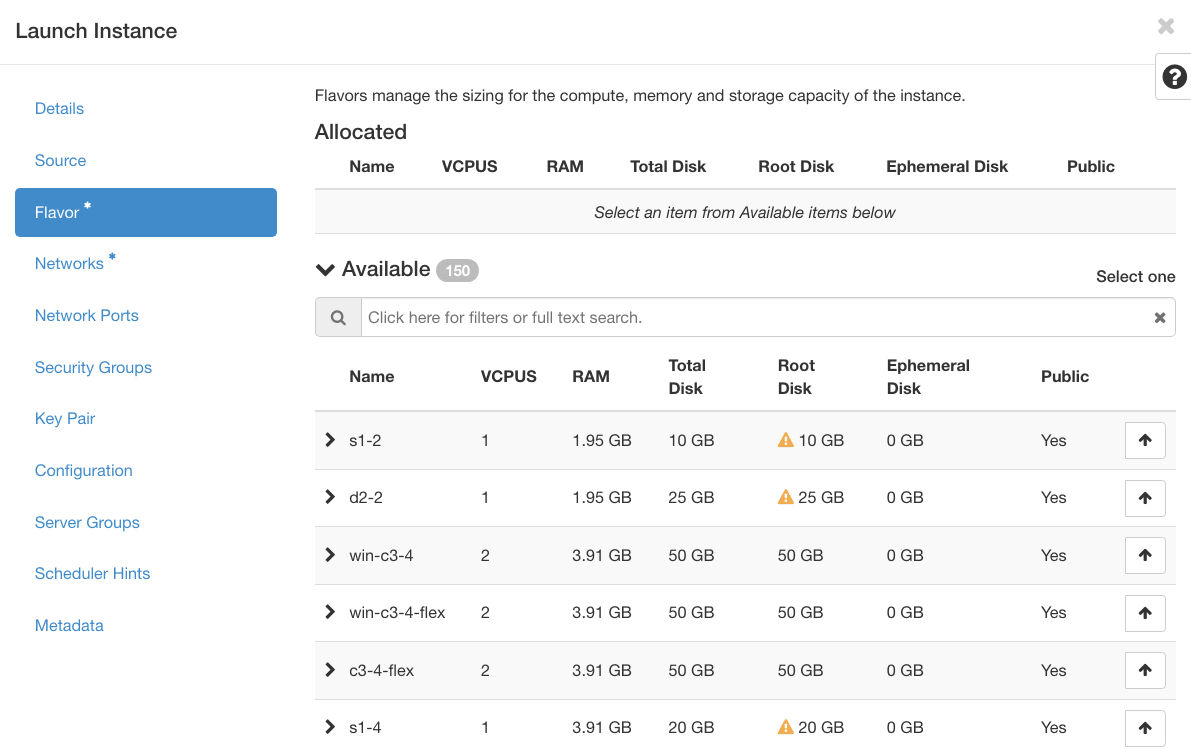
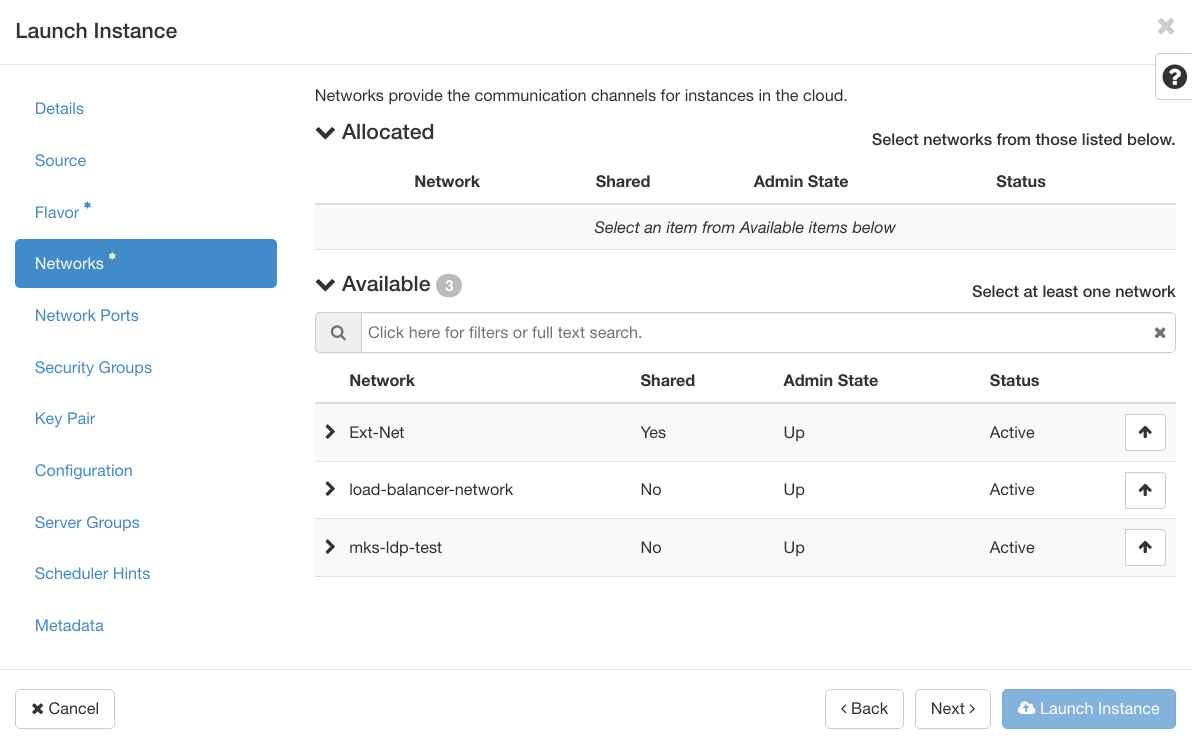
TipCreating (not restoring) an instance from a backup can also be done via the OpenStack CLI or Horizon interface.
Instructions
WARNING: Data is backed up on all instances that do not have local NVMe passthrough disks. Data on local NVMe passthrough disks (e.g., T2-180) is not included, so creating or restoring an instance from a backup does not bring this data back. Copy any data you need to Object Storage or Block Storage before creating a backup.
Two types of backups are available:
- Local: Stored in the same region as your instance.
- Remote: Automatically replicated in another region of your choice.
Both creating and restoring an instance from a remote backup are fully supported via the OVHcloud API, offering greater flexibility and effortless integration into your automation processes.
Note: These operations are not yet available through the OVHcloud Control Panel.
Creating an instance from a backup
From the OVHcloud Control Panel, navigate to the Public Cloud section and select your Public Cloud project.
Choose Instance Backup in the Compute section.
Click the more options ... button to the right of the relevant instance, then click Create an instance.
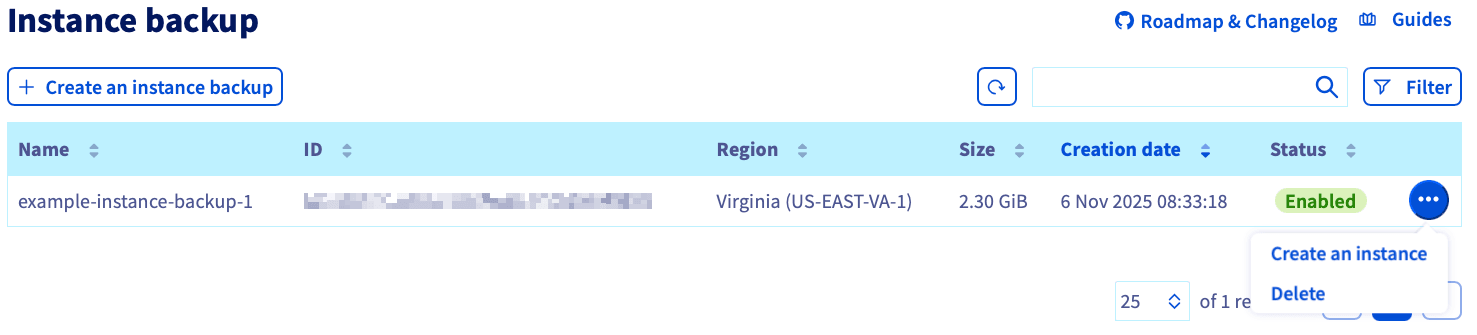
You will see a shortened version of the instance creation page, where you can decide on some options.
Some elements are pre-defined:
- Region: Your instance will be created in the same data center as your backup.
- Image: The image will correspond to your backup.
Choose the new instance’s model, name, SSH key, vRack, and billing period, then click the Create the instance button.
NOTE:
- Only the models that are compatible with your image are available, depending on your quota.
- Depending on the model chosen, you may only have one option available for the billing period.
For further information on creating an instance, please refer to this guide.
To create the instance in a different data center, you will first need to transfer the backup to the appropriate region. Please take a look at our guide on transferring an instance backup.
Restoring an instance from a backup
NOTE: You can only restore an instance to the region in which the backup resides.
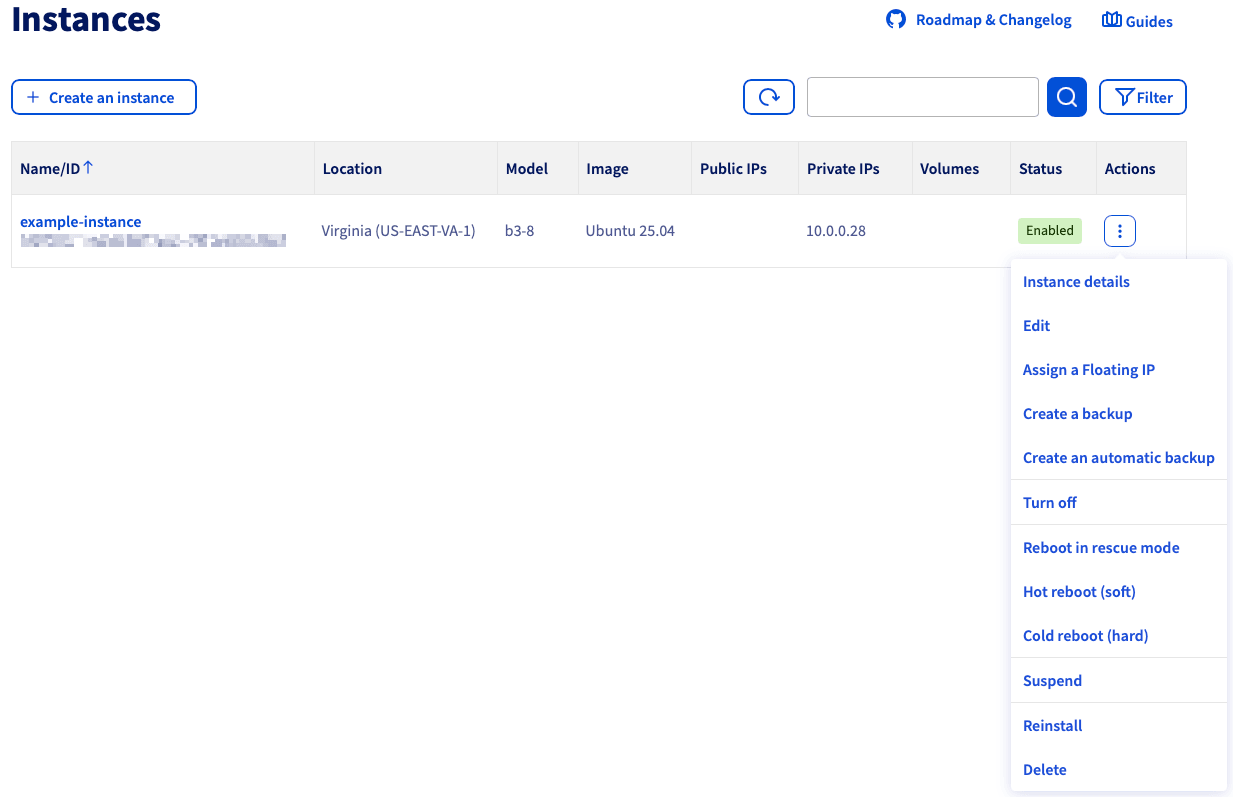
Click on Instances in the left-hand sidebar. Click on the more options ︙ button in the row of the relevant instance, then select Edit.
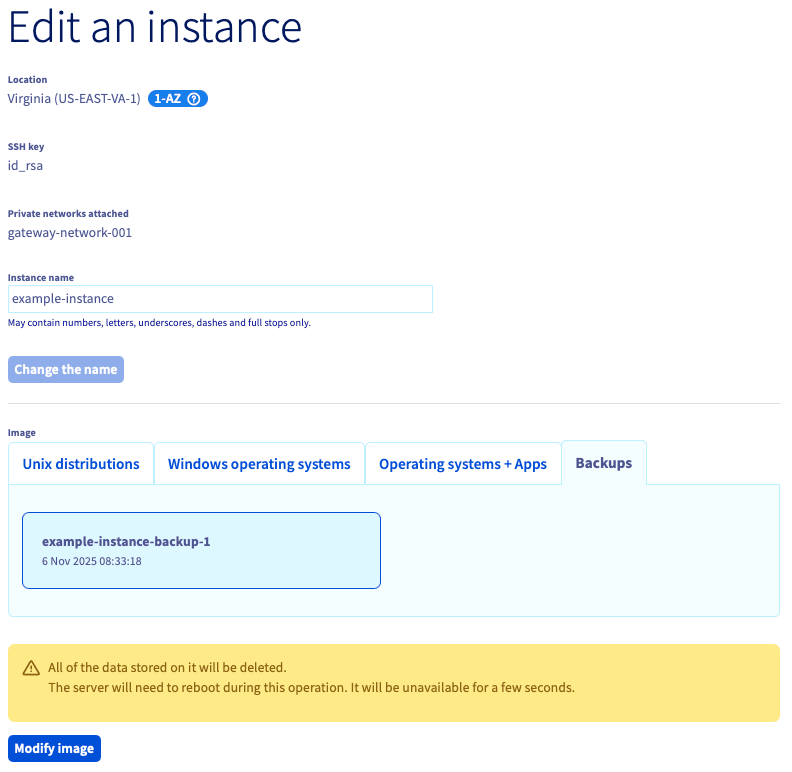
This opens the page for editing an instance, where you can change:
- the instance’s name
- the instance’s image
- the instance’s model
- the instance’s billing mode (from hourly to monthly only)
Make your changes if necessary and switch to the Backups tab of the Image section.
Select from the list of available backups. Click on Modify image if you are certain that you want to overwrite the current image with the backup.
The instance will have the Rebuilding status until the process is completed. It might be necessary to refresh the page in the browser to see the current status.
NOTE: Restoring replaces the instance's root disk with the backup. As stated in the warning message, any data written to the root disk after the backup was created will be lost. Data on local NVMe passthrough disks is not part of the backup and cannot be restored from it.
Go further
Browse all the Compute guides.
Browse the rest of the OVHcloud US documentation for guides on our other products and services.
Learn more about Public Cloud Compute on the OVHcloud US website.