
How to install OpenFaaS CE on OVHcloud Managed Kubernetes using OpenFaaS
The following guide details an OpenFaas installation on an OVHcloud Managed Kubernetes Service (MKS) cluster. OpenFaaS is a framework for building serverless functions on top of Kubernetes. Before installing OpenFaaS Community Edition (CE), make sure you read the end-user license agreement (EULA), to understand the limits of this version of OpenFaaS vs the Standard and Enterprise edition.
Before you begin
This tutorial presupposes that you already have a working OVHcloud Managed Kubernetes cluster and some basic knowledge of operating it. If you want to know more on those topics, please look at the deploying a Hello World application documentation.
You also need to have Helm installed on your workstation and your cluster, please refer to the How to install Helm on OVHcloud Managed Kubernetes Service tutorial.
OpenFaaS, a Kubernetes-native FaaS platform

OpenFaaS is an open-source framework for building Serverless functions with Docker and Kubernetes.
More details about the OpenFaaS architecture can be found in the official documentation.
Instructions
Deploying OpenFaaS on OVHcloud Managed Kubernetes
The official Helm chart for OpenFaas is available on the faas-netes repository. The following section describes how to install it on your OVHcloud Manage Kubernetes cluster.
Load the OpenFaaS helm chart repository
The OpenFaaS Helm chart isn’t available in Helm’s standard stable repository. You need to add their repository to your Helm install:
Create the required namespaces
OpenFaaS guidelines advise to create two namespaces, one for OpenFaaS core services and one for the functions:
Generate credentials
To secure access to the OpenFaaS UI Portal and REST API, you can generate a password using the following commands:
You will need this password later in the tutorial, for example, to access the UI portal. You can see it at any moment in the terminal session by doing echo $PASSWORD.
Deploying the Helm chart
The Helm chart can be deployed in three modes: LoadBalancer, NodePort, and Ingress. For us the simplest way is simply using our external Load Balancer, so we will deploy it in LoadBalancer by setting the --set serviceType=LoadBalancer option.
If you want to understand the difference between these three modes better, you can read our dedicated guide.
Deploy the Helm chart:
As suggested in the install message, you can verify that OpenFaaS has started by running:
If it’s working you should see the list of OpenFaaS deployment objects, marked as available:
Connect to the Gateway
Get the public IP of your gateway service using:
NOTE: At this moment, your EXTERNAL-IP could be still PENDING.
The provisioning of the load balancer can take several minutes. Check again until the EXTERNAL-IP is filled with a public IP address.
Once the public IP address is available, you may access the OpenFaaS UI at http://PUBLIC_IP:8080.
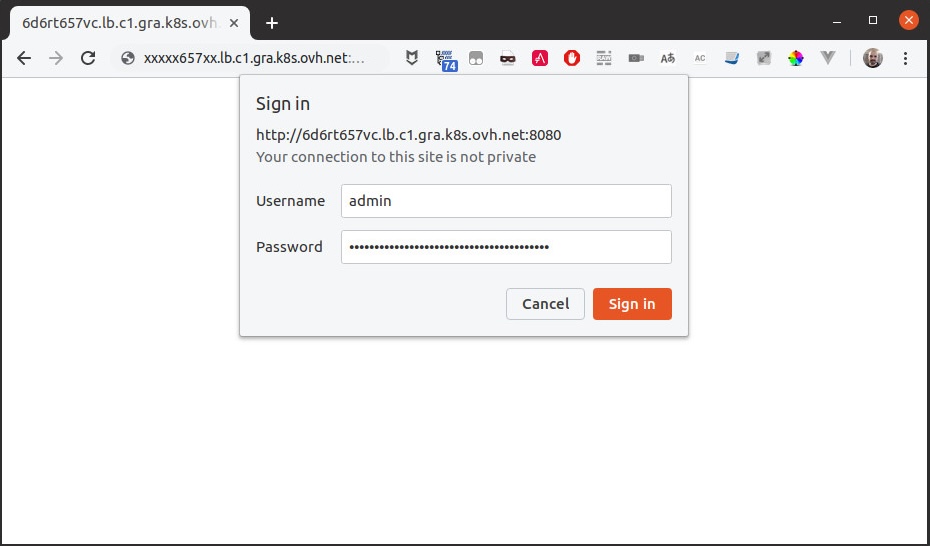
Connect using the CLI
Another way to interact with your new OpenFaaS platform is by installing faas-cli, the command line client for OpenFaaS (on a Linux or Mac, or in a WSL Linux terminal in Windows). Download the latest version of the CLI client from the official release page.
You can now use the CLI to log into the gateway. The CLI needs the public IP address of the OpenFaaS LoadBalancer, you can get it using the commands from the previous section:
Sample output:
Now you're connected to the gateway, and you can send commands to the OpenFaaS platform.
By default, there is no function installed on your OpenFaaS platform, as you can verify with the faas-cli list command.
This section focused on how to install OpenFaaS. The next section will introduce how to import and invoke functions.
Deploying and invoking functions
You can easily deploy functions on your OpenFaaS platform using the web UI, or the CLI:
Some sample functions are available in the official OpenFaaS project. For example, to import figlet, a function that generates ASCII art banners from plain text:
faas-cli list command now will show the deployed functions:
Let's invoke the newly imported functions:
This section detailed how to import and use existing functions. The next section will introduce how to create custom functions.
Writing our first function
Prerequisites
To publish and deploy a function to your MKS cluster, you will need:
- A public container registry accessible from your MKS cluster and your workstation, such as dockerhub or GitHub registry.
NOTE: At the moment, OpenFaaS Community Edition only supports public images. Check the related documentation for private registries with OpenFaaS Pro.
Code the function
All available templates are available in the official template repository, or can be listed using:
This example will use NodeJS to create a hello world function. Let's begin by creating and scaffolding the function folder:
The CLI will download a JS function template from the OpenFaaS repository, generate a function description file (hello-js.yml in our case) and a folder for the function source code (hello-js). For NodeJS, you will find a package.json (for example to declare dependencies to your function) and a handler.js (the function main code) in this folder.
In hello-js.yml, set the following parameters according to your configuration:
provider.gateway: the URL to your OpenFaaS gateway.functions.image: the URL to your docker registry. In this example, a dockerhub repository will be used.
hello-js.yml
The function described in hello-js/handler.js is simple. It exports a function with two parameters, a context where you will receive the request data, and a callback that you will call at the end of your function and where you will pass the response data.
Now you can build the Docker image and push it to the public Docker registry:
With the image in the registry, let's deploy and invoke the function with the OpenFaaS CLI:
Congratulations, you have written and deployed your first OpenFaaS function using Node. See the official documentation to go further.
Where do we go from here?
To learn more about OpenFaaS, please refer to the official OpenFaaS documentation. You can also follow the OpenFaaS workshops to learn in a more practical way.
Go further
Browse all the Managed Kubernetes Service (MKS) guides.
Browse the rest of the OVHcloud US documentation for guides on our other products and services.
Learn more about Managed Kubernetes on the OVHcloud US website.
If you need training or technical assistance to implement our solutions, contact your sales representative or click on this link to get a quote and ask our Professional Services experts for a custom analysis of your project.