Step 1 — Access the creation page
Click on Gateway in the left-hand menu under Network.
You must have an active vRack before proceeding. If you do not have a vRack, please consult this section of the relevant guide.
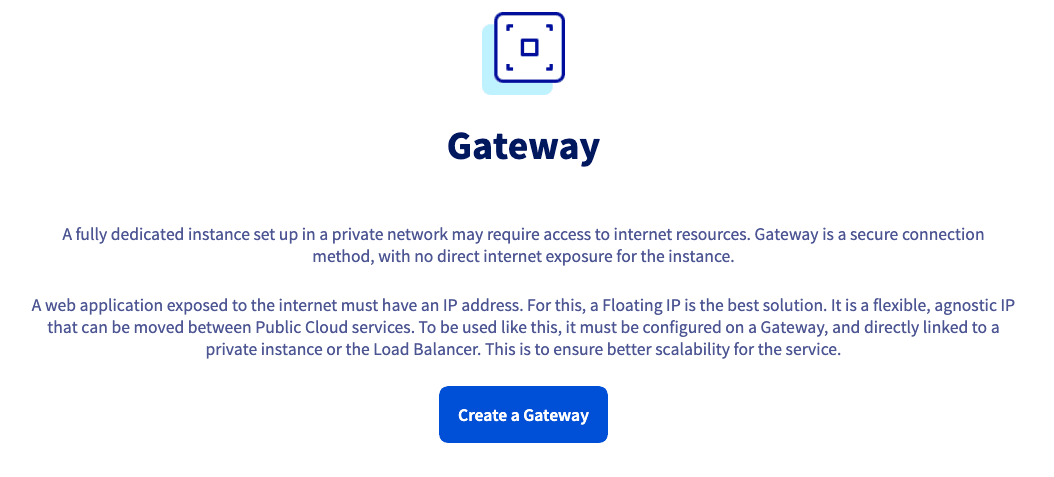
Next, click Create a Gateway.
Step 2 — Select the region and size
Select the region where your private instances are located.
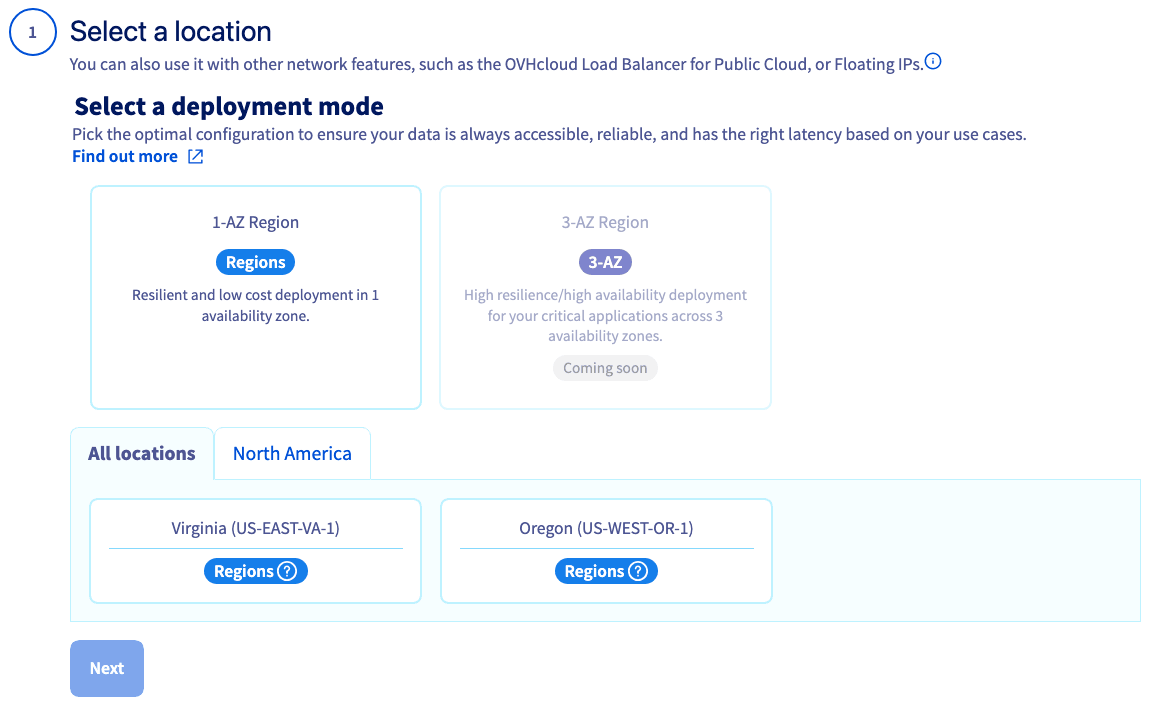
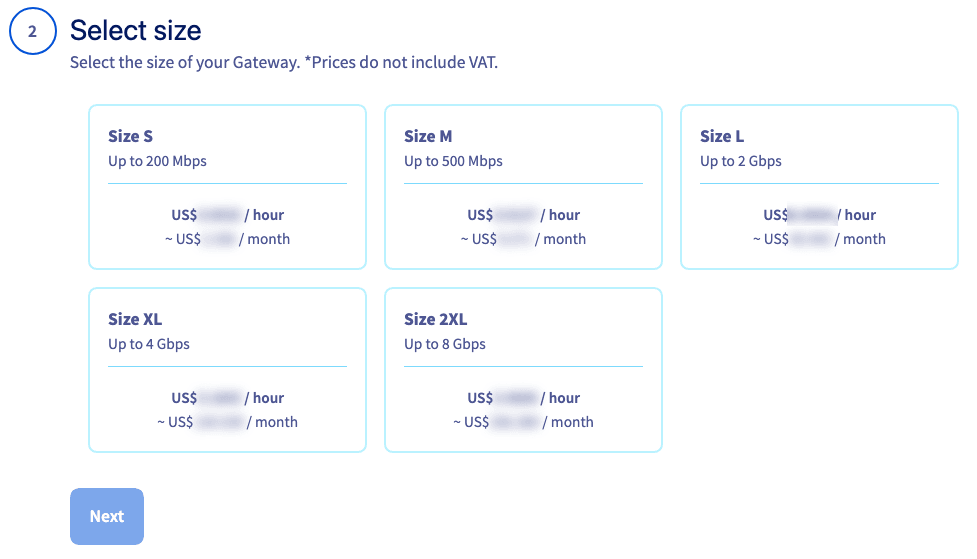
Then select your gateway size (see the models table above).
Step 3 — Name the Gateway and attach a private network
Edit the default name of your Gateway and select an existing private network from the drop-down list.
Info
Only single-region private networks are supported by Gateway.
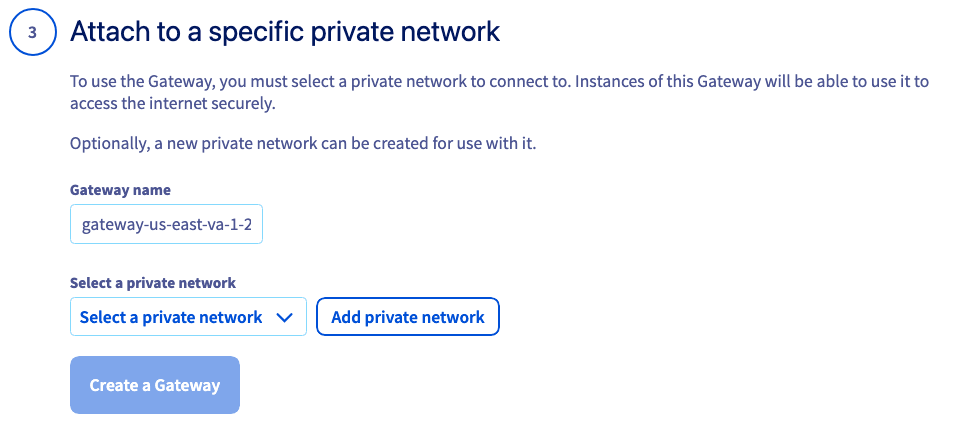
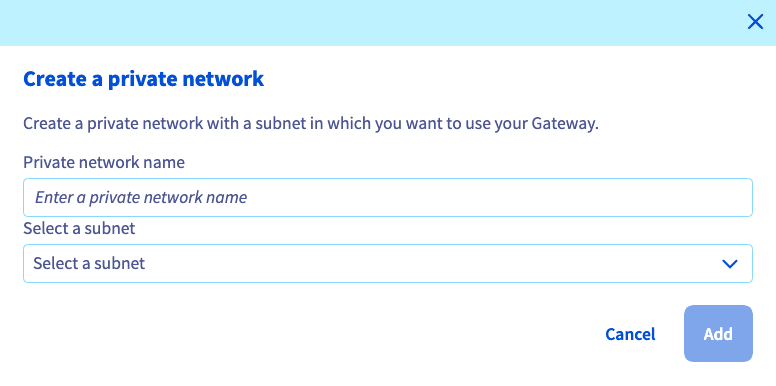
You can also click Add a private network to create a new private network inline.
In the pop-up window, enter a name for your private network, select a subnet, and click Add.
Step 4 — Confirm creation
Click Create a gateway to start the deployment.
The creation may take several minutes. Refresh the page if necessary.
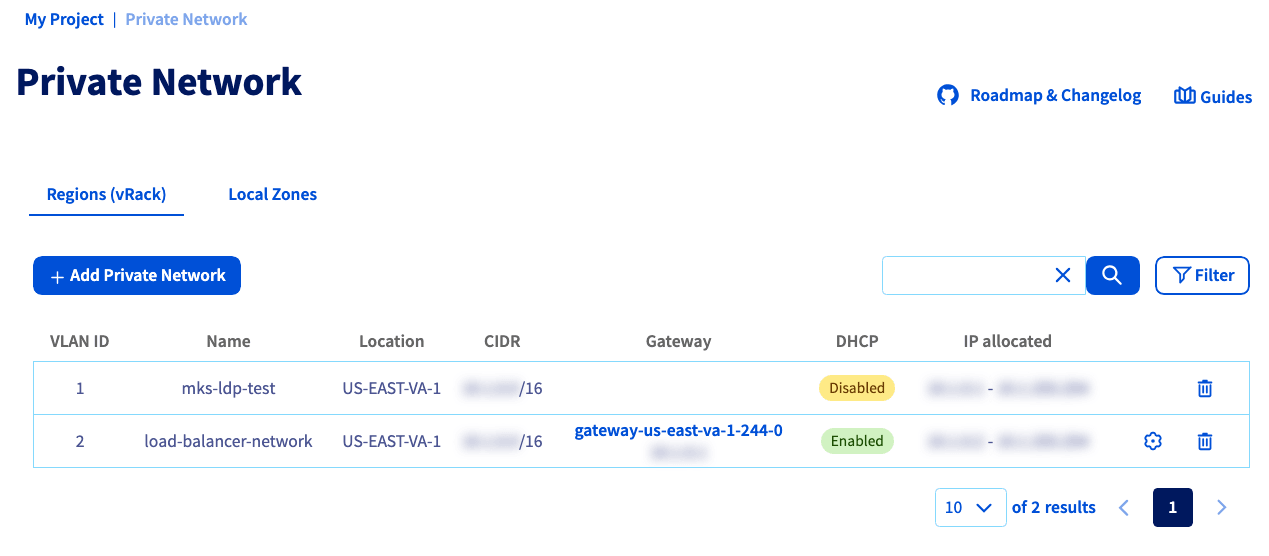
Once done, the private network is visible in the Private Network section.
Warning
NOTE: You can cancel a Private Network by clicking the trash 🗑️ icon to the right of the network.
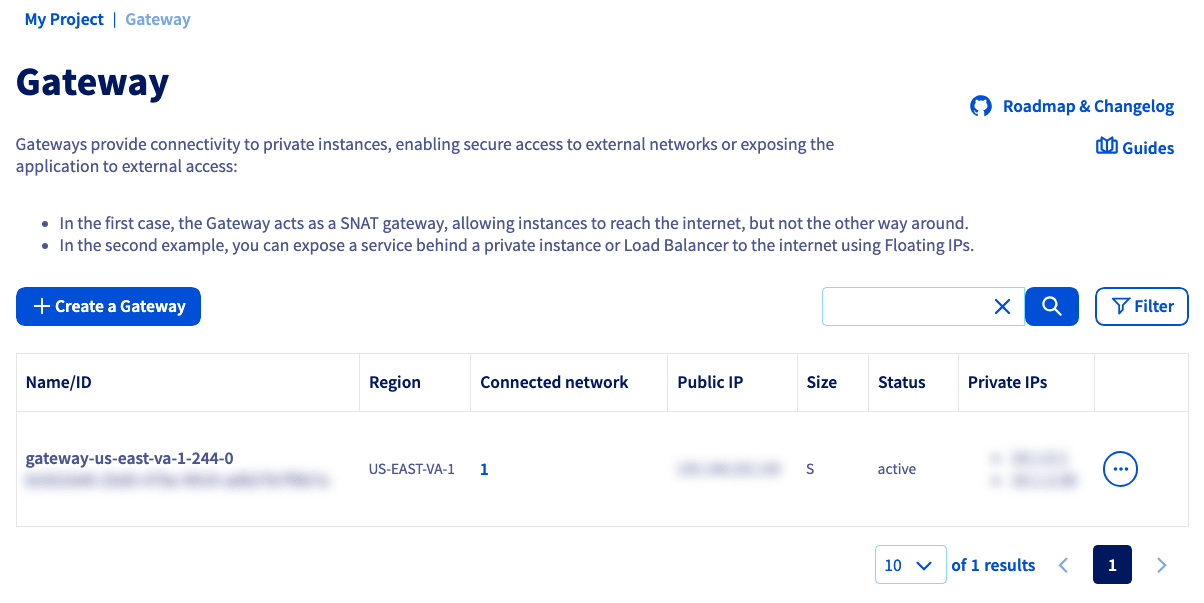
The Gateway appears in the Gateway section.
Warning
NOTE: You can cancel a Gateway by clicking the more options ... button and selecting Delete.
Step 1 — Retrieve the project ID
Log in to the OVHcloud APIv6 interface according to the relevant guide (First steps with the OVHcloud API).
In case the project ID is unknown, the calls below allow you to retrieve it.
To retrieve a list of projects:
To identify the project via the "description" field:
Step 2 — Create the private network with a Gateway
Create your private network and gateway:
Fill in the fields according to the following table.
Info
Repeat for each region where your private instances are present.
To verify the details of your Gateway:
Leave subnetId blank to list all Gateways in the specified region.
Use the OVHcloud CLI to create a private network with a Gateway. Set your cloud project with --cloud-project <project_id> or configure it in your profile.
Create a Gateway with a new private network:
ovhcloud cloud network gateway create <region> \
  --cloud-project <project_id> \
  --name my-gateway \
  --model s \
  --network-name my-network \
  --subnet-cidr 192.168.1.0/24 \
  --subnet-enable-dhcp \
  --wait
Create a Gateway in an existing private network:
ovhcloud cloud network gateway create <region> \
  --cloud-project <project_id> \
  --name my-gateway \
  --model s \
  --network-id <network_id> \
  --subnet-id <subnet_id> \
  --wait
Available models: s, m, l, xl, 2xl, 3xl.
Info
Only single-region private networks are supported by Gateway.
Before proceeding, it is recommended that you consult these guides:
Step 1 — Create a network and subnet
openstack network create my_network

openstack subnet create my_subnet --subnet-range <my_private_ip_range/mask> --network my_network --no-dhcp
Step 2 — List quality of service policies
openstack network qos policy list
+--------------------------------------+---------------+--------+---------+----------------------------------+
| ID                                   | Name          | Shared | Default | Project                          |
+--------------------------------------+---------------+--------+---------+----------------------------------+
| a5524eb5-944e-4106-b209-9478bbdcedab | large_router  | True   | False   | XXXXXXXXXXXXXXXXXXXXXXXXXXXXXXXX |
| c210f5b2-db59-4973-a25f-9131195b6bcf | medium_router | True   | False   | XXXXXXXXXXXXXXXXXXXXXXXXXXXXXXXX |
| ec0ee74d-a1f3-43f6-87aa-b0e69ef8ce45 | small_router  | True   | False   | XXXXXXXXXXXXXXXXXXXXXXXXXXXXXXXX |
+--------------------------------------+---------------+--------+---------+----------------------------------+
Step 3 — Create the router and configure the Gateway
openstack router create my_router

openstack router add subnet my_router my_subnet

openstack router set --external-gateway Ext-Net --qos-policy QOS_ID_OF_YOUR_CHOICE my_router
If you omit the --qos-policy parameter the "small" quality of service will be applied.
Before proceeding, consult our How to Use Terraform guide.
Create a Terraform file (e.g., private_network_gateway.tf) with the following information:
# Create a Private Network
resource "ovh_cloud_project_network_private" "mypriv" {
  service_name  = "my_service_name"  # Replace with your OVHcloud project ID
  vlan_id       = "0"             # VLAN ID (usually 0)
  name          = "mypriv"
  regions       = ["US-EAST-VA-1"]
}
# Create a private subnet
resource "ovh_cloud_project_network_private_subnet" "myprivsub" {
  service_name  = ovh_cloud_project_network_private.mypriv.service_name
  network_id    = ovh_cloud_project_network_private.mypriv.id
  region        = "US-EAST-VA-1"
  start         = "10.0.0.2"
  end           = "10.0.255.254"
  network       = "10.0.0.0/16"
  dhcp          = true
}
# Create a custom gateway
resource "ovh_cloud_project_gateway" "gateway" {
  service_name = ovh_cloud_project_network_private.mypriv.service_name
  name         = "my-gateway"
  model        = "s"  # Gateway model ("s" for small, "m" for medium, etc.)
  region       = ovh_cloud_project_network_private_subnet.myprivsub.region
  network_id   = tolist(ovh_cloud_project_network_private.mypriv.regions_attributes[*].openstackid)[0]
  subnet_id    = ovh_cloud_project_network_private_subnet.myprivsub.id
}
You can create your resources by entering the following command:
