
Migrating an Additional IP (Public Cloud)
Learn how to migrate an Additional IP from one OVHcloud Public Cloud instance to another.
Being able to migrate IP addresses generally limits or removes the possibility that your service becomes unavailable. For example, you can effectively update a whole website to a new version or you can keep a replicated server active while running maintenance or installing updates on your production server.
Requirements
- at least two Public Cloud instances in your OVHcloud account
- an Additional IP address
- access to the OVHcloud Control Panel
Instructions
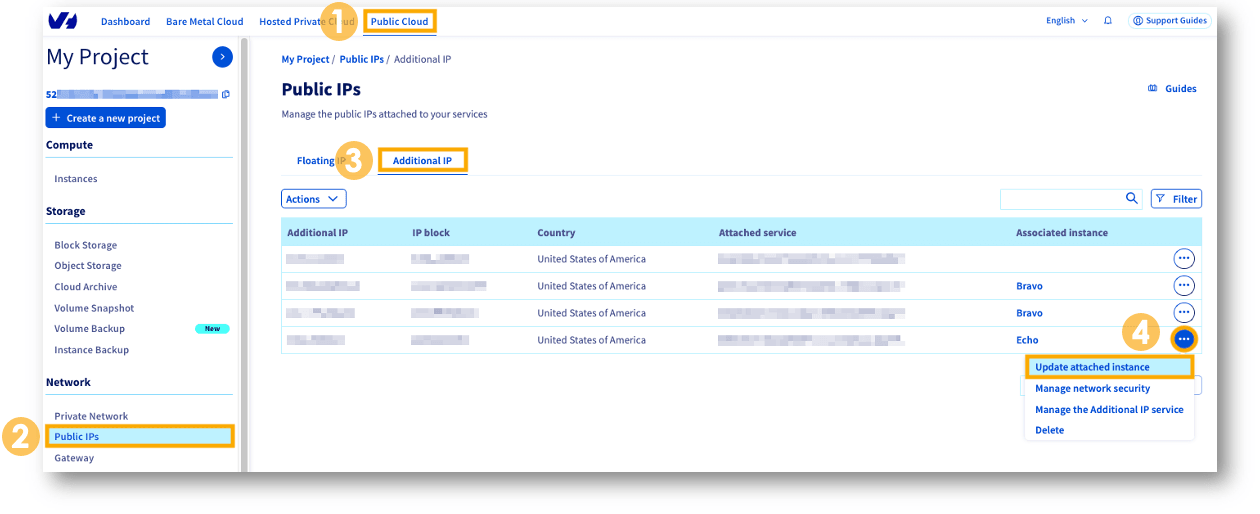
From the OVHcloud Control Panel:
- Select your project from the
Public Cloudsection. - In the left-hand menu, open
Public IPsunder Network. - Click on the
Additional IPtab. - Click on the more options
...button in the row of the Additional IP and selectUpdate attached instance.
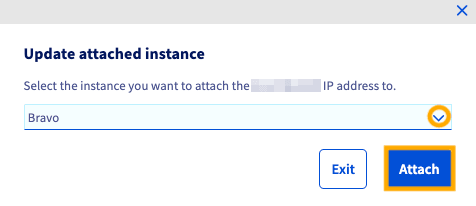
In this example, the Additional IP address routed to "Echo" will be migrated to "Bravo".
Click on the drop-down menu to choose the destination instance from the list.
Confirm by clicking on Attach.
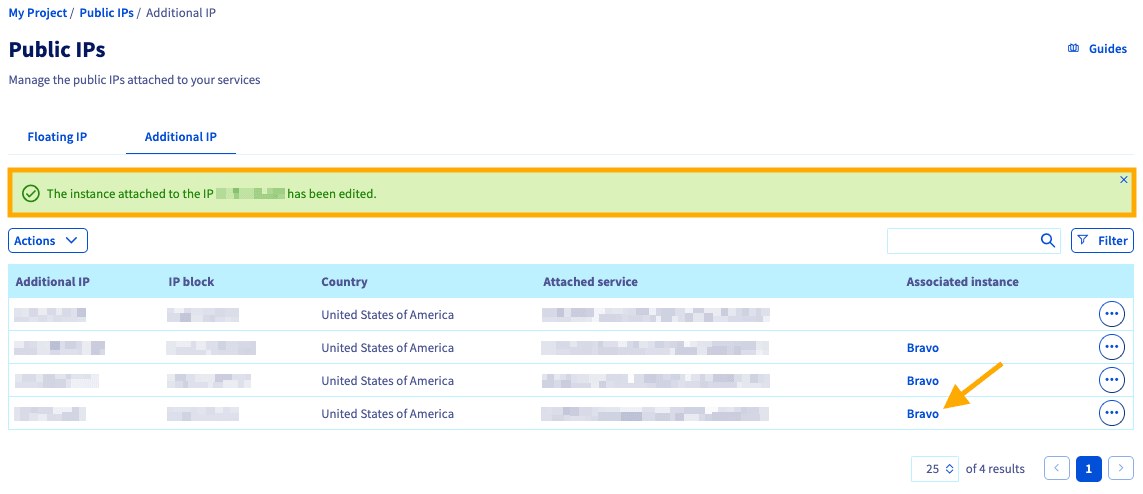
After a few seconds, the Control Panel will be updated and a confirmation message will be displayed if the migration was done successfully.
The Additional IP can be configured on the destination server before or after carrying out the migration. If it is preconfigured, it will begin to respond as soon as the routing operation is completed.
Go further
Browse all the Networking guides.
Browse the rest of the OVHcloud US documentation for guides on our other products and services.
Learn more about Public Cloud Network on the OVHcloud US website.