
How to Remove the OVHcloud KMS from Your Windows VMs in vSphere
When you install Windows VMs from OVHcloud templates in vSphere, they will automatically be licensed through the OVHcloud KMS. If you wish to use your own license instead, but have already installed your VMs using an OVHcloud template, you can follow the steps in this article to remove the OVHcloud KMS.
Prerequisites
- Windows VMs installed on vSphere with OVHcloud templates
Topics
Uninstalling the KMS License
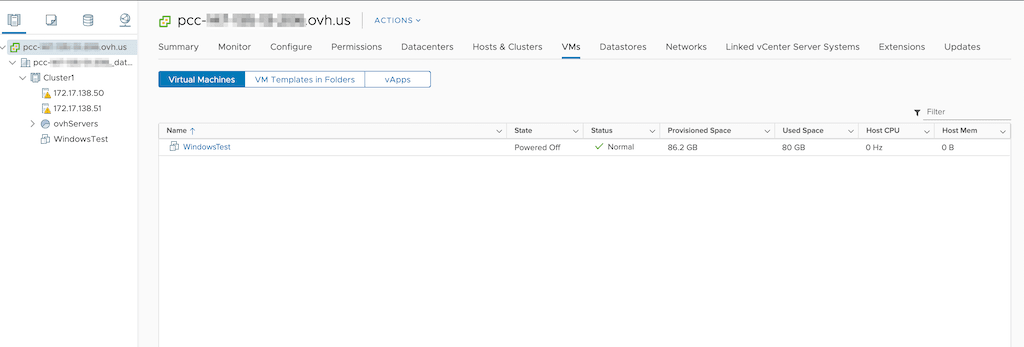
To uninstall the KMS key from your VM, first log into the vSphere Web Client. From your main PCC menu, click the VMs tab and select the VM from which you wish to remove the KMS license from your list of VMs.
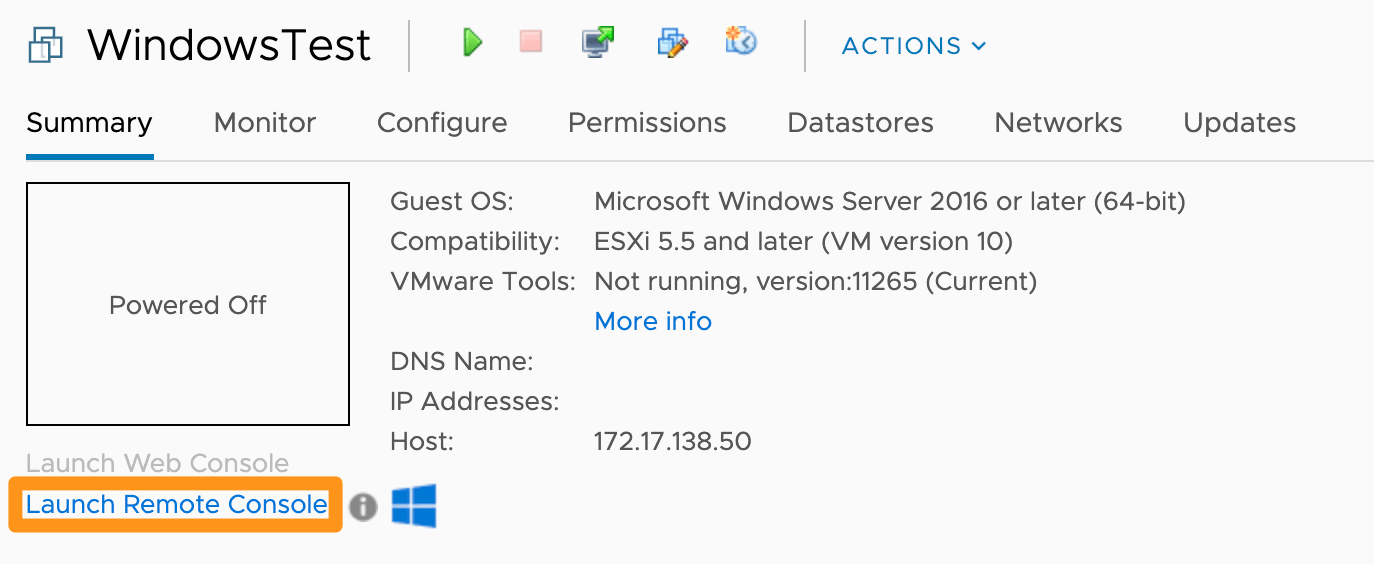
Next, enter the remote console of the VM on which you wish to remove the KMS licensing.
Log into Windows and open a command prompt session by typing cmd into the search bar and hitting ENTER. Use the following command to access the System32 directory.
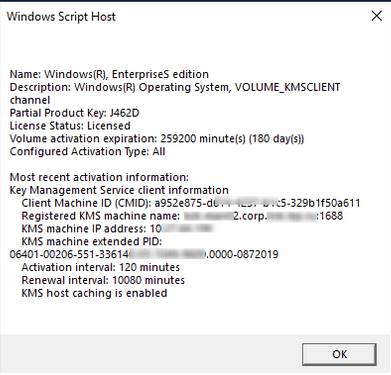
Display and take a screenshot of the KMS information before removing it by running the following command:
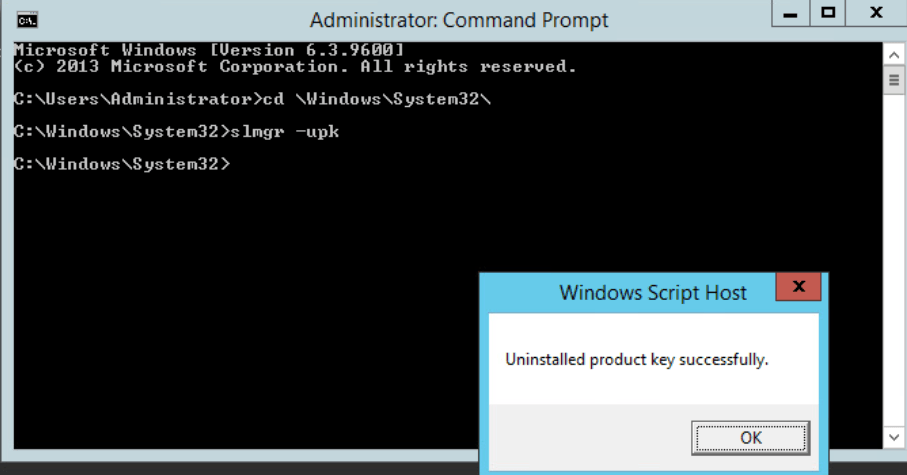
Uninstall the KMS host key by running the following command:
Next, take another screenshot of the KMS information to show that the product key is now absent using the following command:
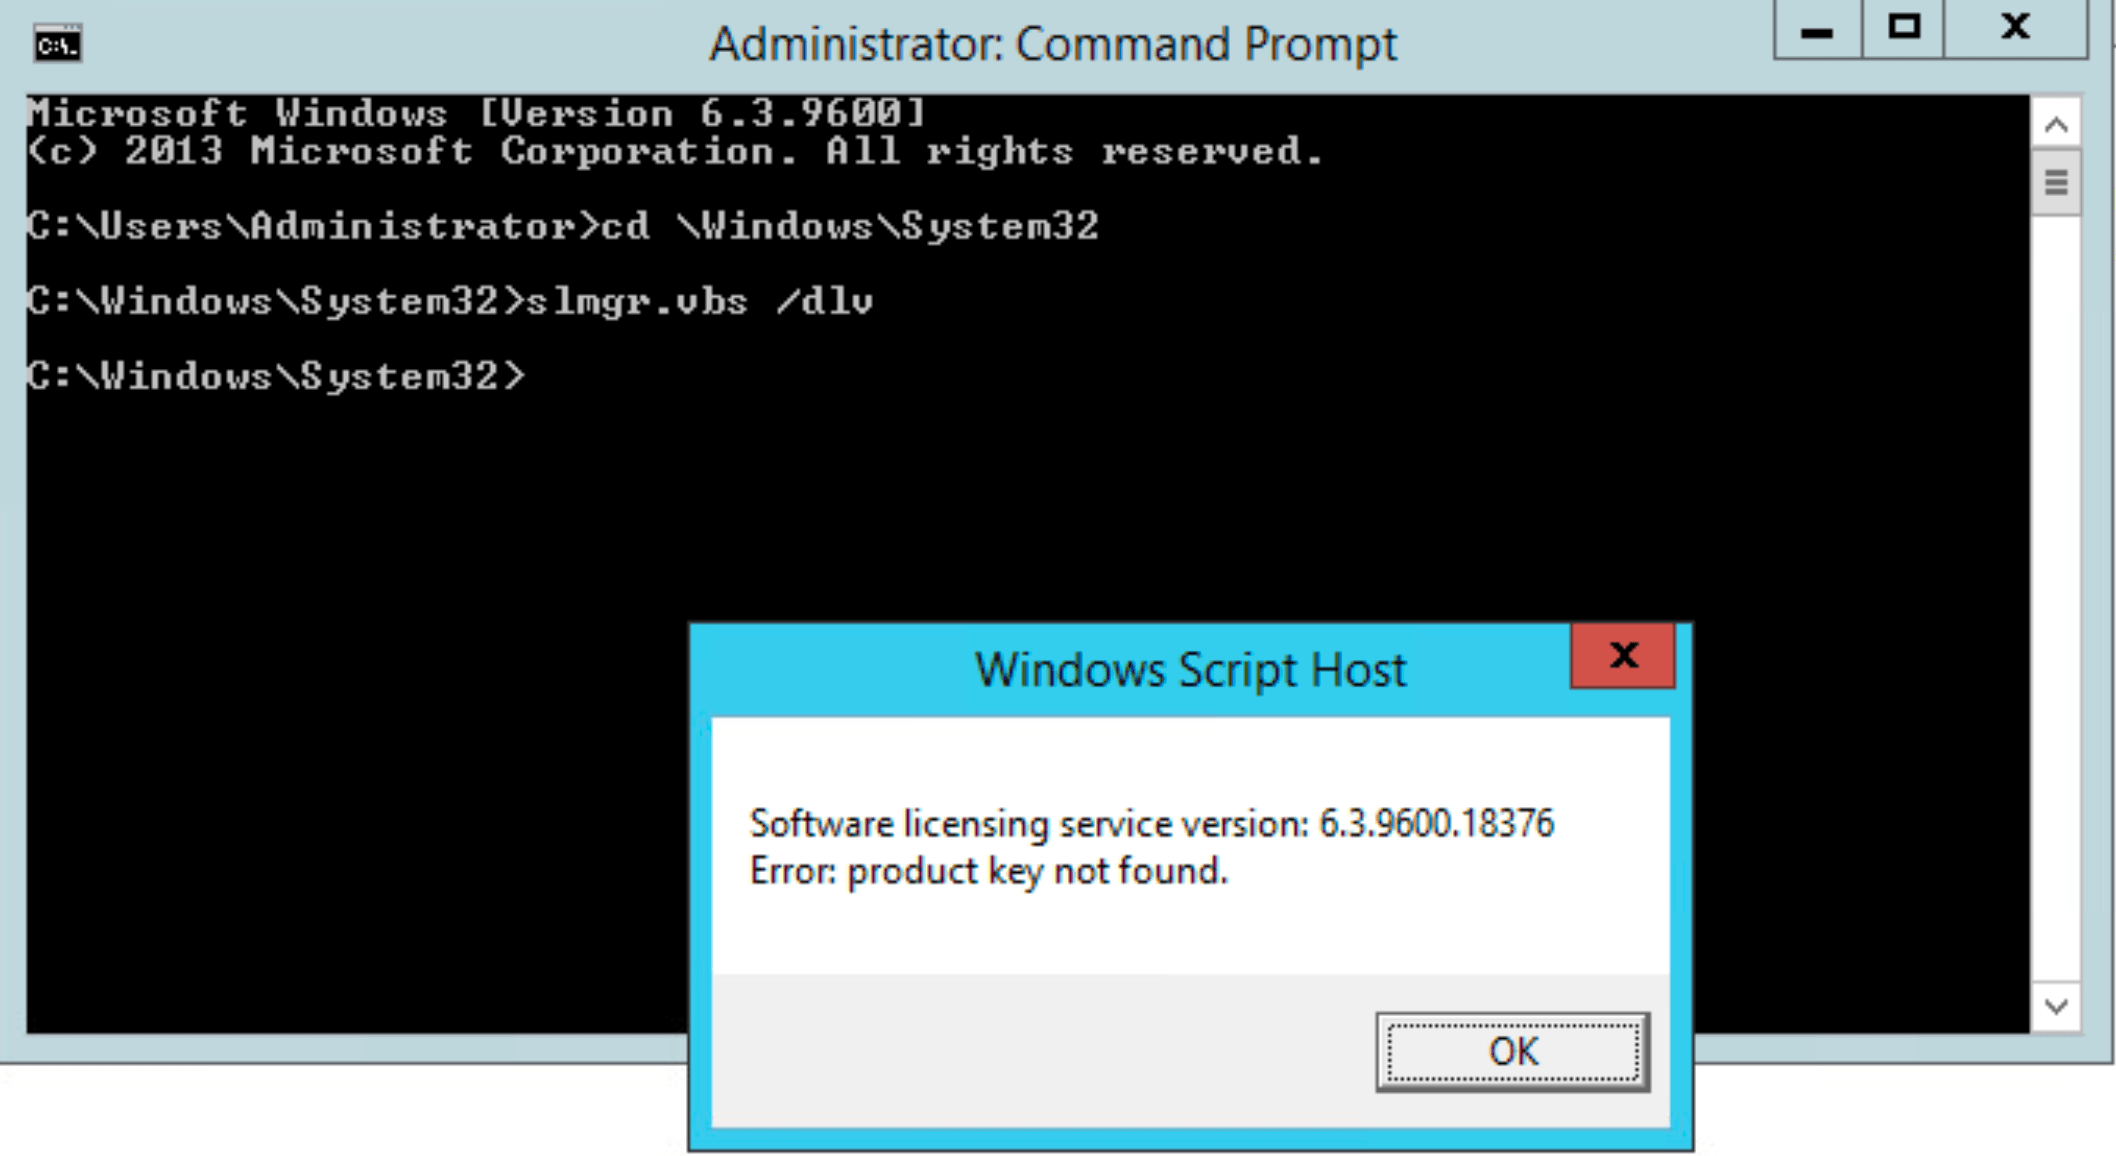
Next, we'll take a look at uploading the screenshots to OVHcloudShare and finally sending this information to OVHcloud US Support to have the KMS removed permanently.
Uploading Screenshots to OVHcloudShare
In order to upload the screenshots to OVHcloudShare, please check out our How to Use OVHcloudShare article.
Once you have finished uploading your screenshots and have ensured that you have the correct URLs for each image, proceed to the next step.
Contacting OVHcloud US Support
The final step is to contact OVHcloud US Support and request that SPLA be removed from the VM. To do so, please submit a support ticket in accordance with our How to Contact OVHcloud US Support article. Make sure you include the OVHcloudShare links that were uploaded in the previous step, the hostname of your PCC (e.g., pcc-203-0-113-1), and the request to remove SPLA.
Conclusion
Having read this article, you should be able to remove the OVHcloud KMS from your Windows VMs on your OVHcloud infrastructure.