
Exploring the OVHcloud APIs
Learn how to navigate the OVHcloud API on our console.
The OVHcloud APIs allow you to purchase, manage, update, and configure OVHcloud products without using a graphical interface such as the OVHcloud Control Panel.
Requirements
- An active, accessible OVHcloud account.
Instructions
NOTE: OVHcloud is providing you with services for which you are responsible, with regard to their configuration and management. You are therefore responsible for ensuring they function correctly.
This guide is designed to assist you in common tasks as much as possible. Nevertheless, we recommend contacting a specialized provider and/or the software publisher for the service if you encounter any difficulties.
Signing in to OVHcloud APIs
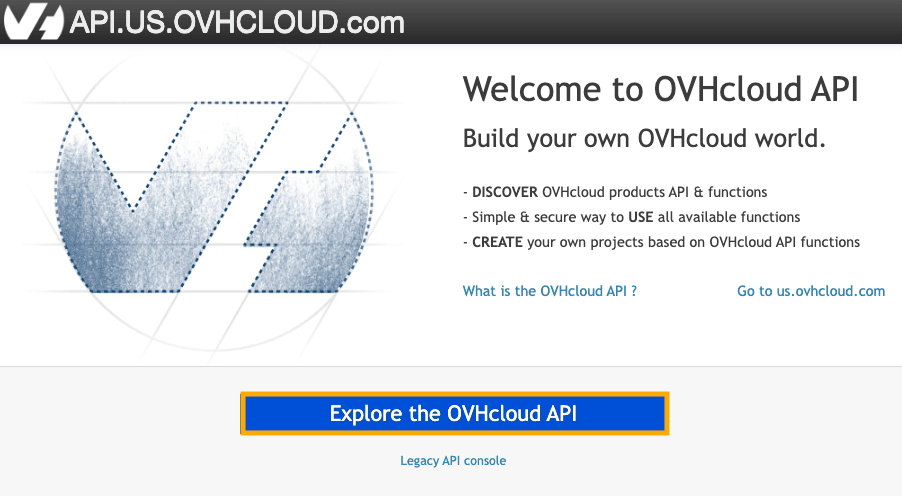
On the OVHcloud API page, click Explore the OVHcloud API to view the list of APIs.
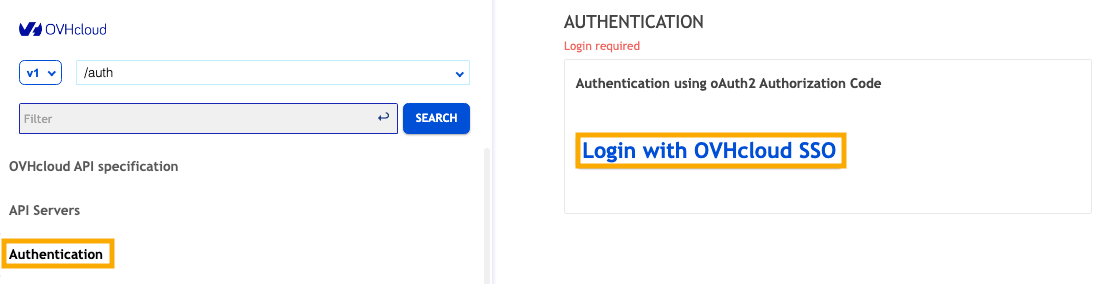
You can browse the API console without an account, but you must sign in to execute calls on your own products. On the following page, select Authentication in the upper left and then click Login with OVHcloud SSO. For more details on logging into the OVHcloud API or how to create tokens or application keys, see this guide.
If your OVHcloud account is protected by two-factor authentication, you will also need to enter the code generated by SMS or an OTP mobile application or U2F key.
Exploring the available products on OVHcloud APIs
Selecting the API branch
Several branches of OVHcloud APIs are available:
- V1: the API available at https://api.us.ovhcloud.com/console/?section=%2Fauth&branch=v1
- V2: the new OVHcloud API, available at https://api.us.ovhcloud.com/console/?section=%2Faccount&branch=v2
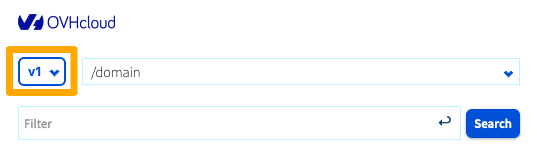
The API branch can be selected using the drop-down menu in the upper left.
Selecting the API section
Once you have chosen an API branch, you can browse the different sections of the selected branch. The sections are sorted in alphabetical order and, by default, the first section is displayed.
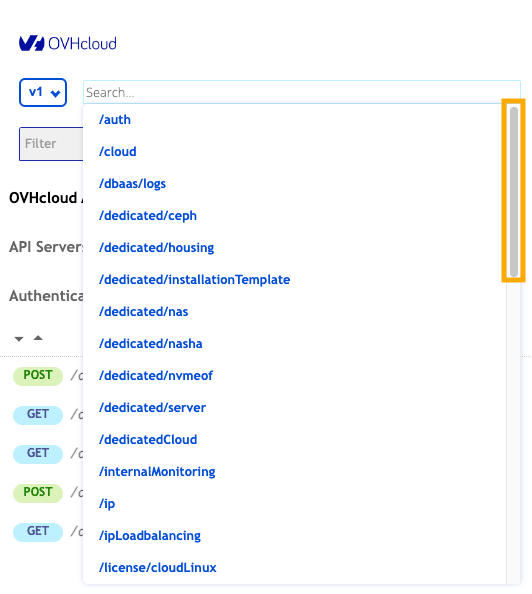
You can choose a section in the drop-down menu just next to the branch-selection one. It is possible to filter out the list of sections by typing the name of the desired section.
Once you have selected an API section, the operations it contains are displayed in the left menu.
Exploring the operations
The list of operations of the selected API section is displayed in the lower part of the left menu.
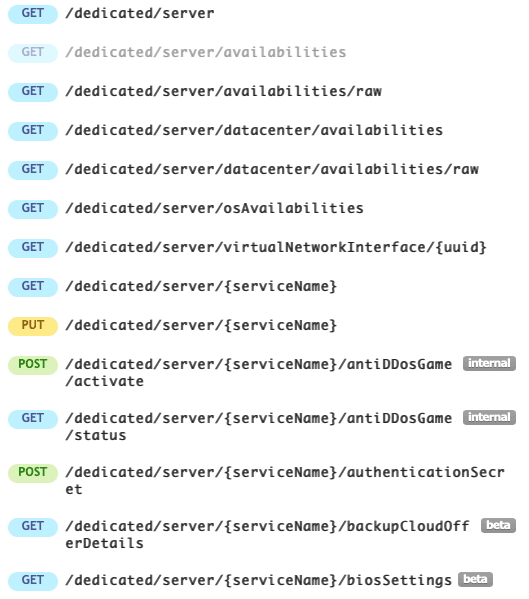
Each line contains the following pieces of information:
- HTTP verb of the operation (GET, PUT, POST, PATCH, DELETE)
- Path of the operation
- Operation's state: If the operation is in state alpha or beta, you will see a badge to the right of the operation's path.

If the operation is deprecated, the path will be greyed out in the list of operations. In the following example, the second operation is deprecated.

Once you select an operation, its detailed information will be displayed on the right side of the page.
This view is divided into four subsections described below.
General information
This subsection contains basic information about the operation:
- State of the operation (e.g. Beta version)
- Description of the operation
- Path of the operation and HTTP verb

Request
This subsection describes the input parameters of the operation. Depending on the operation's parameters, the following information will be displayed:
- Path parameters

The red star located on the left of the parameter's name indicates that this parameter is mandatory to be able to execute the request.
- Header parameters

- Query parameters

- Request body
This subsection describes the request body. The default view shows an example body that can be used in a request. These values can be modified directly in place to try the call with values corresponding to your services.
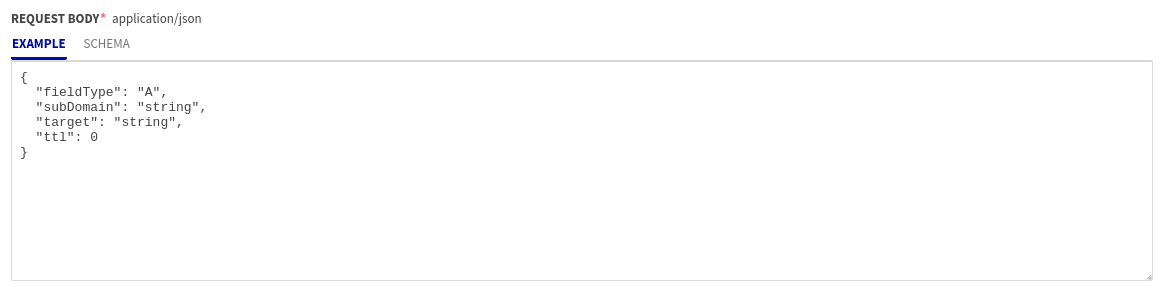
There is also a tab SCHEMA that exposes the details of type, description, and allowed values for each parameter.

Response
This section is similar to the previous one and describes the operation's response.
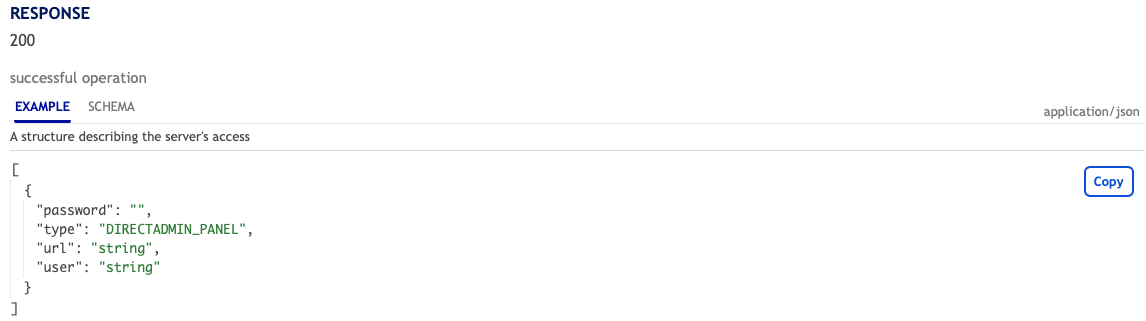
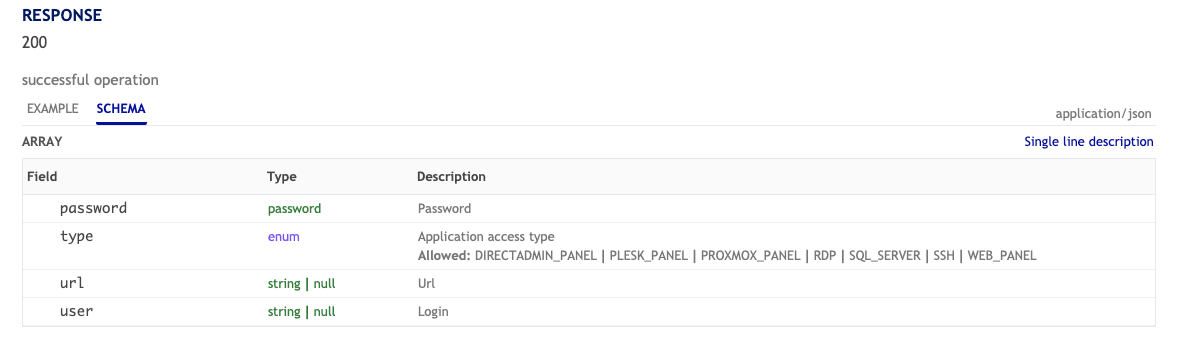
The SCHEMA tab is also available to get the details of the returned fields along with their description.
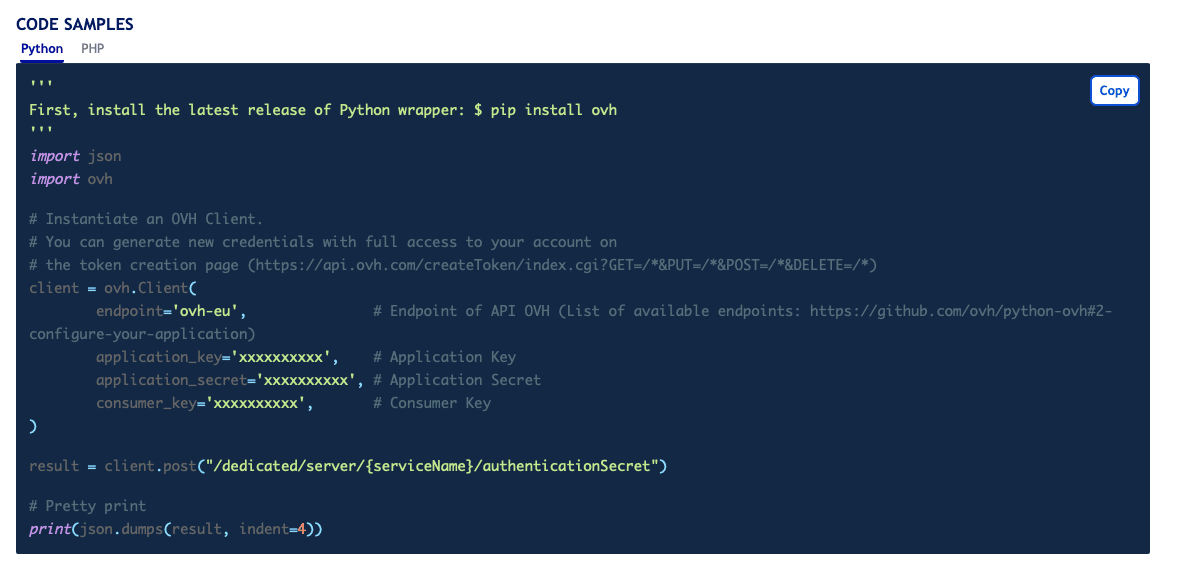
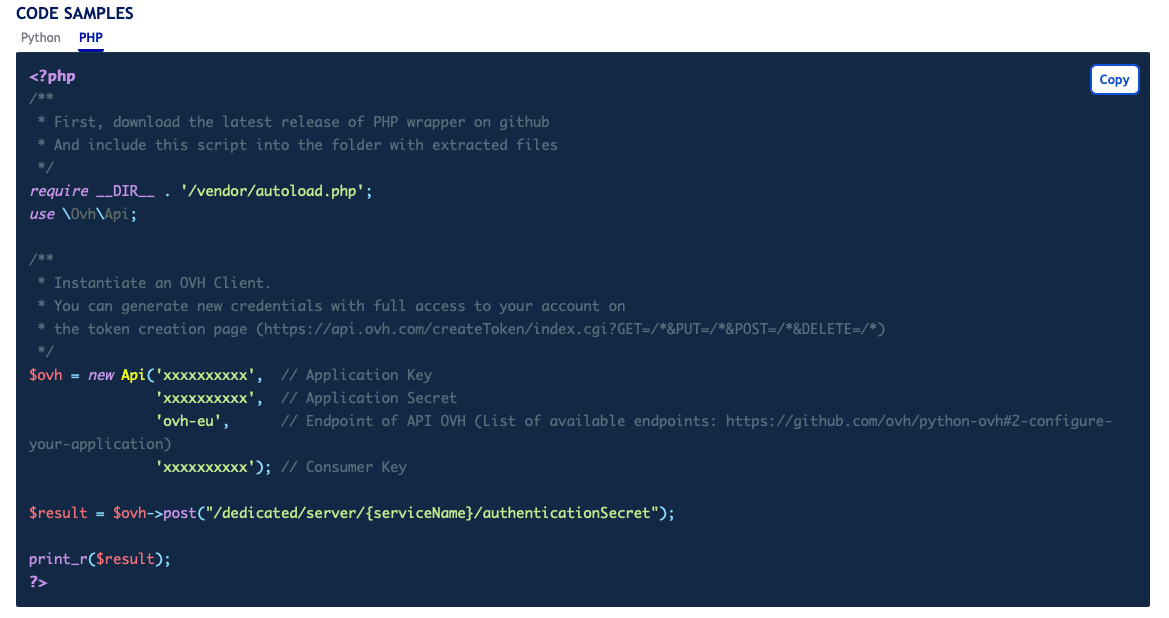
Code samples
This section provides template examples to be used, whether you use Python or PHP language for development.
Advanced search
An advanced search is available by clicking on the Search button in the upper left.
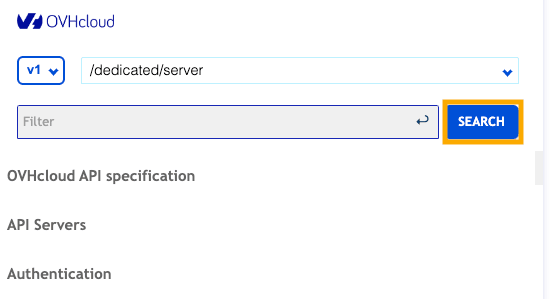
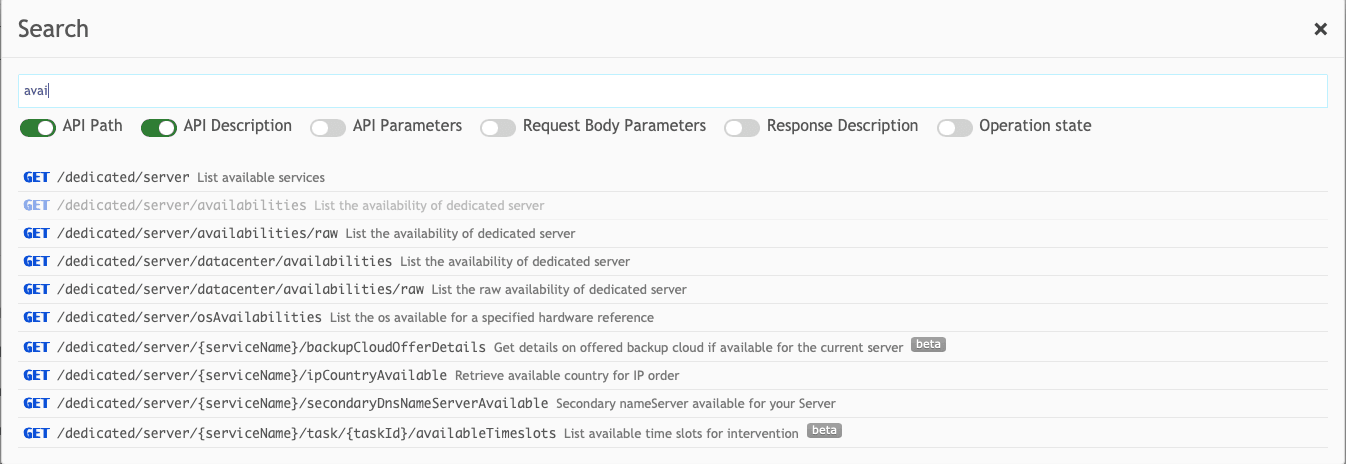
When clicking this button, a popup window is opened allowing you to search through operations with the following criteria:
- Path of the operation
- Description of the API route
- Parameters of the operation
- Fields of the operations's request body
- Description of the operation's response
- State of the operation
Executing requests
From the console, it is possible to interact directly with the API using the TRY button.
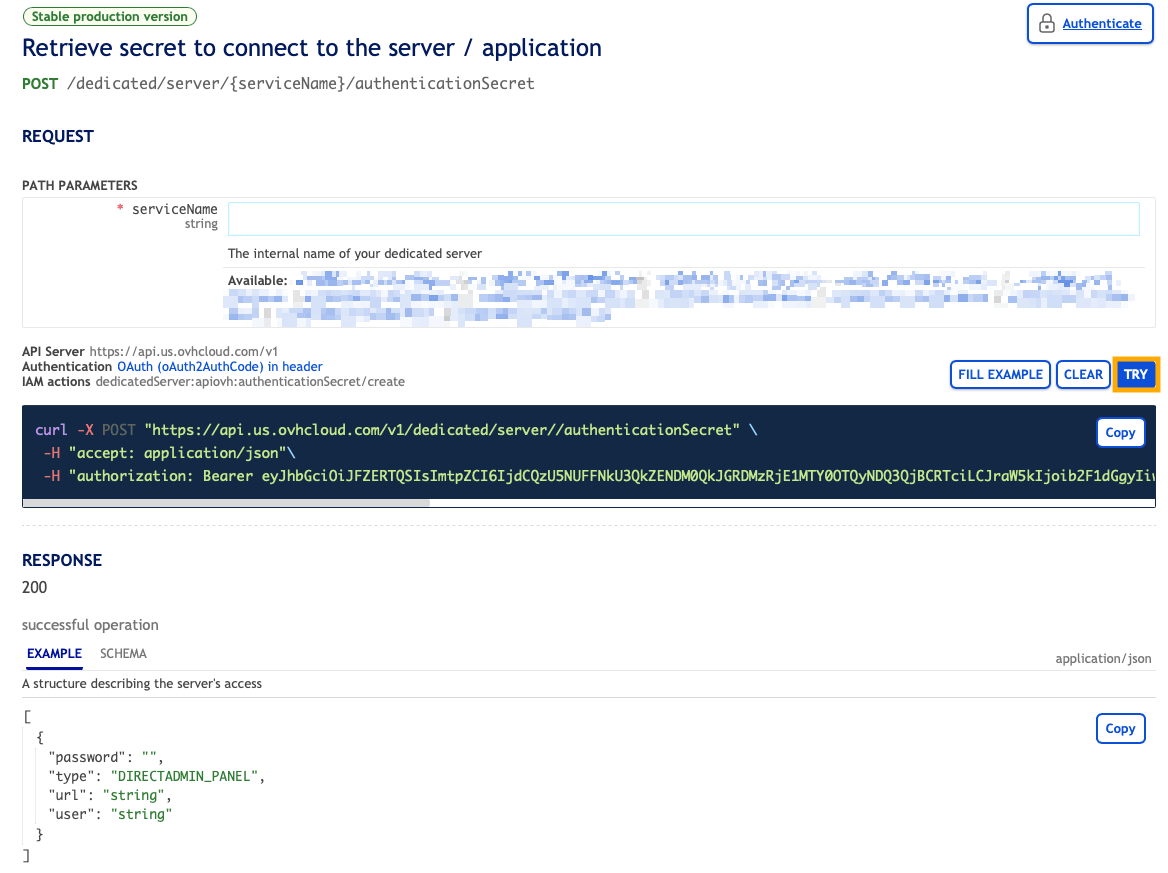
After having set all the required parameters (when necessary), this button allows you to make a real call to the OVHcloud API. When executing the request, the API response is displayed below the operation parameters.
Three tabs are then available:
- RESPONSE: response body of the API
- RESPONSE HEADERS: headers returned by the API
- CURL: shows the equivalent of the request using the tool
curl
Go further
Browse all the API guides.
Browse the rest of the OVHcloud US documentation for guides on our other products and services.