
AI Notebooks - Tutorial - Track your ML models with MLflow inside notebooks
Learn how to integrate MLflow inside AI Notebooks to track and compare your Machine Learning models.
MLflow is an open-source platform for Machine Learning workflow management. You can use this tool for ML model tracking and versioning but also storage and deployment.
- How to use MLflow inside AI Notebooks?
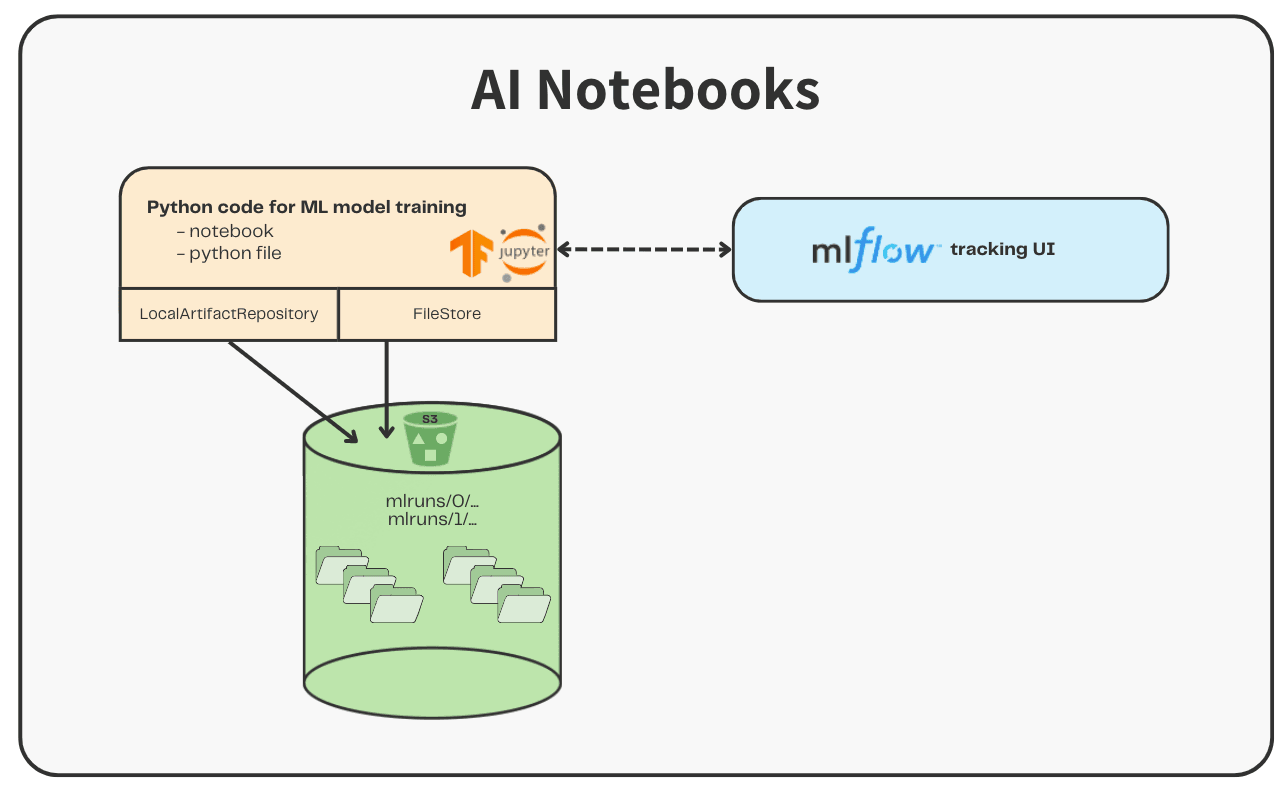
For this purpose, we will compare image classification models: EfficientNets.
EfficientNet models are pre-trained on the ImageNet dataset.
In this context, several EfficientNet models will be trained on the same dataset: (stanford_dogs). The Stanford Dogs dataset contains images of 120 breeds of dogs from around the world.
The different models will be tracked and compared based on their performance thanks to MLflow:
- EfficientNet-b0
- EfficientNet-b1
- EfficientNet-b2
- EfficientNet-b3
- EfficientNet-b4
- EfficientNet-b5
- EfficientNet-b6
- EfficientNet-b7
Requirements
- Access to the OVHcloud Control Panel
- An AI Notebooks project created inside a Public Cloud project in your OVHcloud account
- A user for AI Notebooks
Instructions
You can launch the notebook from the OVHcloud Control Panel or via the ovhai CLI.
Launching a Jupyter notebook with "TensorFlow" via UI (Control Panel)
To launch your notebook from the OVHcloud Control Panel, refer to the following steps.
Code editor
Choose the Jupyterlab code editor.
Framework
In this tutorial, the TensorFlow framework is used. You can choose the 2.12 version: tf2.12-py311-cudaDevel11.8.
Resources
Using GPUs is recommended to train the EfficientNet models.
Here, using 1 GPU is sufficient.
Launching a Jupyter notebook with "TensorFlow" via CLI
If you have not used our CLI yet, follow this guide to install it.
To launch your notebook with the OVHcloud AI CLI, choose the jupyterlab editor and the tensorflow framework.
To access the different versions of tensorflow available, run the following command:
Here, you can use the version 2.12 of TensorFlow (tf2.12-py311-cudaDevel11.8).
You will also need to choose the number of GPUs to use in your notebook, using <nb-gpus>.
To launch your notebook, run the following command:
You can then reach your notebook’s URL once the notebook is running.
Accessing the notebooks
Once our AI examples repository has been cloned in your environment, find the fine-tuning notebook tutorial by following this path: ai-training-examples > notebooks > go-further > mlflow > notebook-tutorial-mlflow-integration.ipynb.
A preview of this notebook can be found on GitHub here.
Go further
Browse all the AI & Machine Learning guides.
Browse the rest of the OVHcloud US documentation for guides on our other products and services.
Learn more about AI & Machine Learning on the OVHcloud US website.
If you need training or technical assistance to implement our solutions, contact your sales representative or click on this link to get a quote and ask our Professional Services experts for a custom analysis of your project.