
How to Manage Licenses for Nutanix
Find out how to activate or deactivate your licenses in the BYOL offer.
NOTE: Within the Nutanix on OVHcloud portfolio, OVHcloud offers the BYOL (Bring Your Own License) solution, which means that you, as an OVHcloud customer, must provide the Nutanix Cloud Platform licenses on your cluster.
When the Nutanix cluster is ordered within the BYOL offer, the cluster is delivered with a 90-day trial license. As a customer, you must register your Nutanix Cloud Platform licenses on your cluster during this period.
If you want to redeploy a cluster with the BYOL offer, you must first uninstall the licenses on the cluster before launching a redeployment. This guide explains how to add or remove licenses.
Requirements
- Access to the OVHcloud Control Panel
- You must have your Nutanix login details on Nutanix Official Site.
- You must have valid licenses with your Nutanix NIC handle.
Instructions
There are three types of licenses:
- Prism Element
- Prism Central
- Add-ons
You can install all licenses from Prism Central.
Installation of licenses
Retrieving your configuration summary
We will retrieve the Cluster Summary File (CSF), which contains the cluster configuration summary.
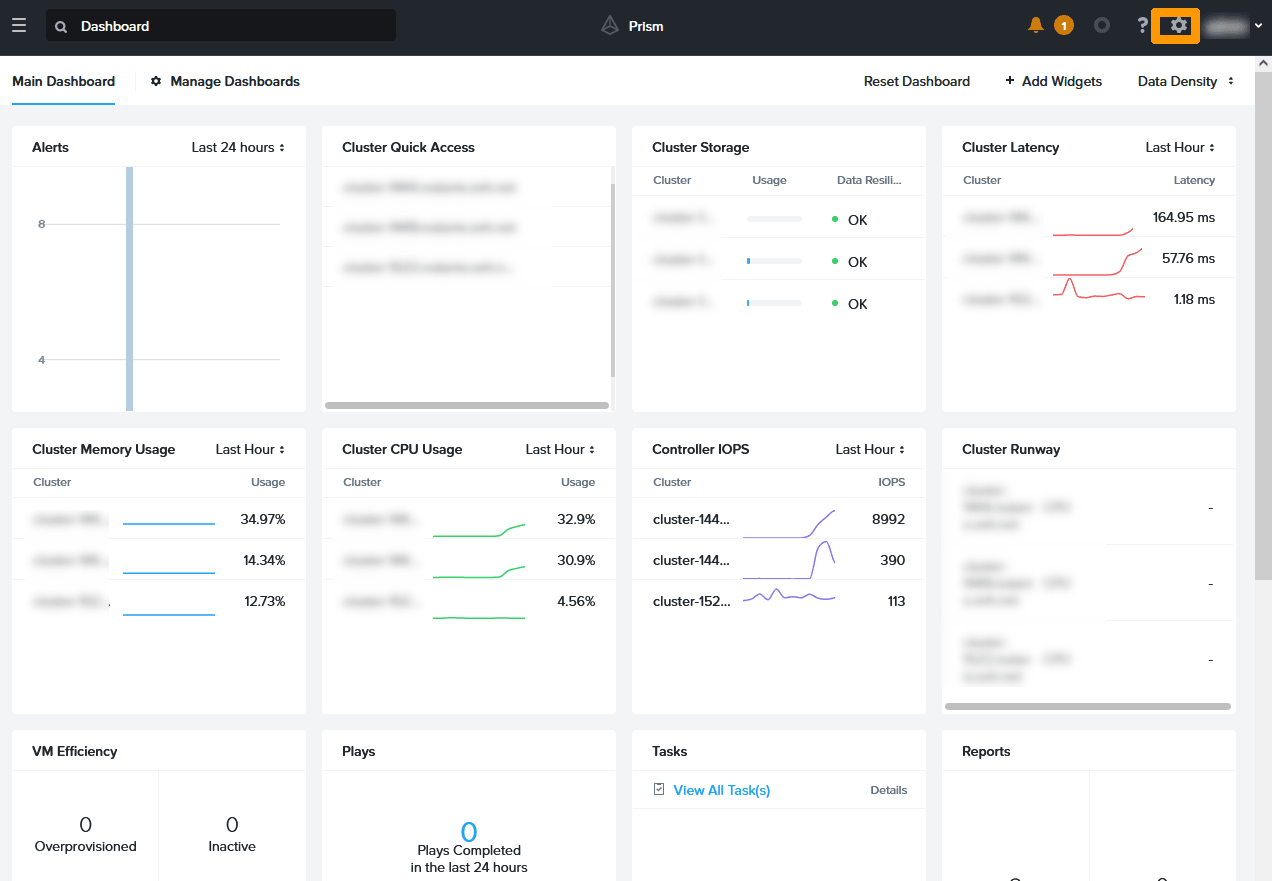
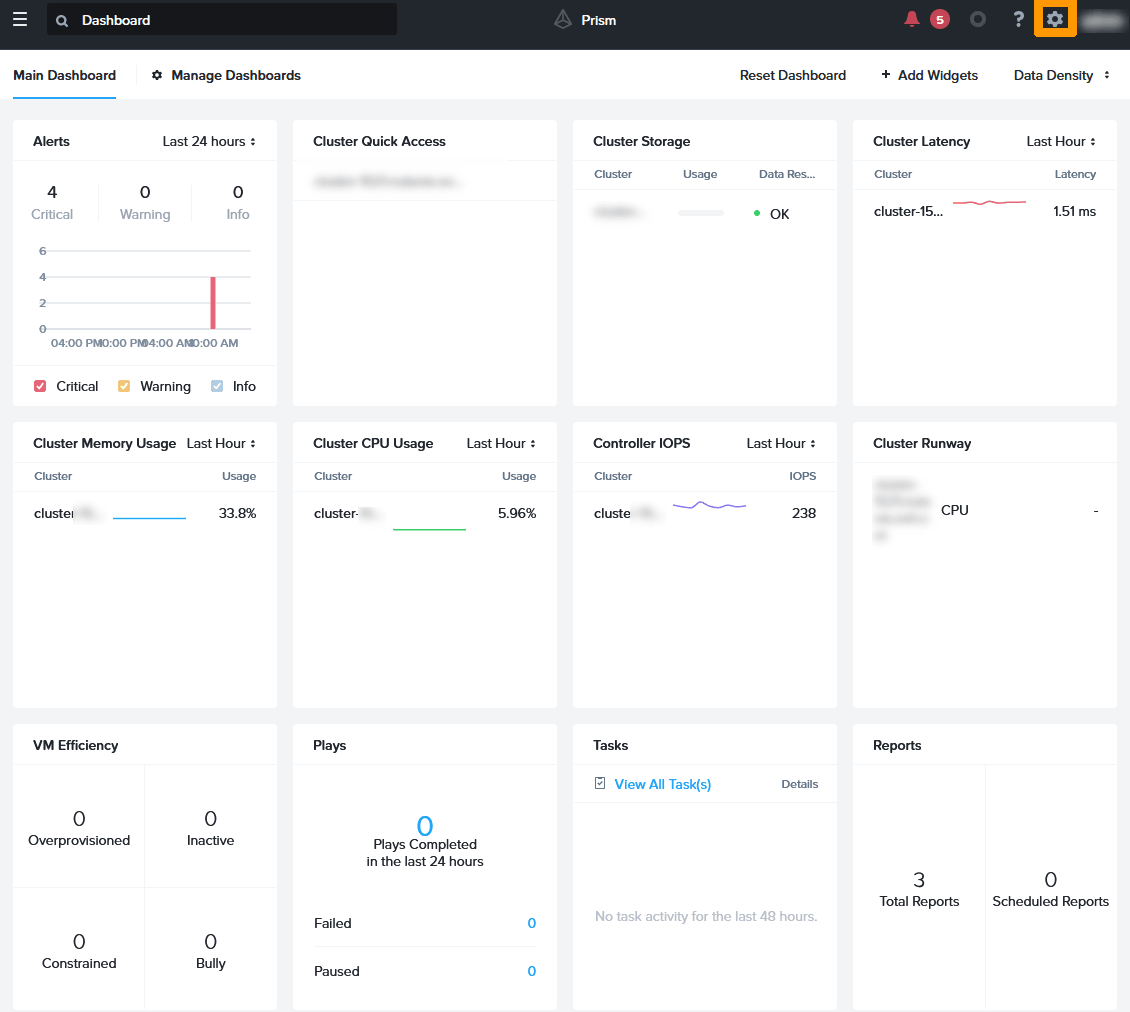
In Prism Central, click the gear icon to go to the settings.
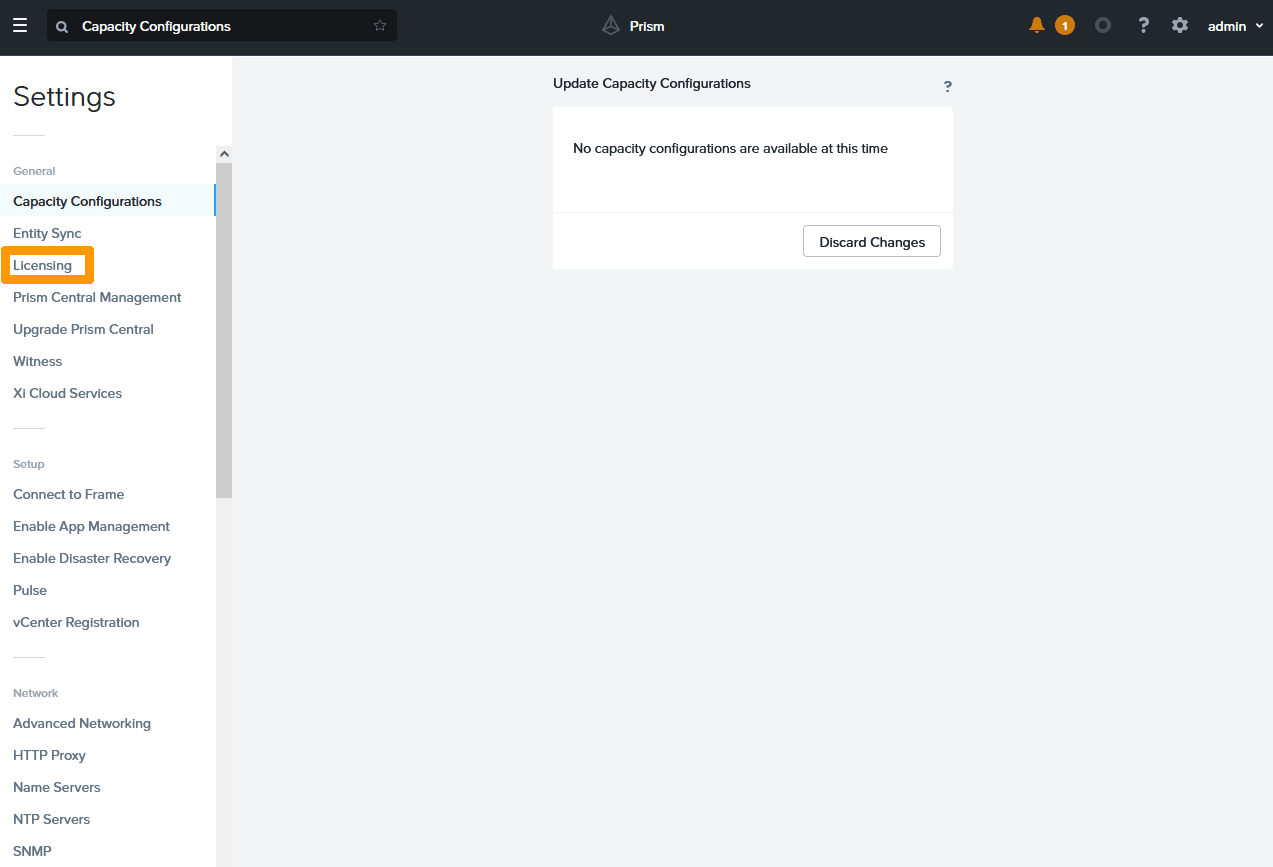
Click Licensing on the left.
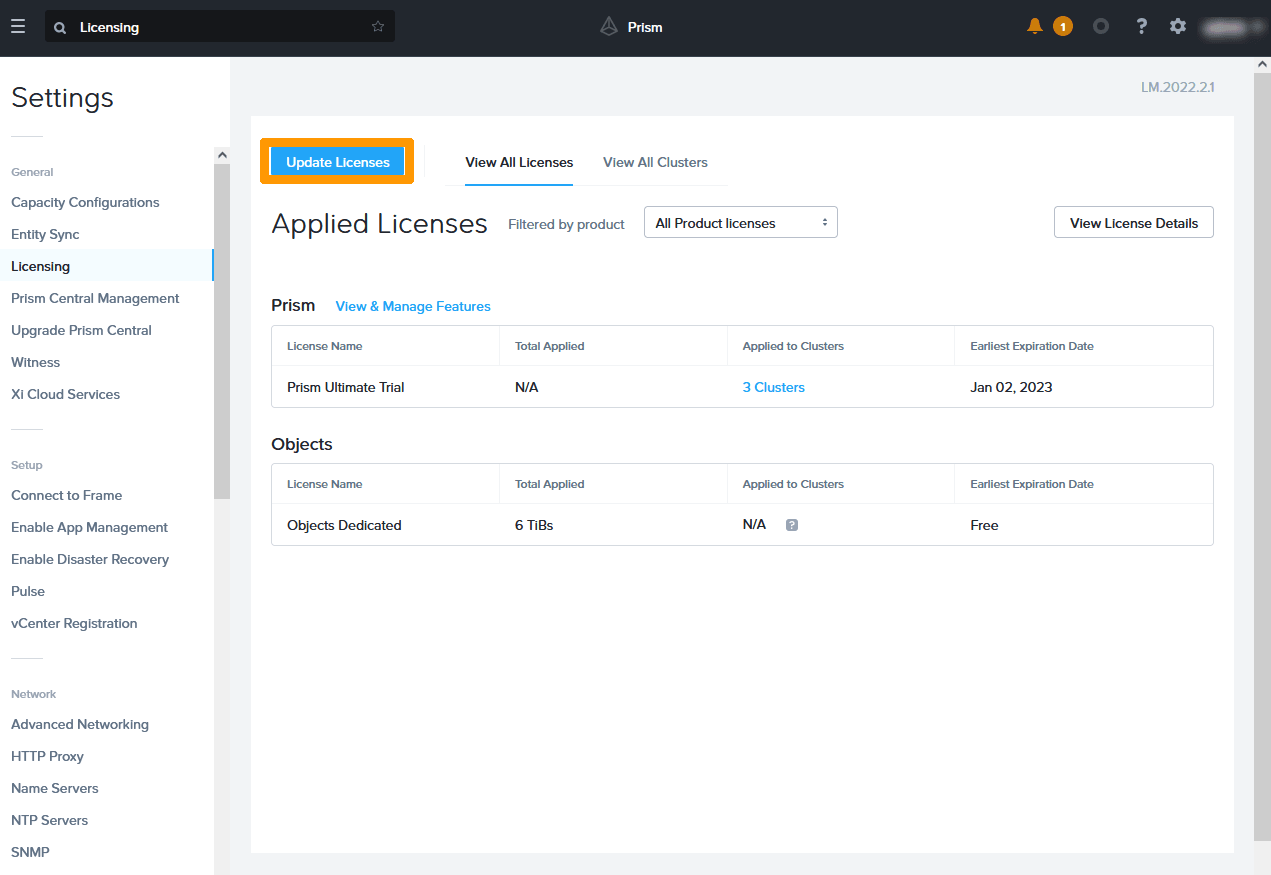
Click Update Licenses on the left.
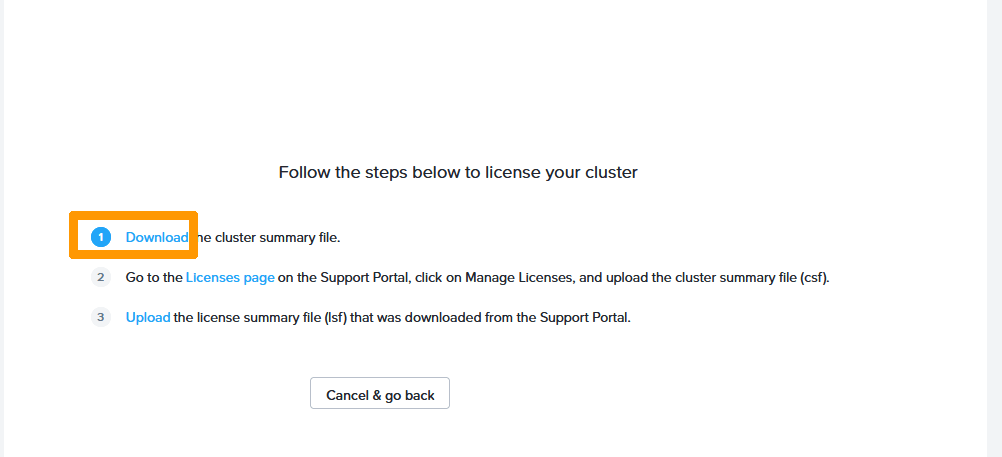
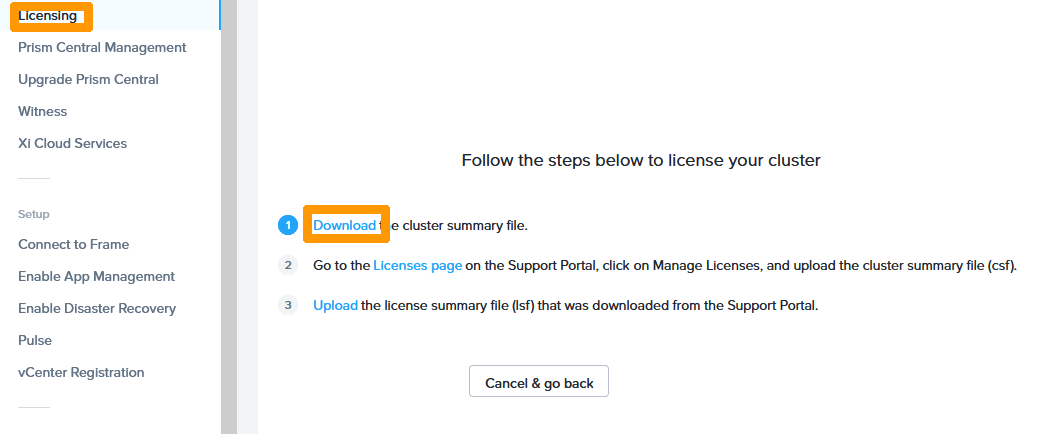
Click Download to retrieve the file containing your cluster’s information.
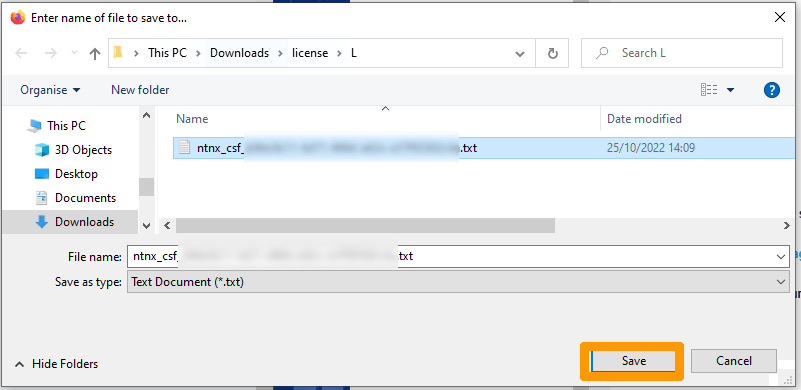
Click on Show all downloads in the top right.
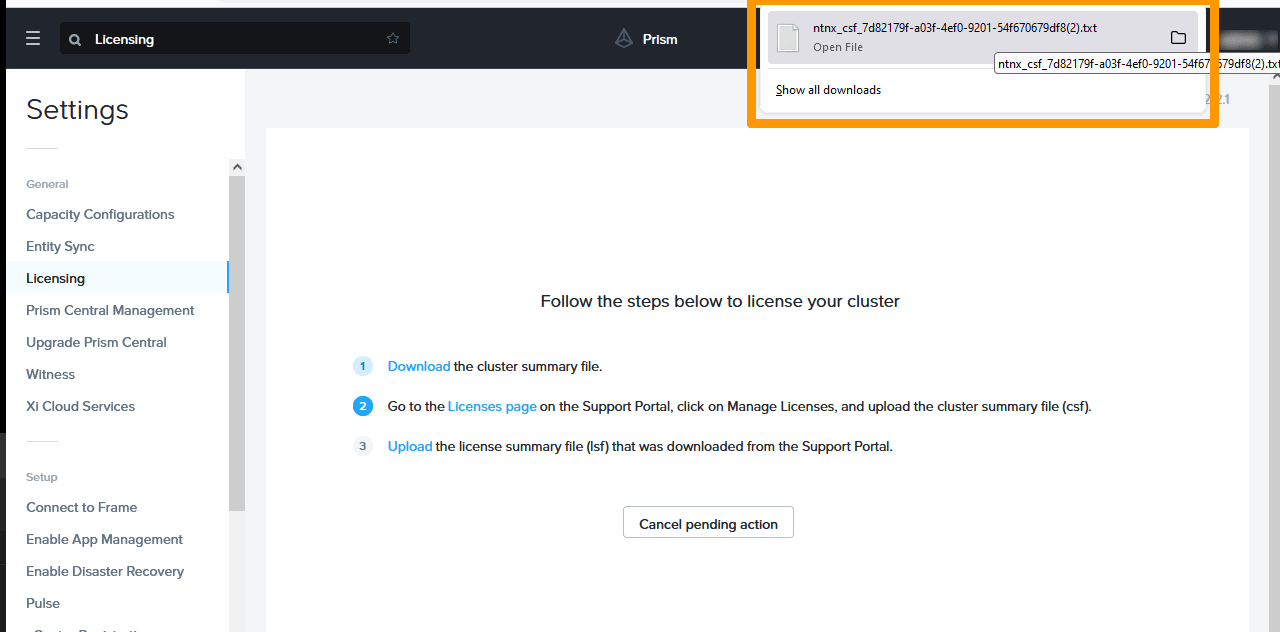
The CSF file is in your downloads folder.

Logging in to the Nutanix portal
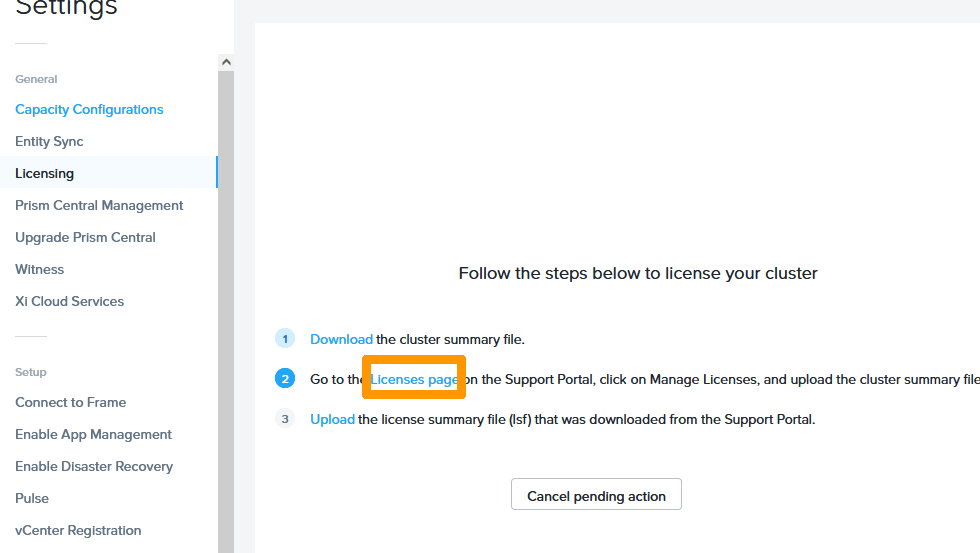
In Prism Central, go to the licenses page and click the Licenses page link.
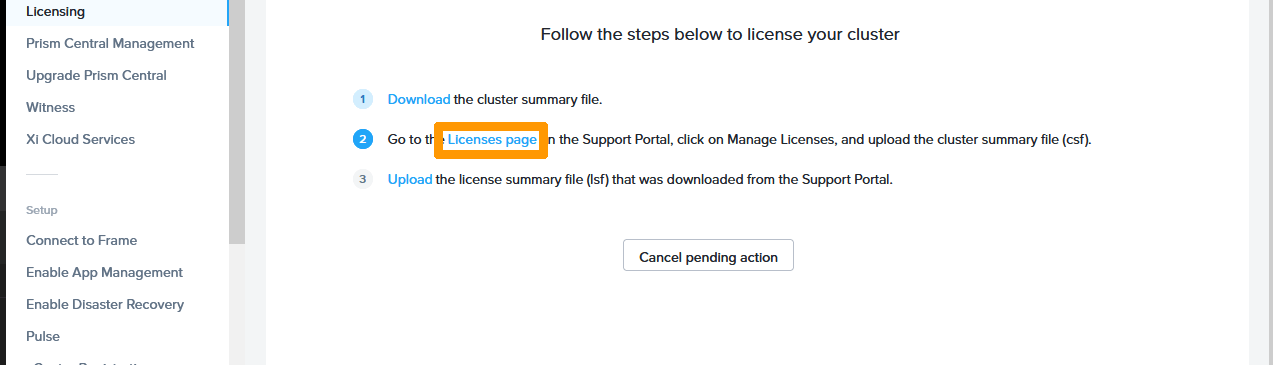
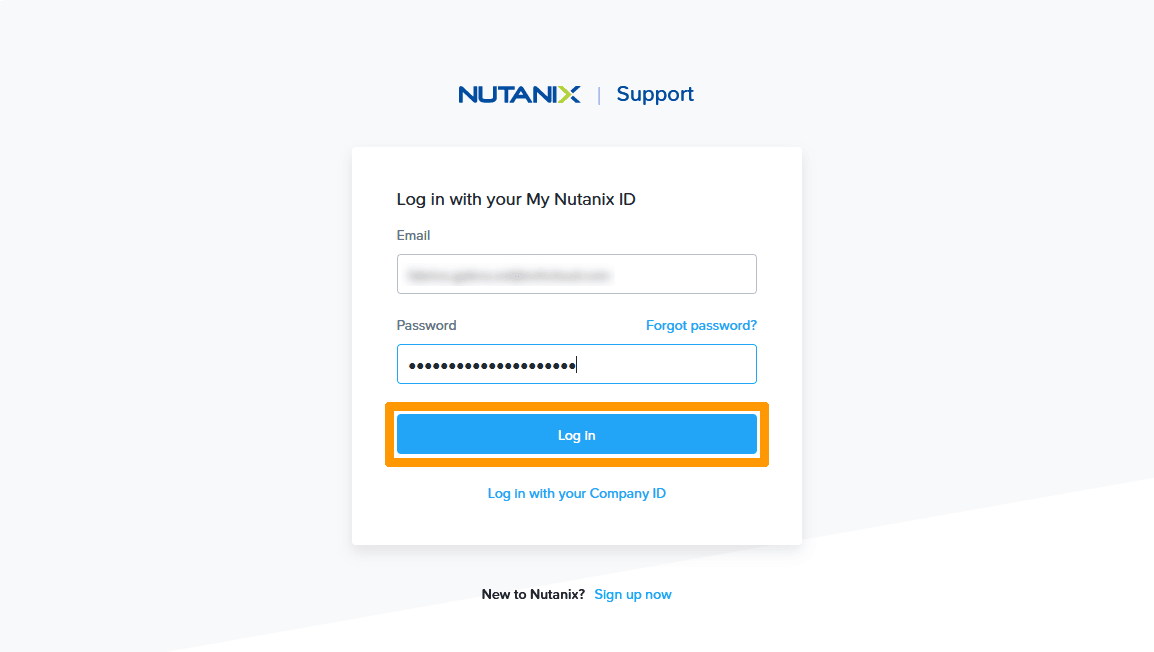
The web browser launches and offers you to connect to the Nutanix portal.
Enter your credentials and click Log In.
Create the license for your cluster
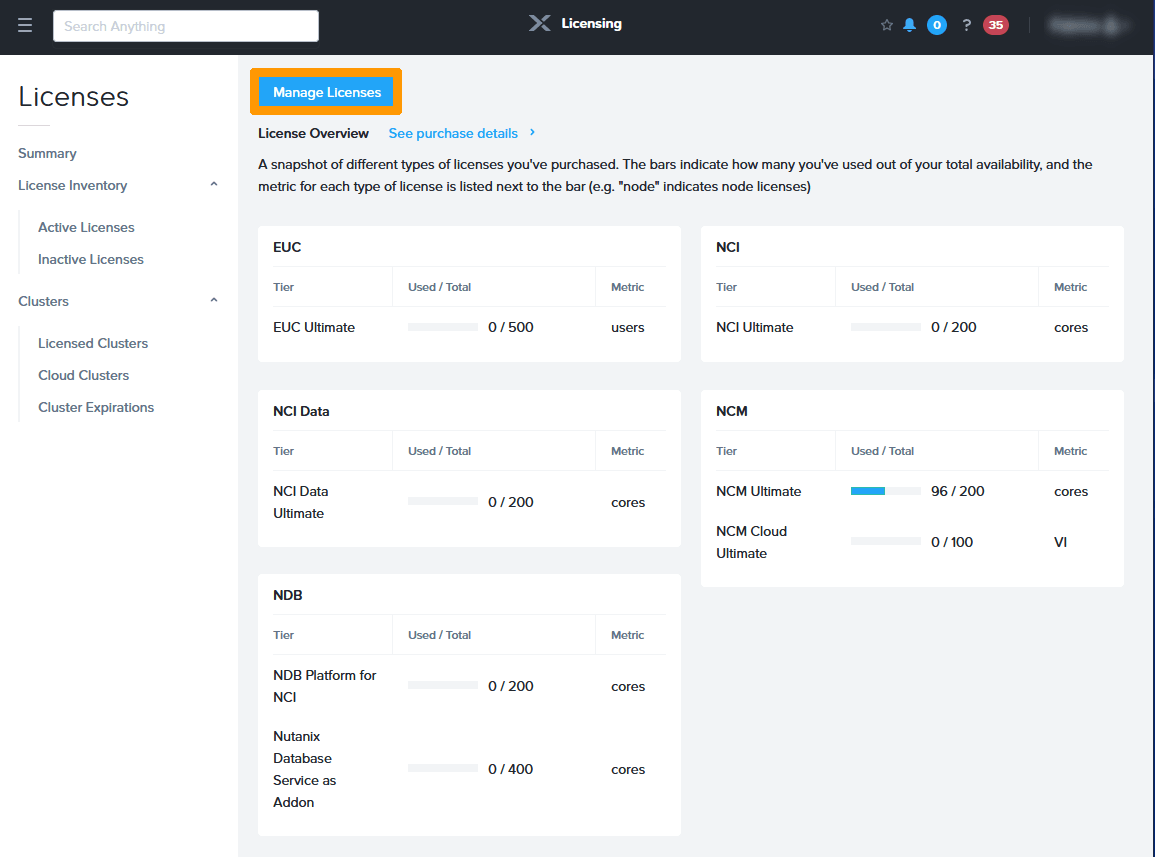
In the Nutanix Control Panel, click Manage Licenses.
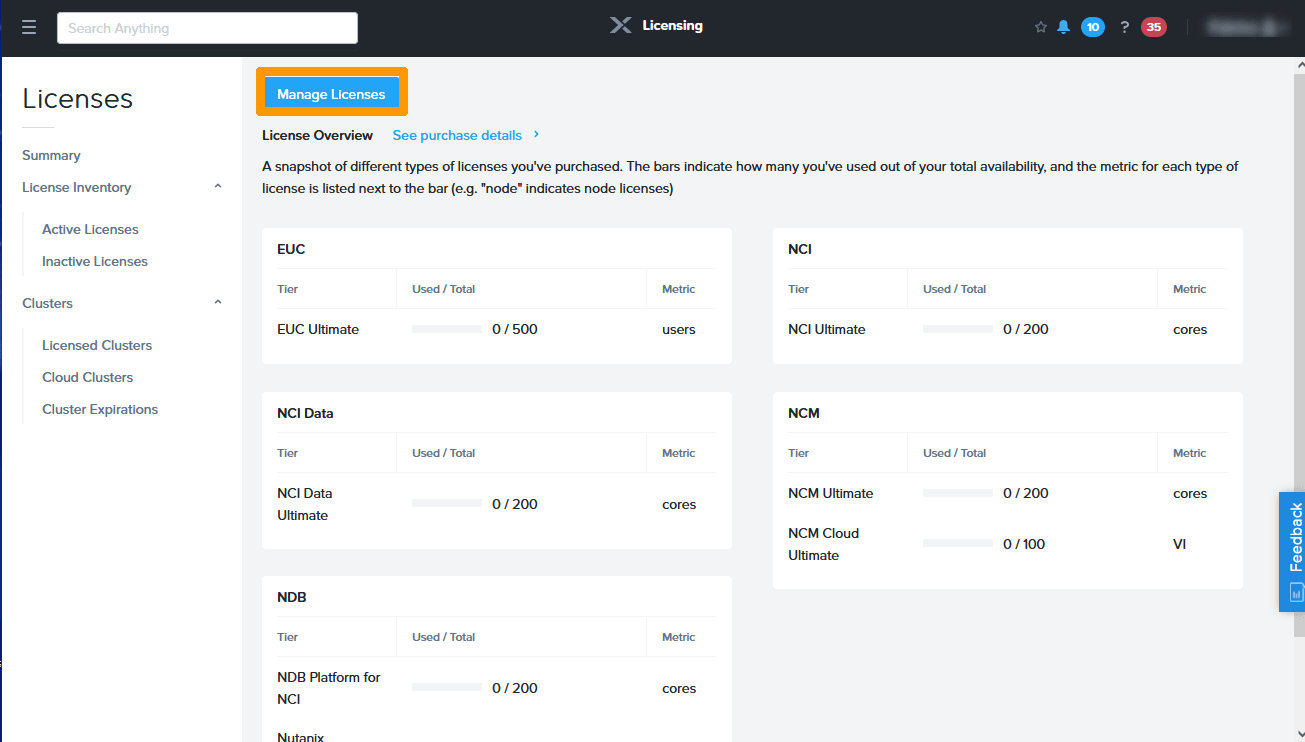
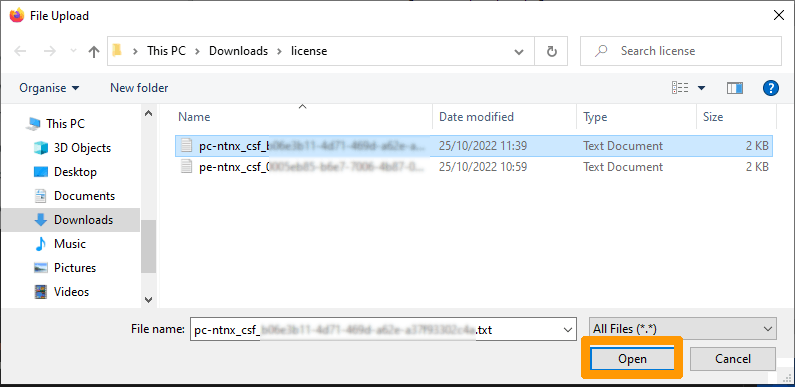
Open the CSF file generated by Prism Central that starts with ntnx_csf....
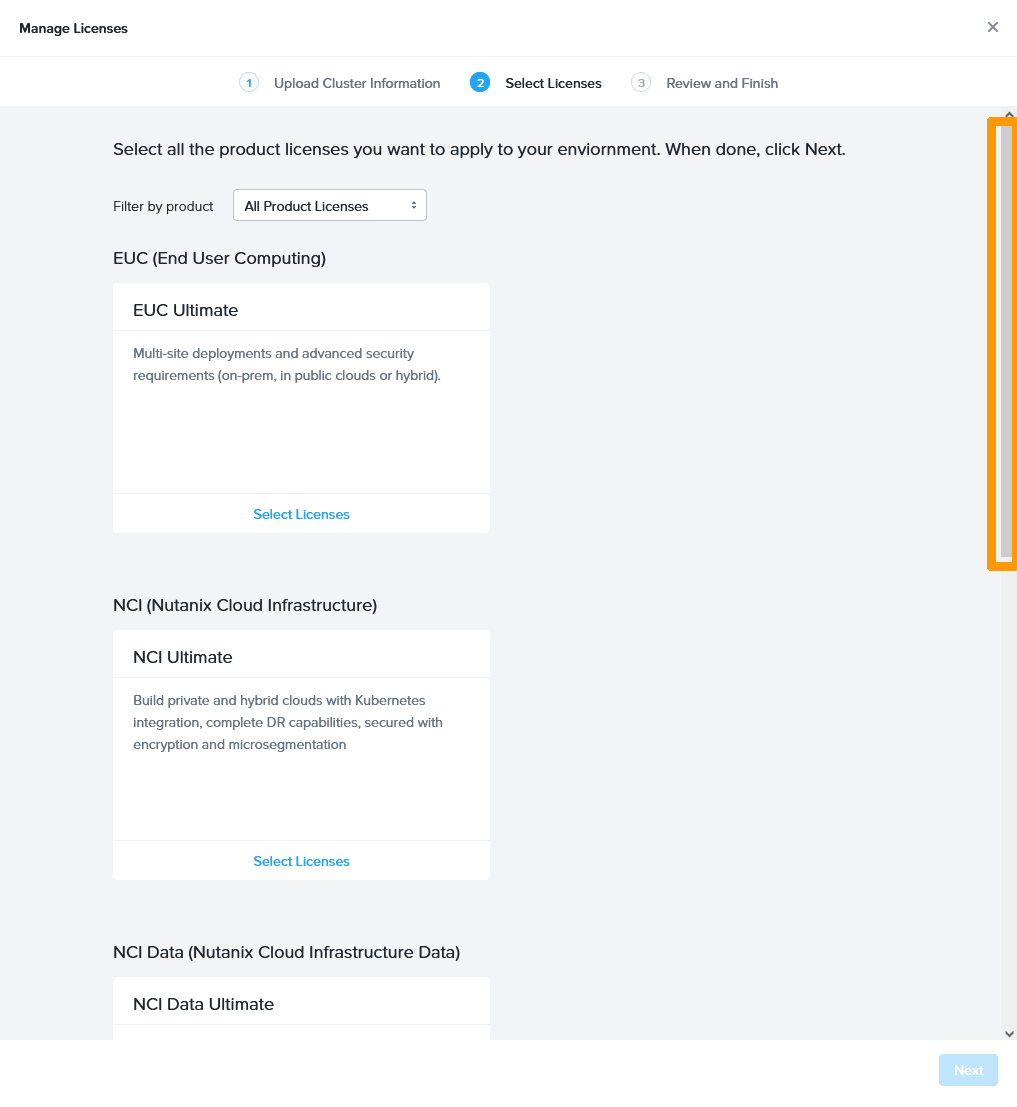
Scroll through the window to add your cluster licenses.
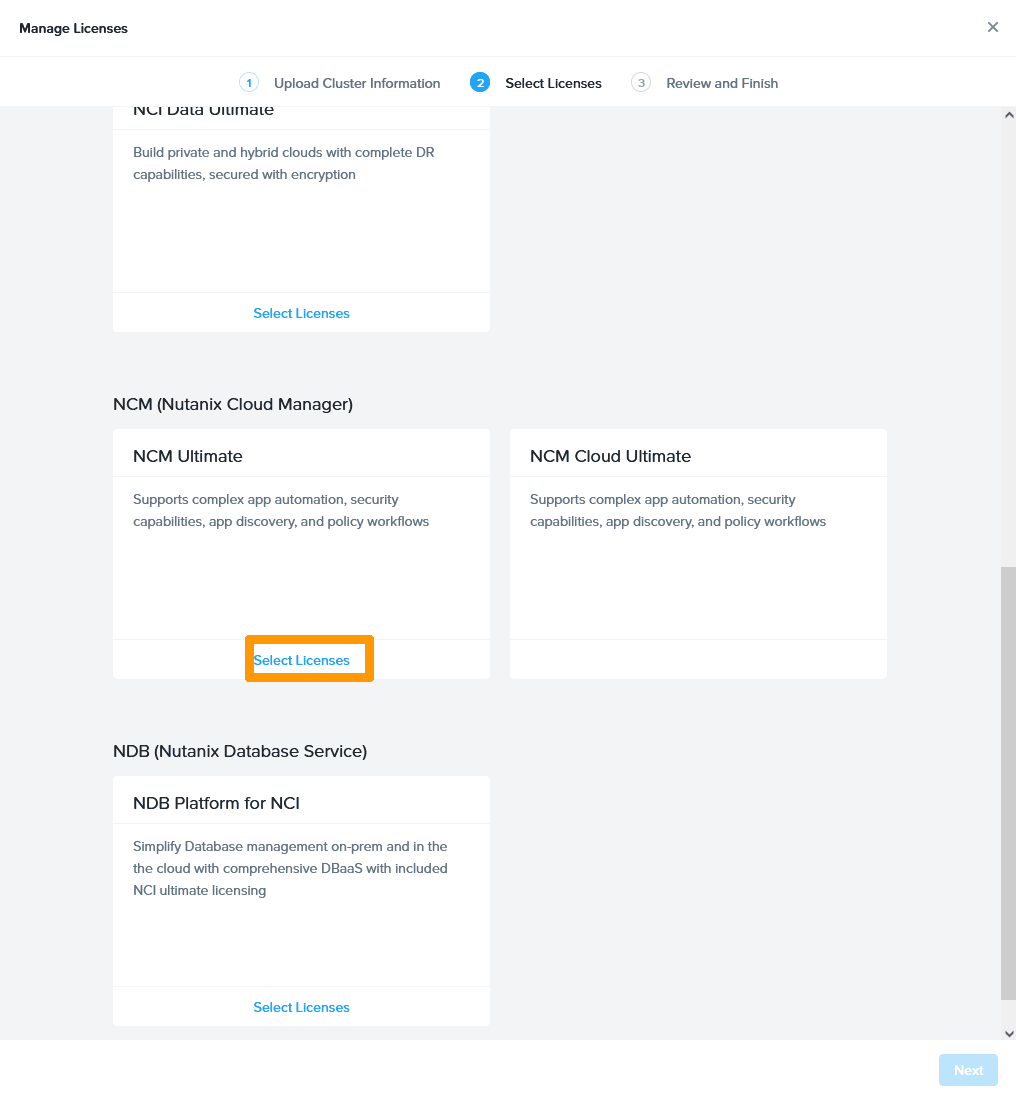
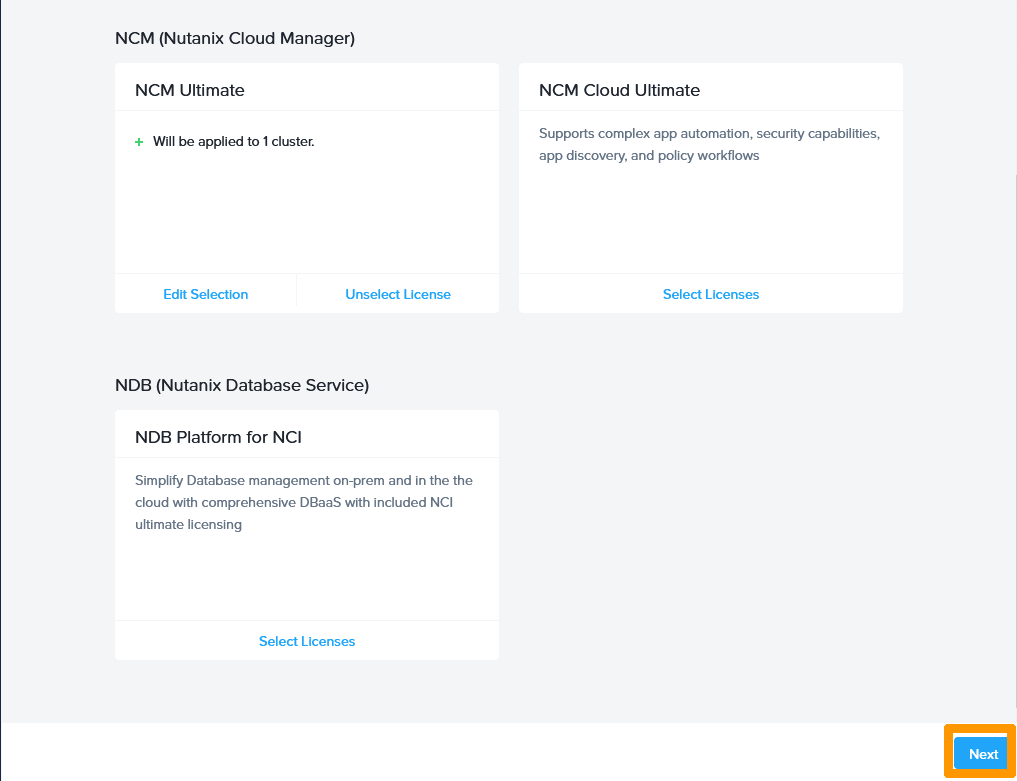
In the NCM Ultimate section, click Select Licenses.
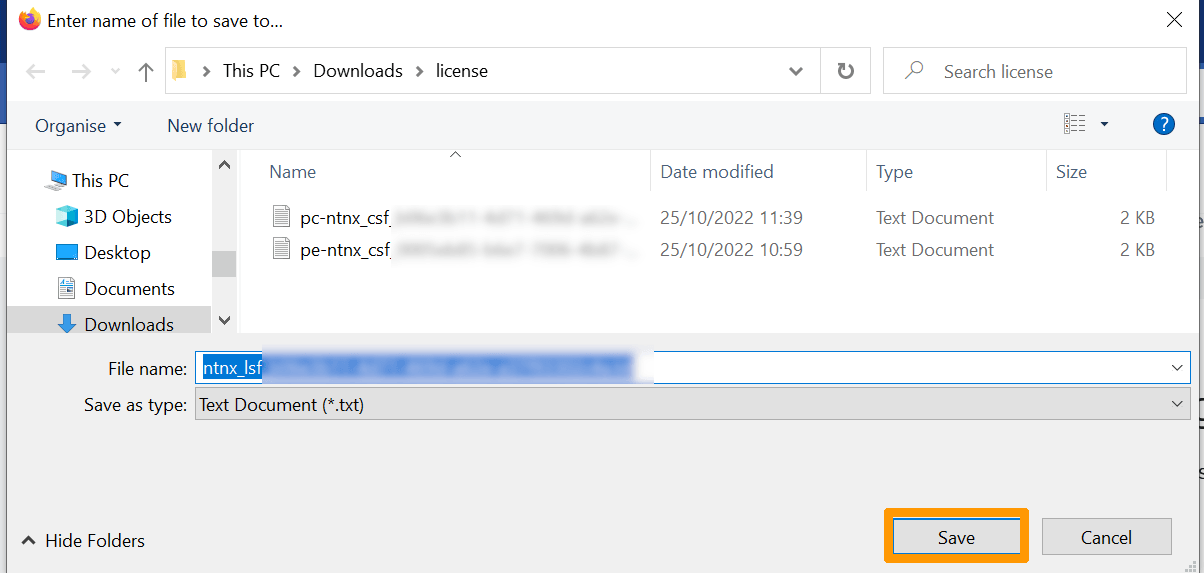
Now save on your computer the License Summary File (LSF), which contains the license.
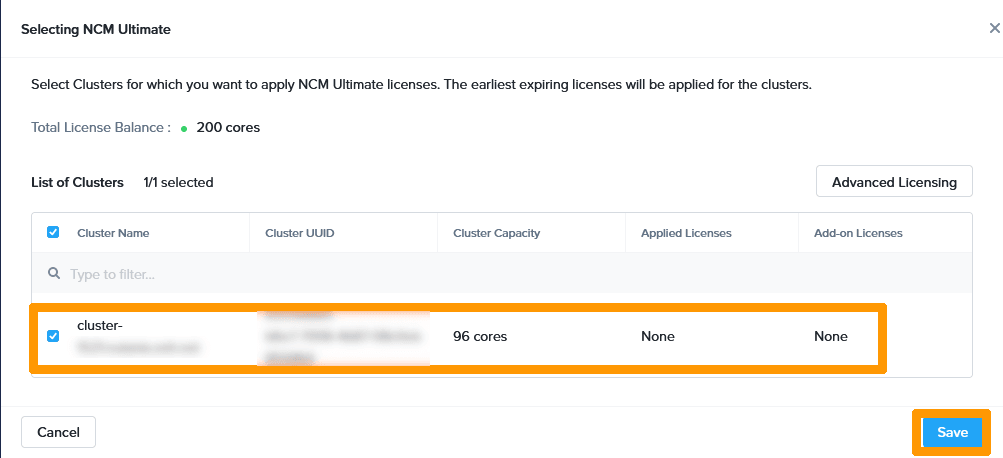
Select your cluster and click Save.
Click Next.
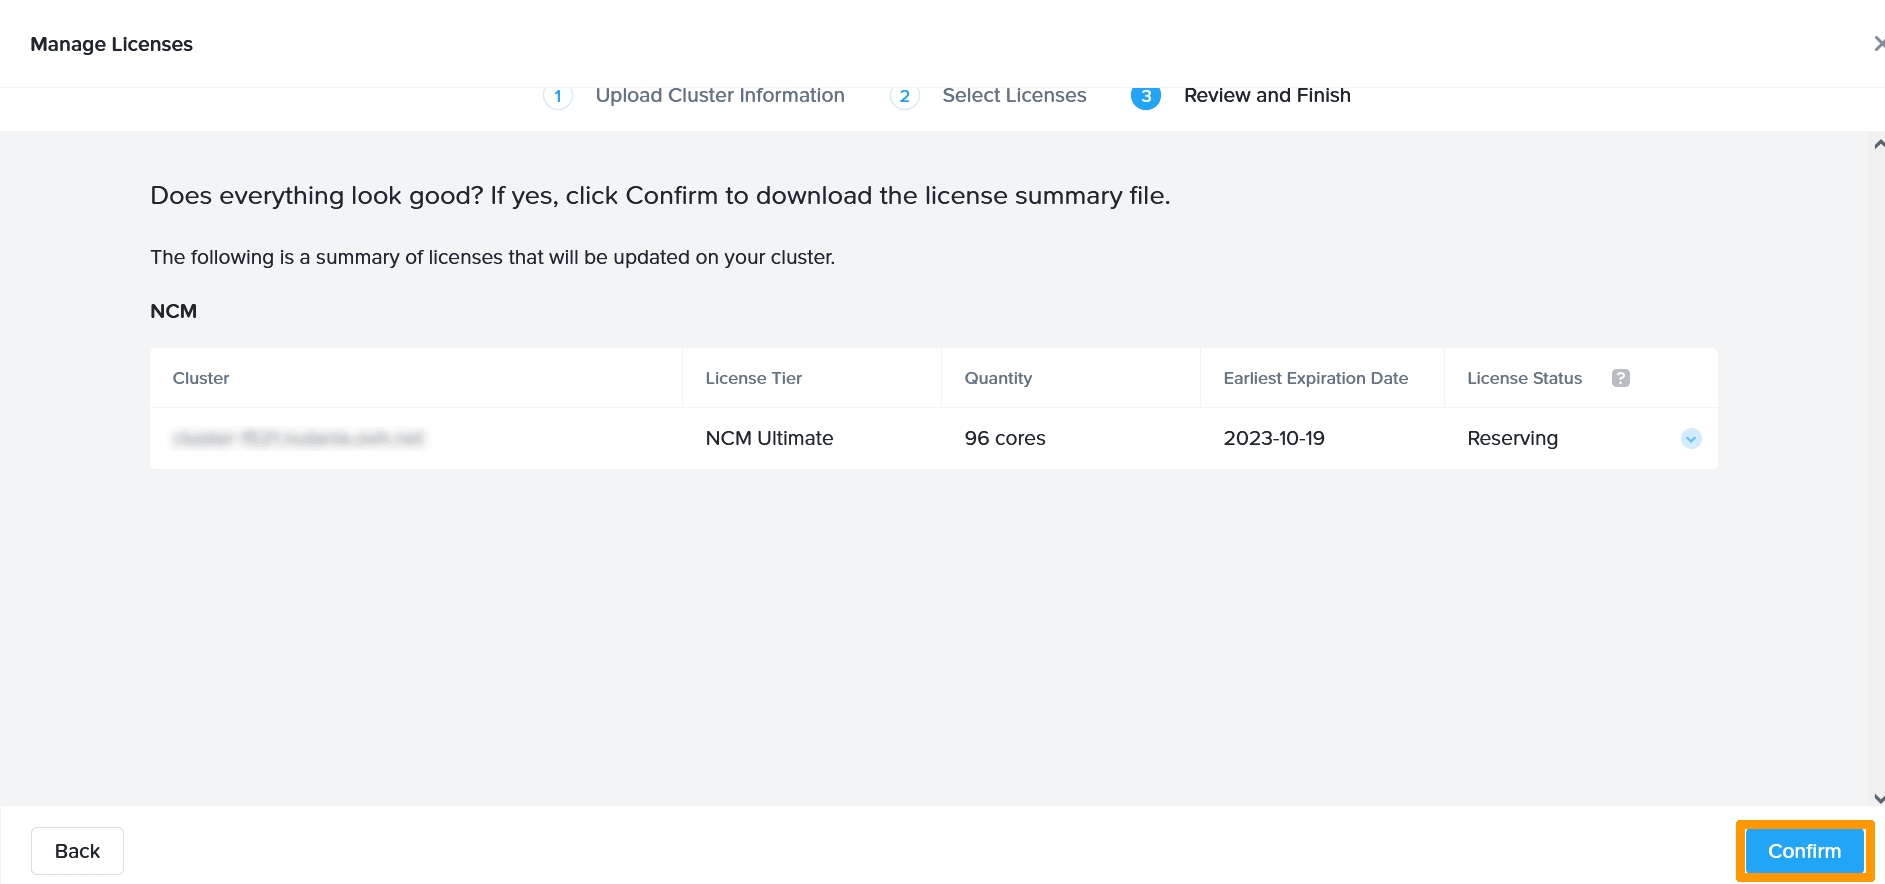
Click Confirm.
Click Save to save the license file to your computer.
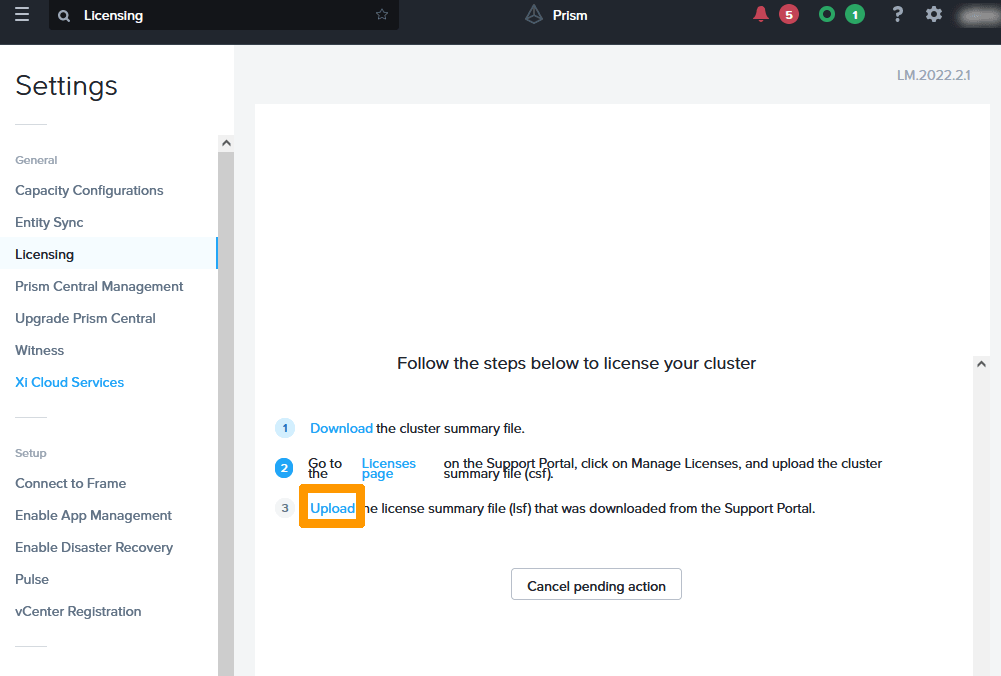
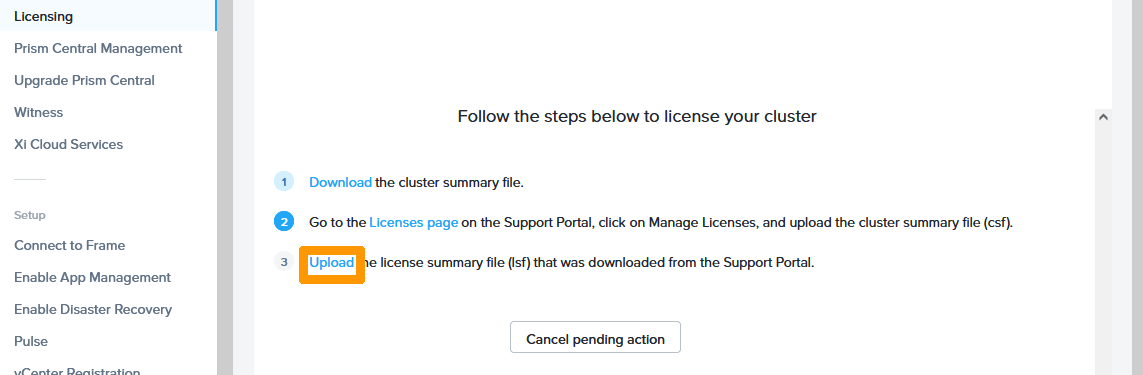
In the license management section of Prism Central, click Upload to install the license file.
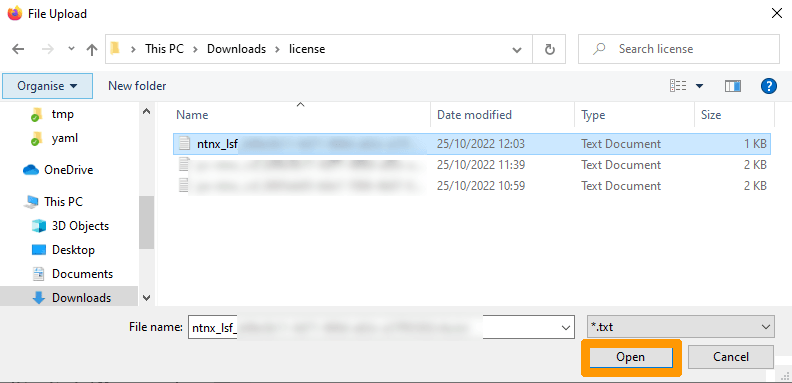
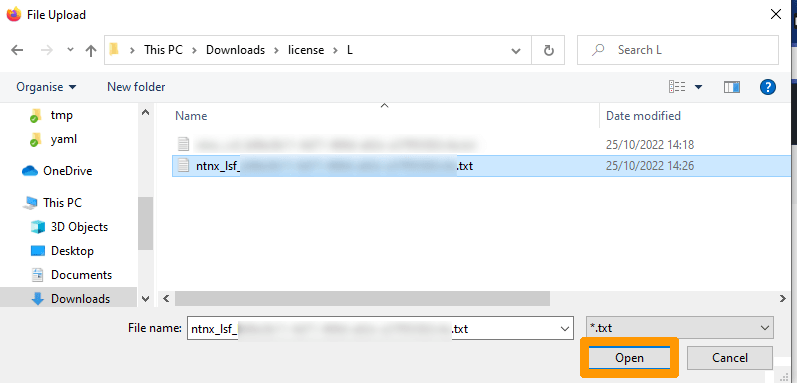
Select the generated file and click Open.
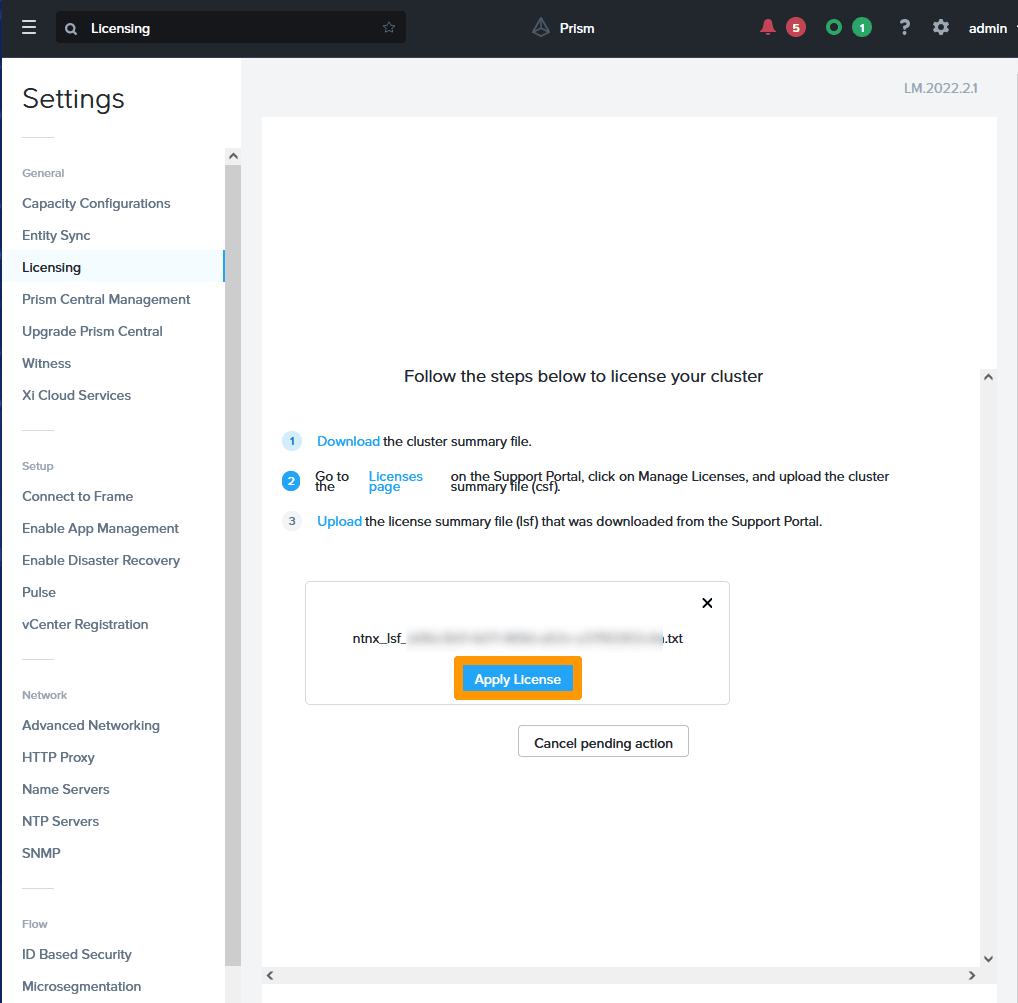
Click Apply License to complete installation on your cluster.
Uninstalling licenses
It is sometimes necessary to uninstall licenses to reinstall them on another cluster. If the cluster that contains the licenses is still available you must release your licenses from Prism Central.
In Prism Central click on the gear in the top right corner to access the parameters.
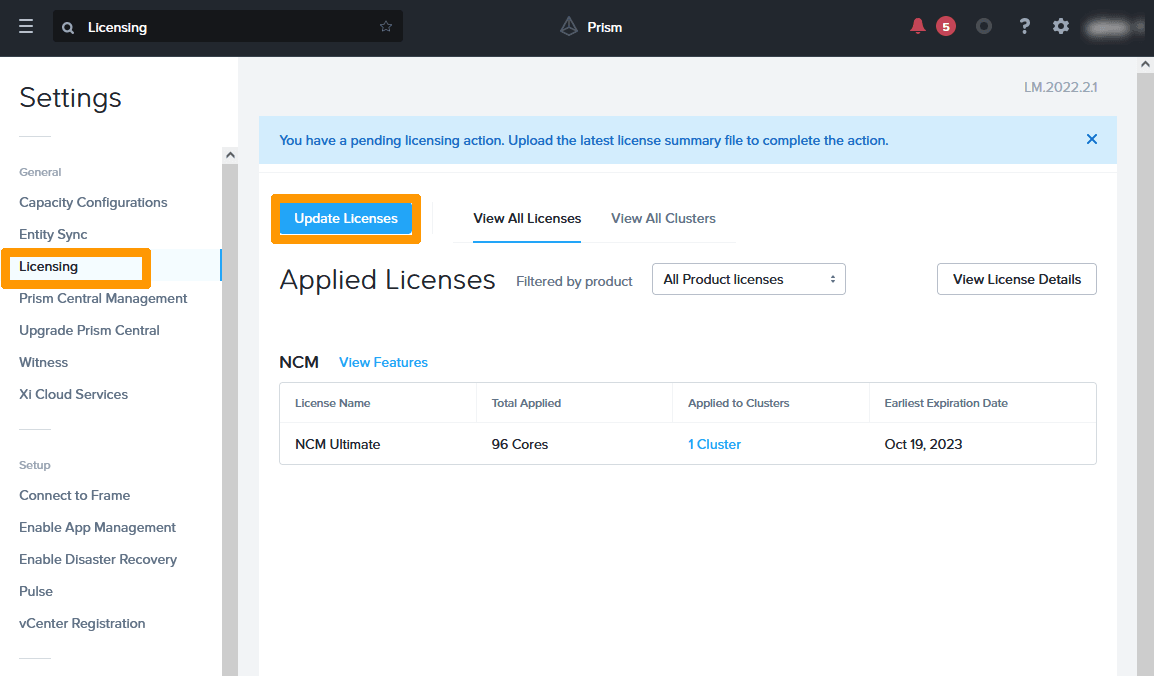
Select Licensing to the left and click Update Licenses.
Click Download.
Click Save to save the CSF file containing the summary of your cluster configuration with the installed licenses.
Click Licenses page to connect to your Nutanix license portal.
In the Nutanix license portal, click Manage Licenses.
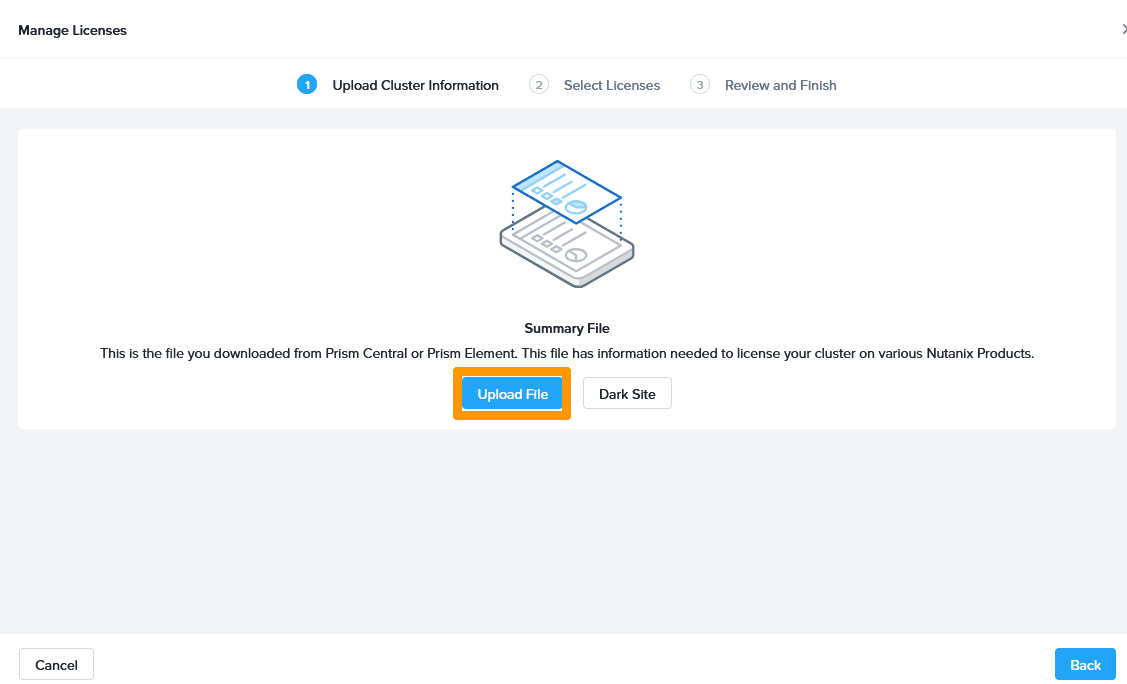
Click Upload File.
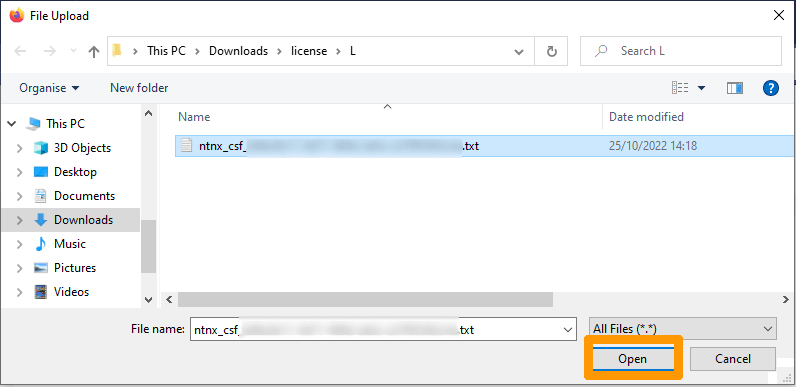
Click Open.
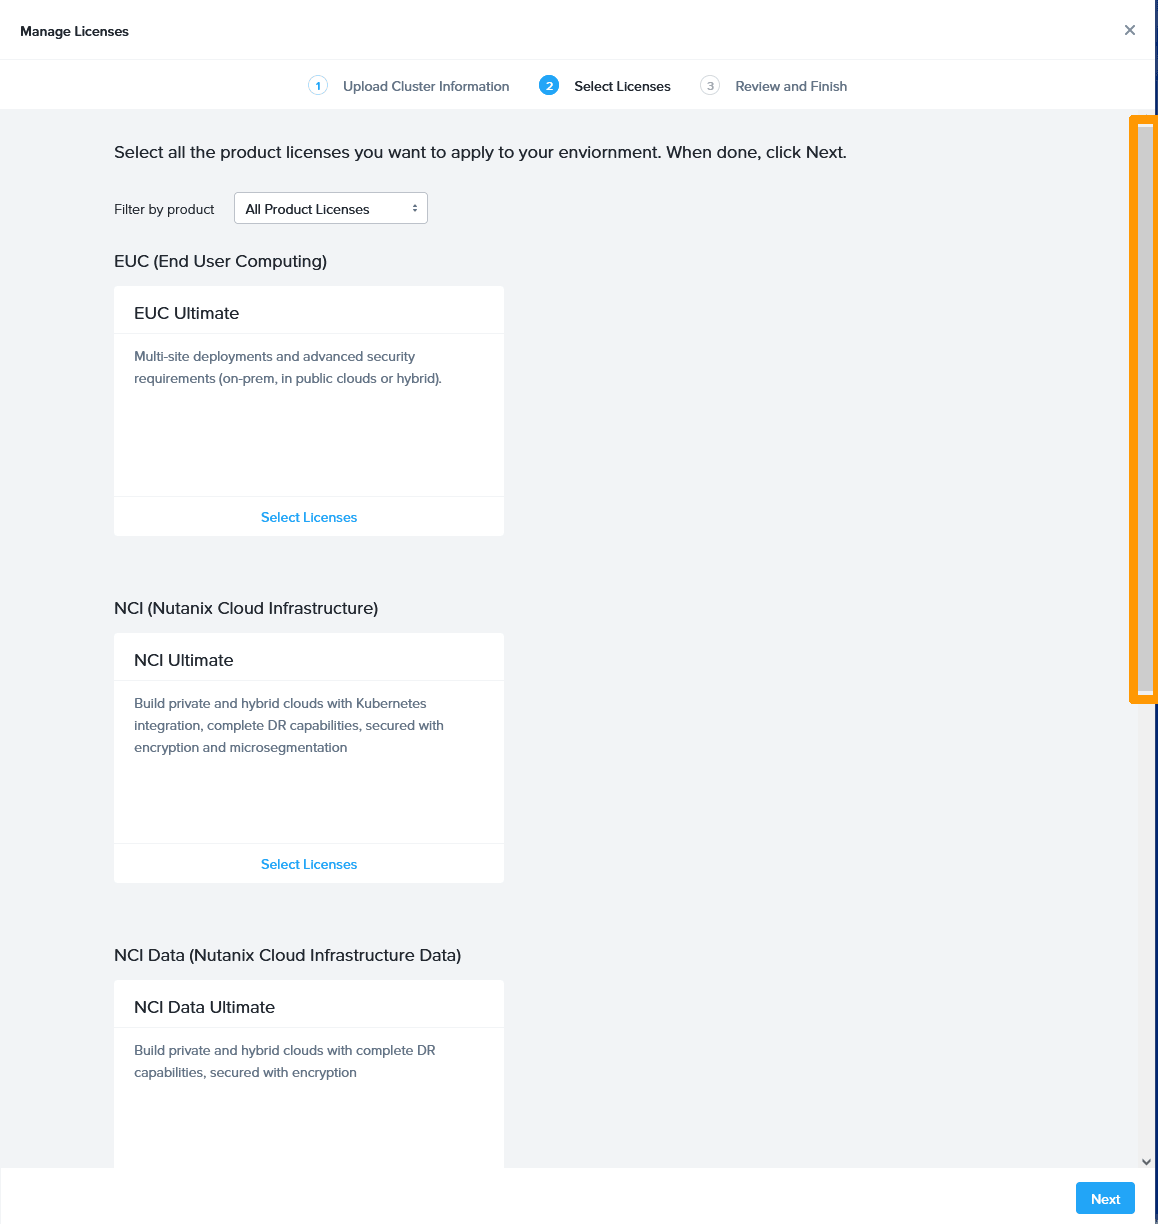
Use the scroll bar to reach the bottom of the window.
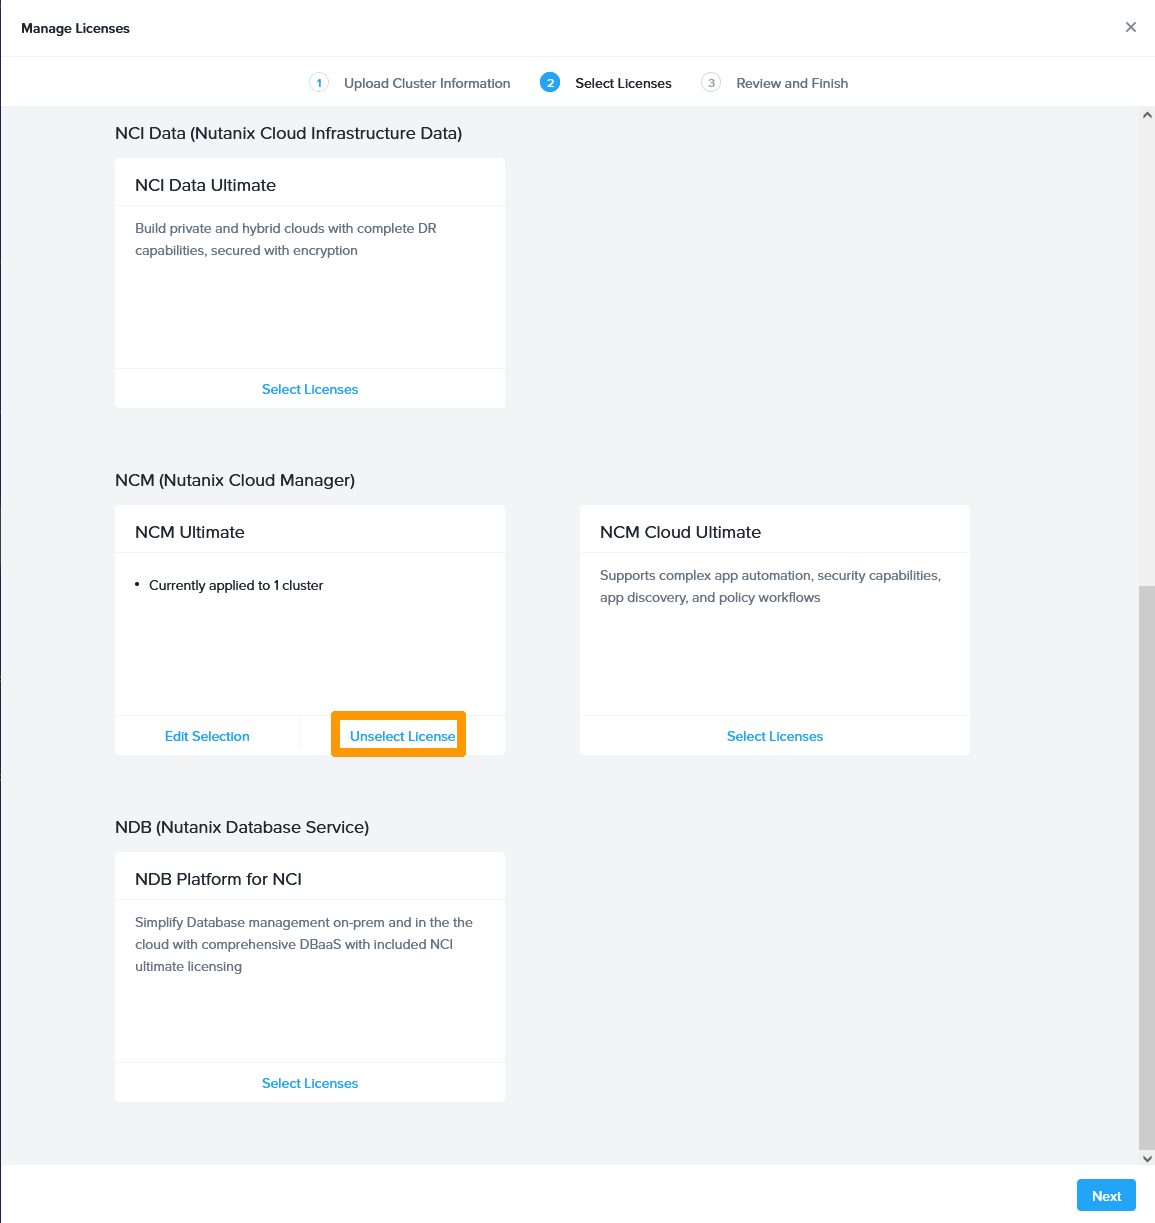
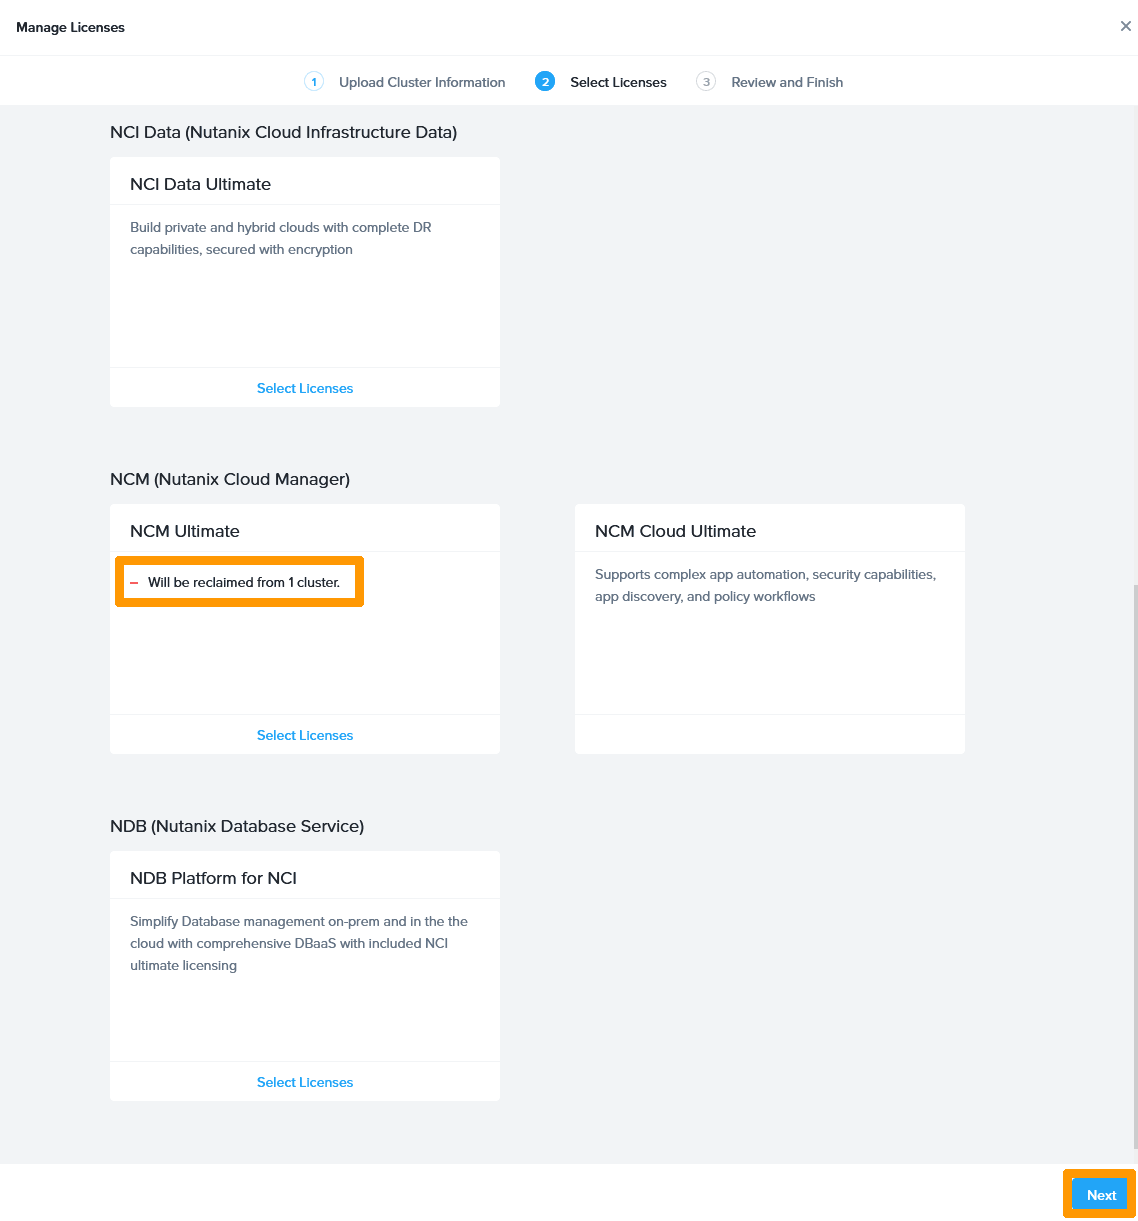
Click Unselect License in the NCM section.
Click Unlicense.
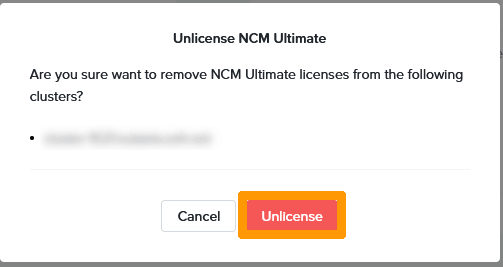
A confirmation message will appear, click Next.
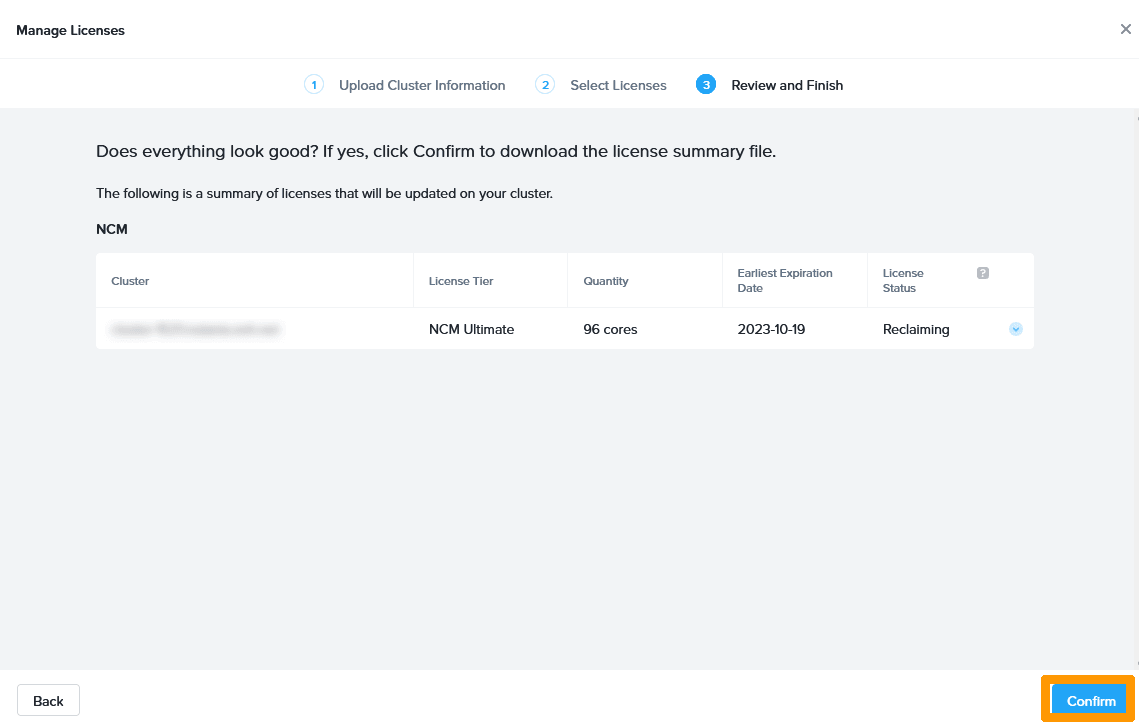
Click Confirm.
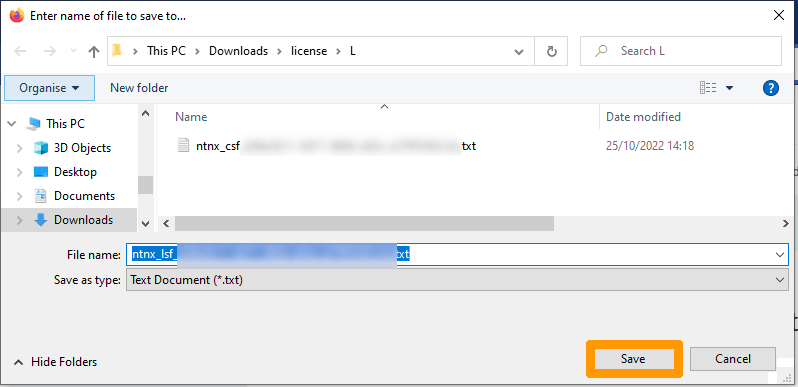
Click Save to save the LSF file containing the updated license to your computer.
Return to Prism Central license management.
Click Upload.
Click Open after selecting the generated file from the Nutanix portal.
Click Apply License.
The license has been deleted.
Go further
Browse all the Nutanix guides.
Browse the rest of the OVHcloud US documentation for guides on our other products and services.
Learn more about Nutanix on OVHcloud on the OVHcloud US website.