
Purchasing and managing Additional IPs
Learn how to order and manage Additional IPs with OVHcloud.
Additional IPs are IP addresses that can be easily moved from one device to another. This makes them optimal for networking VMs on a Dedicated Server, load balancing, IP aliasing, and many other use cases.
Topics
- Basic Networking with an Additional IP
- Purchasing Additional IPs
- Using an Additional IP in the OVHcloud Control Panel
- Canceling Additional IP addresses
Basic Networking with an Additional IP
In this section, we will cover a couple of concepts about additional IPs that are important to understand from a networking perspective. While additional IPs can be purchased in blocks as small as /32 or as large as /24, the CIDR notation only indicates how many IPs you get. It does not denote a subnet. Every IP is routed through the host. This means that every IP a customer purchases can be used since no addresses need to be reserved for network, broadcast, or gateway.
Your gateway IP address will be determined independently of your additional IP block. At OVHcloud, we reserve the last available IP in each /24 subnet (not including the broadcast address) for a gateway address. Additionally, all Dedicated Servers are given an IP on a /24 subnet. This means a Dedicated Server's gateway will always be the first three octets of its IP, followed by .254. For example, if your Dedicated Server's IP was 203.0.113.34, its gateway would be 203.0.113.254. Since additional IPs are routed through the host, any VM or other service using the additional IP would also use this as the gateway address.
Instructions
Purchasing Additional IPs
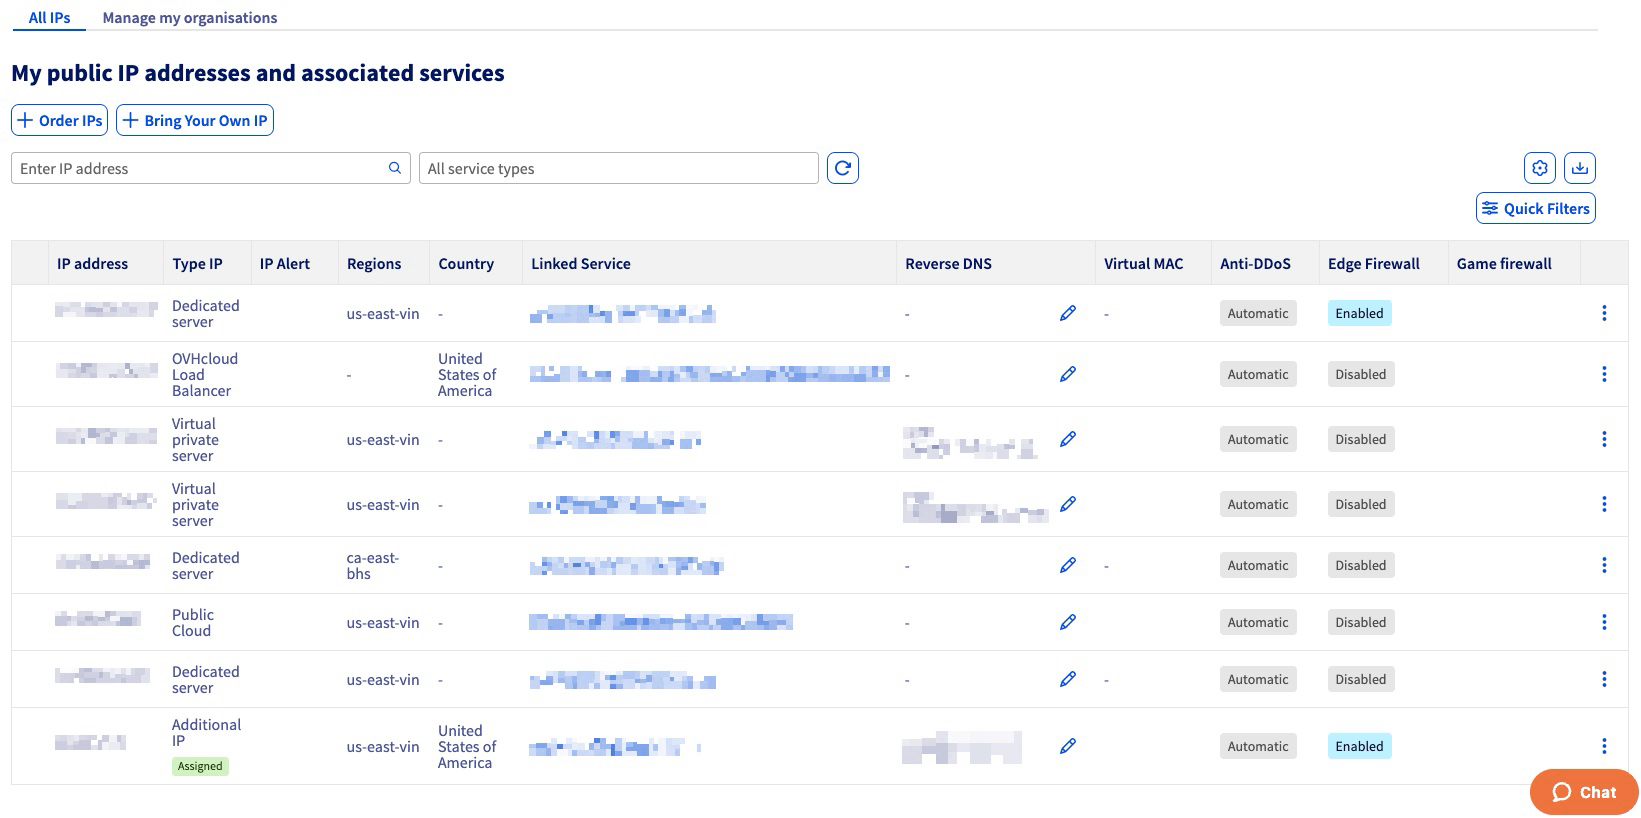
From the OVHcloud Control Panel, navigate to the IP section via the Network menu.
Click + Order IPs at the top of the page.
If you are interested in bringing your own IP, see this guide.
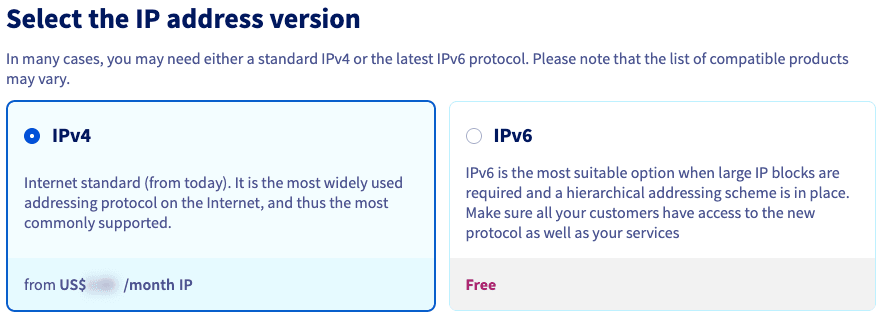
On the next screen, choose IPv4.
If you are interested in IPv6, see this guide.
Select the service to which you want the Additional IP to be attached and click Next.

Click Additional IP. You can order more Additional IPs using the + button.
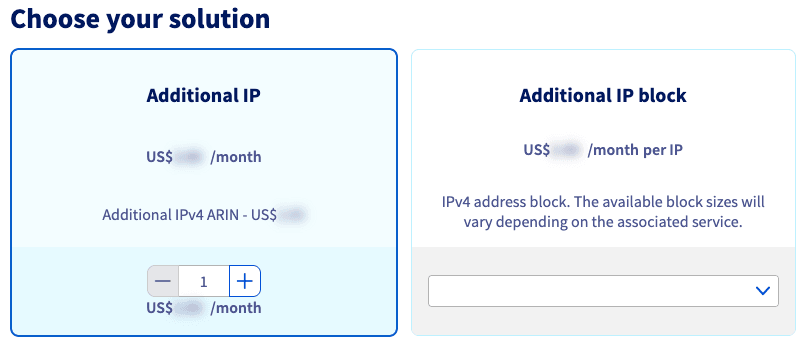
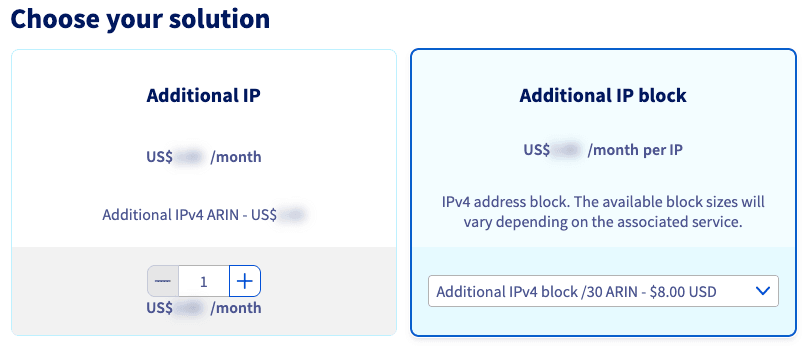
Information about IPv4 Additional IP blocks
If you choose to purchase an Additional IP block, your choices are 1 (/32), 4 (/30), 8 (/29), 16 (/28), 32 (/27), 64 (/26), 128 (/25), and 256 (/24).
NOTE: By selecting one (/32) IP address, you have the option to purchase up to 16 individual IP addresses, but in one order. These IP addresses will be handled individually, which means they can be separately assigned to different servers/services.
Additionally, if you purchase a block of 4 IPs (/30) or greater, the IP addresses can still be moved, but as an entire block ONLY. Also, you can set the WHOIS information by using the "Click here to access the organization management" link.
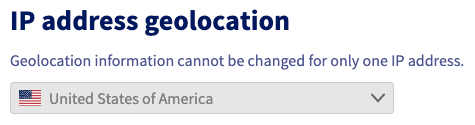
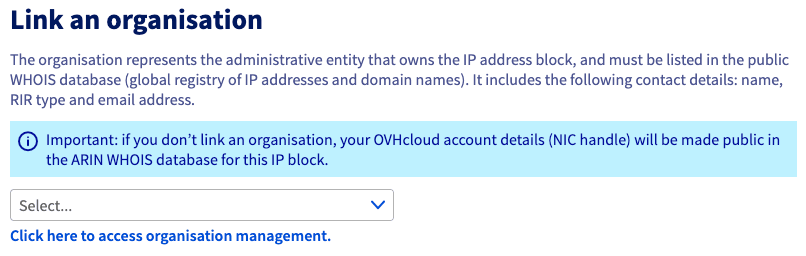
WARNING: If you elect to create an organization and assign it to a block of IP addresses, that information will be publicly accessible via a WHOIS search and CANNOT be changed. If you are unsure how to proceed, we recommend selecting "ARIN_104".
You will be taken to a new page to review your order and pay for the Additional IP(s). After completing the order, the Additional IP address(es) can be viewed in the OVHcloud Control Panel by clicking Network and then IP.
Using an Additional IP in the OVHcloud Control Panel
Once you have ordered the additional IP, you can view it by clicking Network, then IP. It is easily identified by an Additional IP label next to it.
You can order more Additional IPs or bring your own by clicking the buttons near the top of the page next to Manage IPs.
You can use the gear icon to manage your organization and the export icon to export your IP addresses to a CSV file.
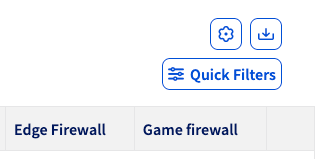
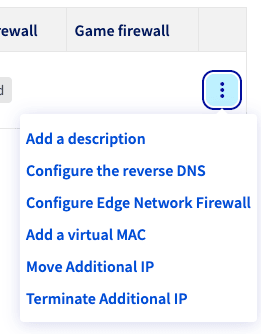
You can use the following menu to perform a few tasks on your additional IPs: adding a description, moving the additional IP block to another service, parking it, deleting it, and more. You can access this menu by clicking the more options ... button on the right-hand side of the Additional IP.
WARNING: If you delete a Dedicated Server with attached additional IPs, the IPs will be moved to parked. Once IPs have been parked for 31 days, you will be charged $3 per month per IP to keep them on your account. Therefore, if you want to keep these IPs, attach them to another service to avoid this charge.
Canceling Additional IP addresses
From the OVHcloud Control Panel, navigate to the IP section via the Network menu.
To the right of the Additional IP you wish to cancel, click the more options ... button.
Select Terminate Additional IP.
In the pop-up window, click Yes, cancel.
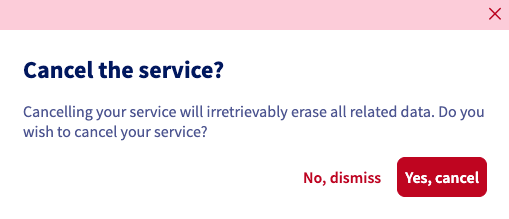
WARNING: You will receive an email with instructions to finalize the cancellation of your Additional IP address. Your IP(s) will not be canceled until you complete the instructions in the email.

Go further
Browse all the Additional IP guides.
Browse the rest of the OVHcloud US documentation for guides on our other products and services.
Learn more about Additional IP on the OVHcloud US website.