
How to Activate a Windows VM Installed on Nutanix by OVHcloud
This tutorial describes how to activate Windows licenses provided by OVHcloud on a Nutanix by OVHcloud solution.
NOTE: This tutorial will show you how to use one or more OVHcloud solutions with external tools, and will describe the actions to be carried out in a specific context. You may need to adapt the instructions according to your situation.
Requirements
- A Nutanix cluster in your OVHcloud account
- Access to the OVHcloud Control Panel
- You must be connected to the cluster via Prism Central
- A Windows license provided by OVHcloud
- A virtual machine running Windows Server. You can use this guide to install a virtual machine on Windows: Virtual Machine Management
- The virtual machine connects to the Internet through the rtVrack (e.g. via the default gateway)
Instructions
Uninstall the default product key
When your operating system is in trial mode, a default product key is installed. To modify it, open the Run dialogue box by pressing the Windows key on your keyboard + R.
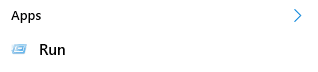
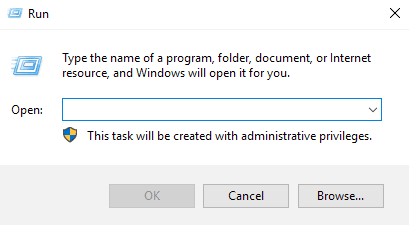
In this box, enter the following command:
Install the new product key
You can now install the new product key. To do so, go back to the Run box, and enter the following command:
Below is a list of the product keys available for each operating system. Core versions use the same product keys as non-core versions.
Source: Microsoft - Key Management Services (KMS) client activation and product keys
Associate your product key
To associate your key with our automated activation system, enter the command below in the Run dialogue box:
Activate the system
Lastly, to activate your Windows operating system, simply enter the command below:
Go further
Browse all the Nutanix guides.
Browse the rest of the OVHcloud US documentation for guides on our other products and services.
Learn more about Nutanix on OVHcloud on the OVHcloud US website.