
How to Set the Root Password for cPanel on VPS
When you install cPanel on your VPS, you will need to set a root password to access cPanel and WHM. In this guide, we will show you how to set your root password and log into WHM successfully.
Prerequisites
- A VPS with cPanel installed
Topics
Logging in Using the One-Time Password
Note: You can bypass using this link and set your credentials directly from the server. To do so, please proceed to Setting a Root Password on CentOS 7. If you choose to use the one-time password, you can disregard that section.
When your VPS is ready, you will receive an email providing the information to connect to your cPanel server including a one-time use URL.
If you already have a VPS and want to have cPanel on it, you can reinstall the VPS from your OVHcloud Control Panel with the “CentOS 7 - cPanel” template (available only with a compatible VPS solution).
If you reinstall a VPS, all data stored on the VPS will be lost.
First connection
Once you received the email with the unique link, please proceed to the link to do the initial setup.
The URL contained in the email allows you to log in without credentials (user and password) to your WHM manager.
If the link has expired already, please reinstall the VPS with cPanel.
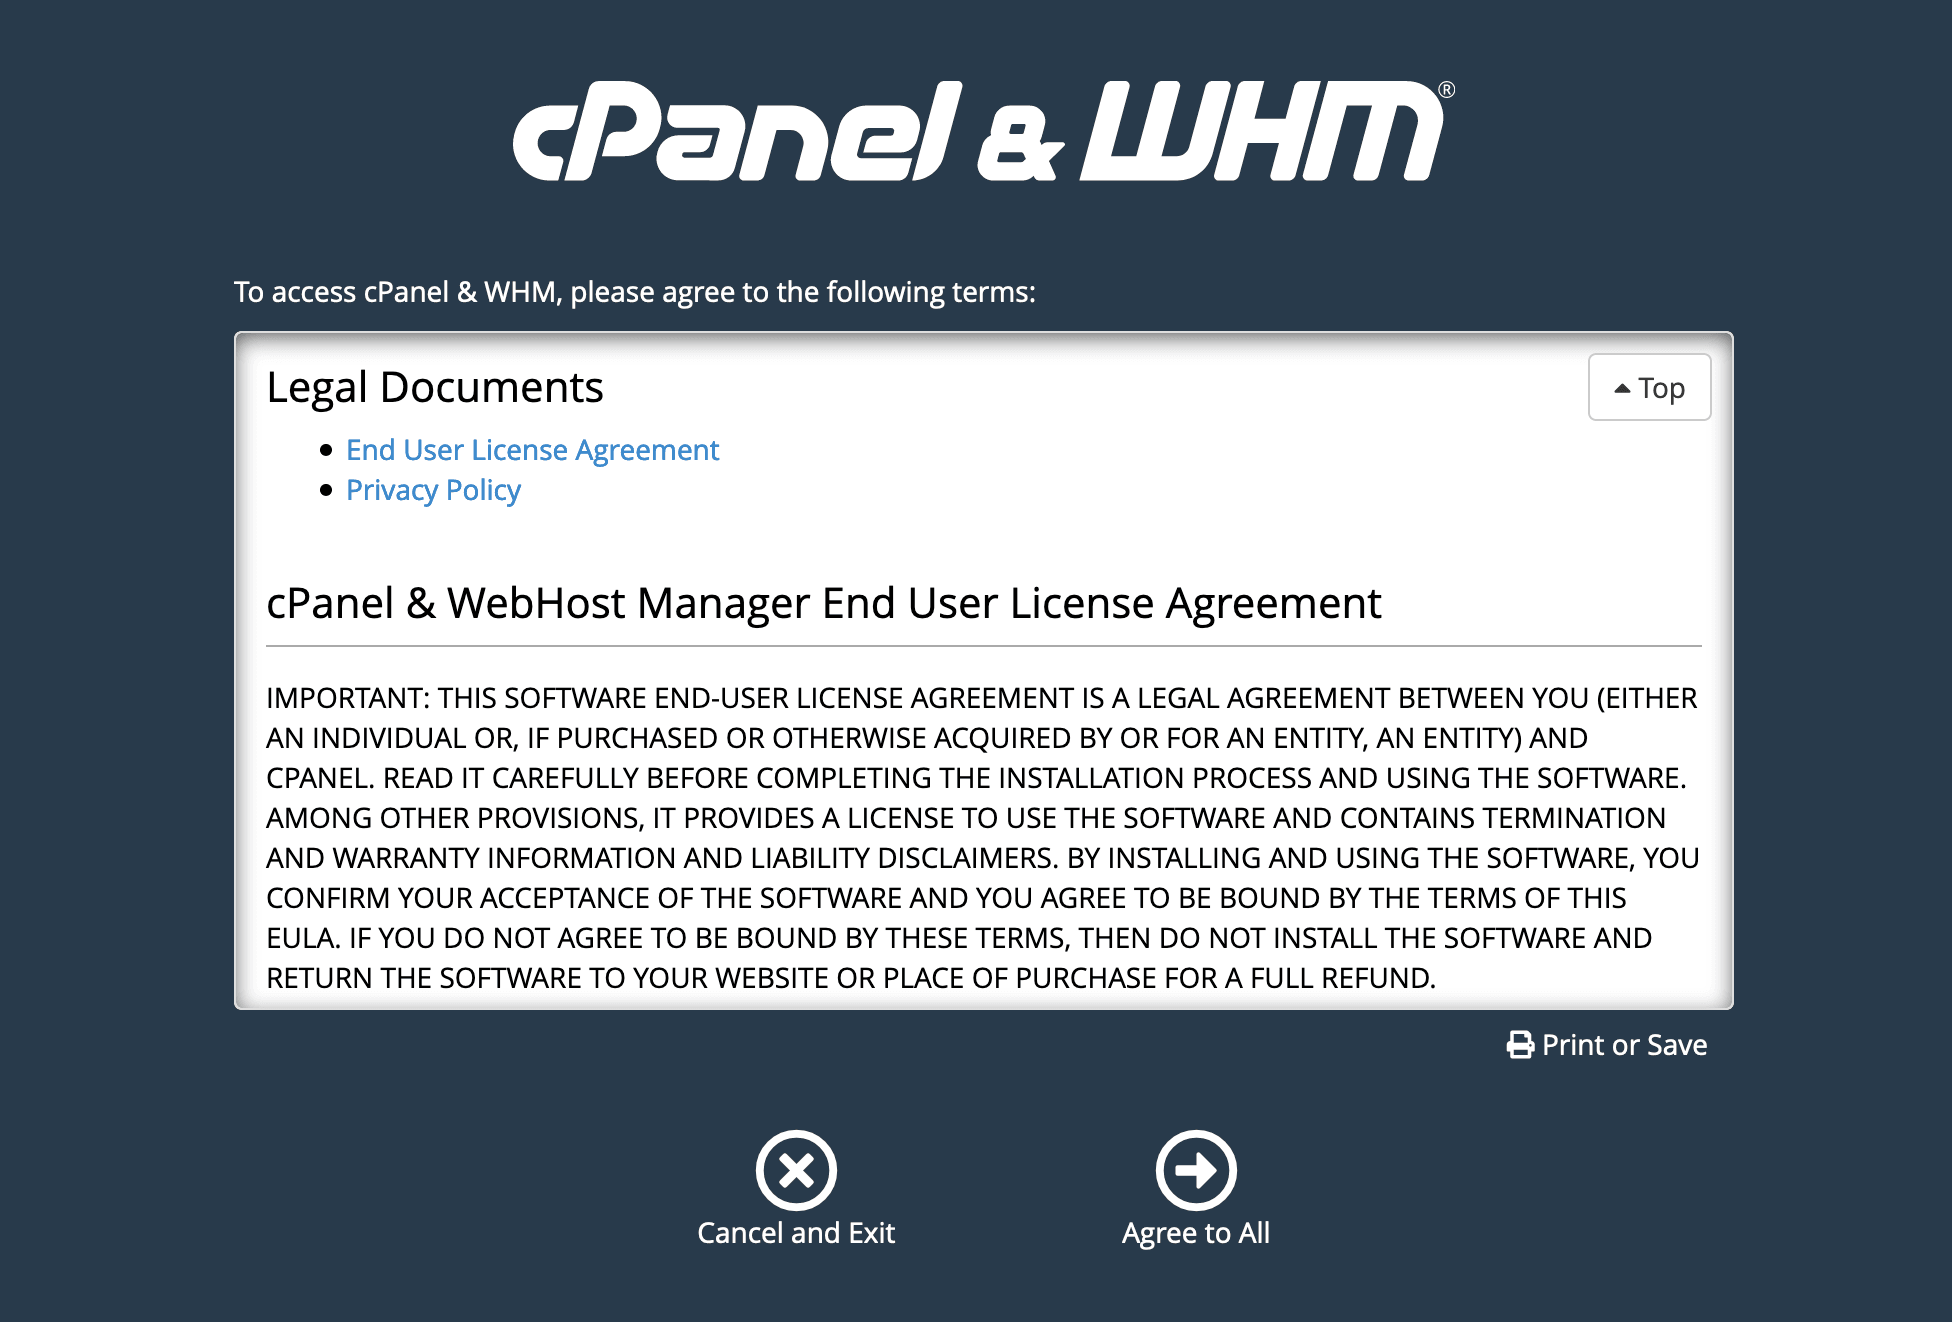
Step 1: Read and accept the terms of cPanel
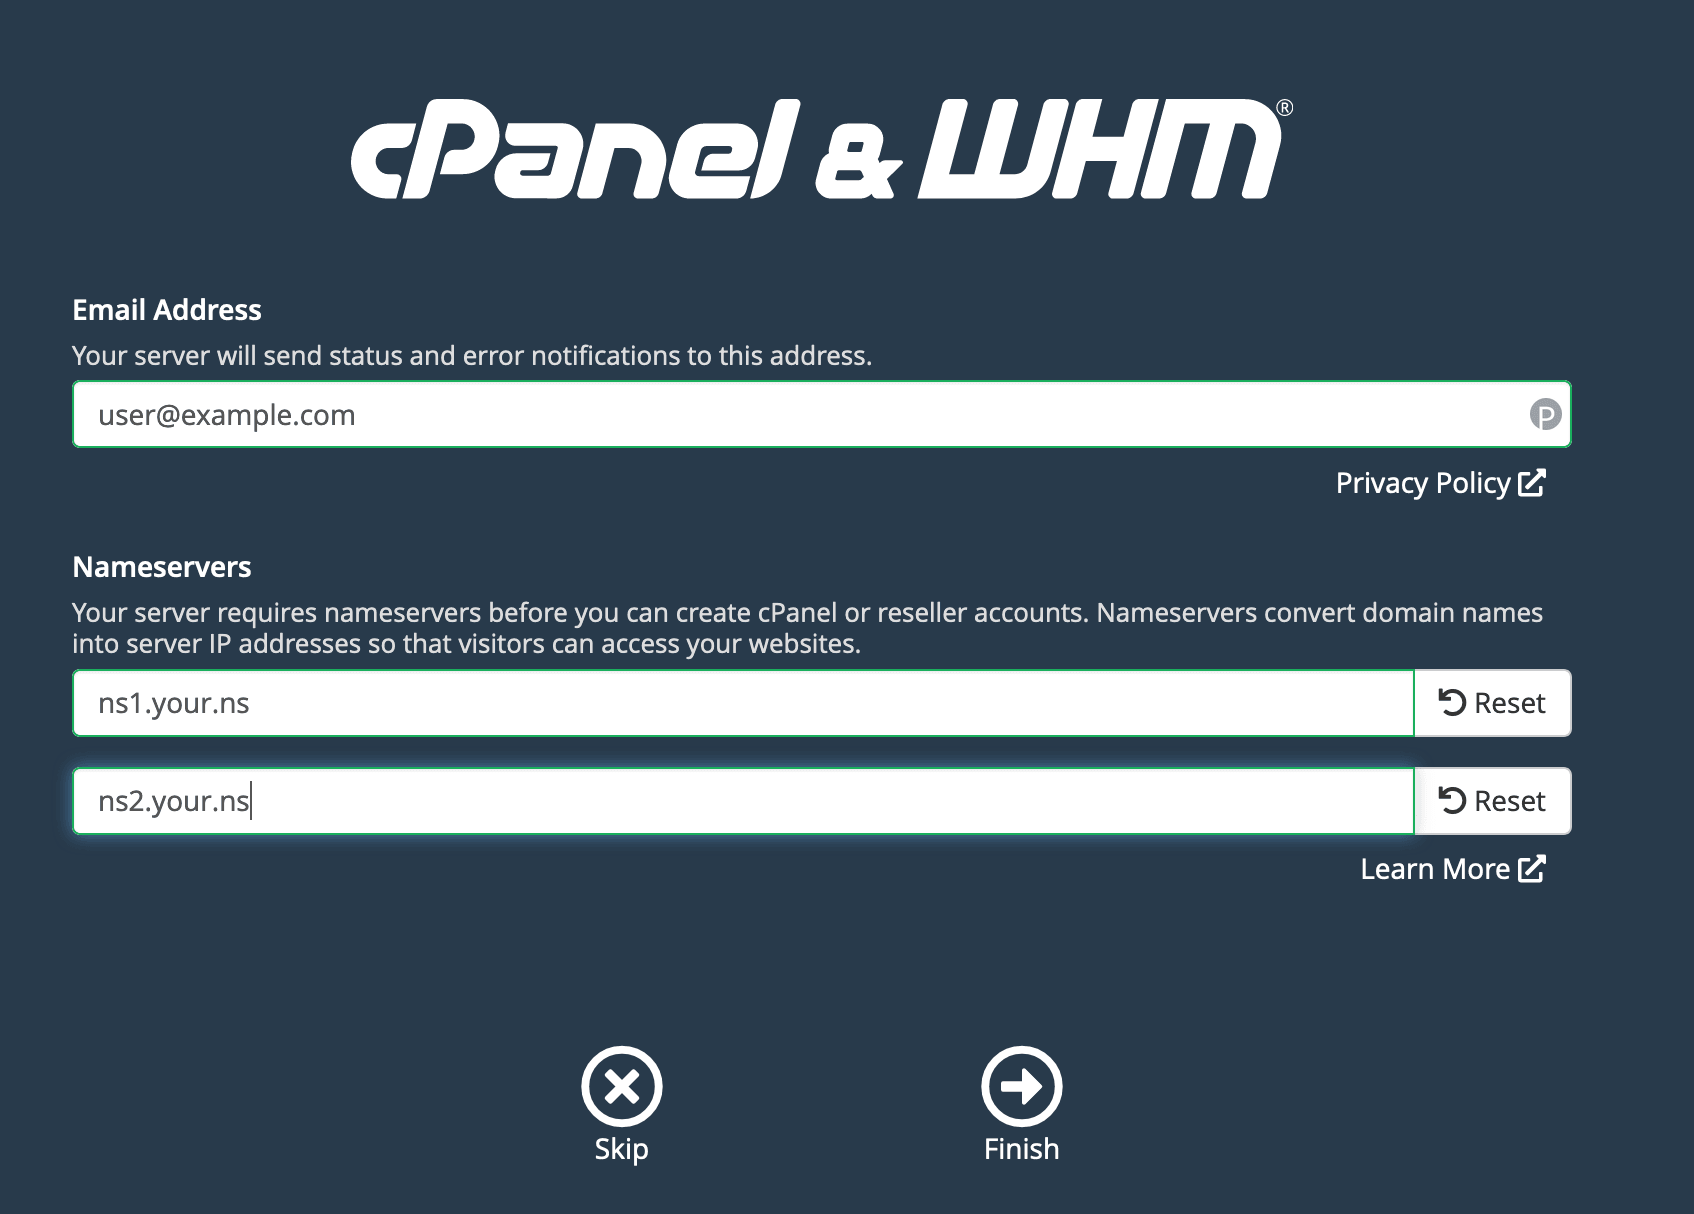
Step 2: Provide your email and nameservers you wish to set on the VPS
Step 3: Set the root password
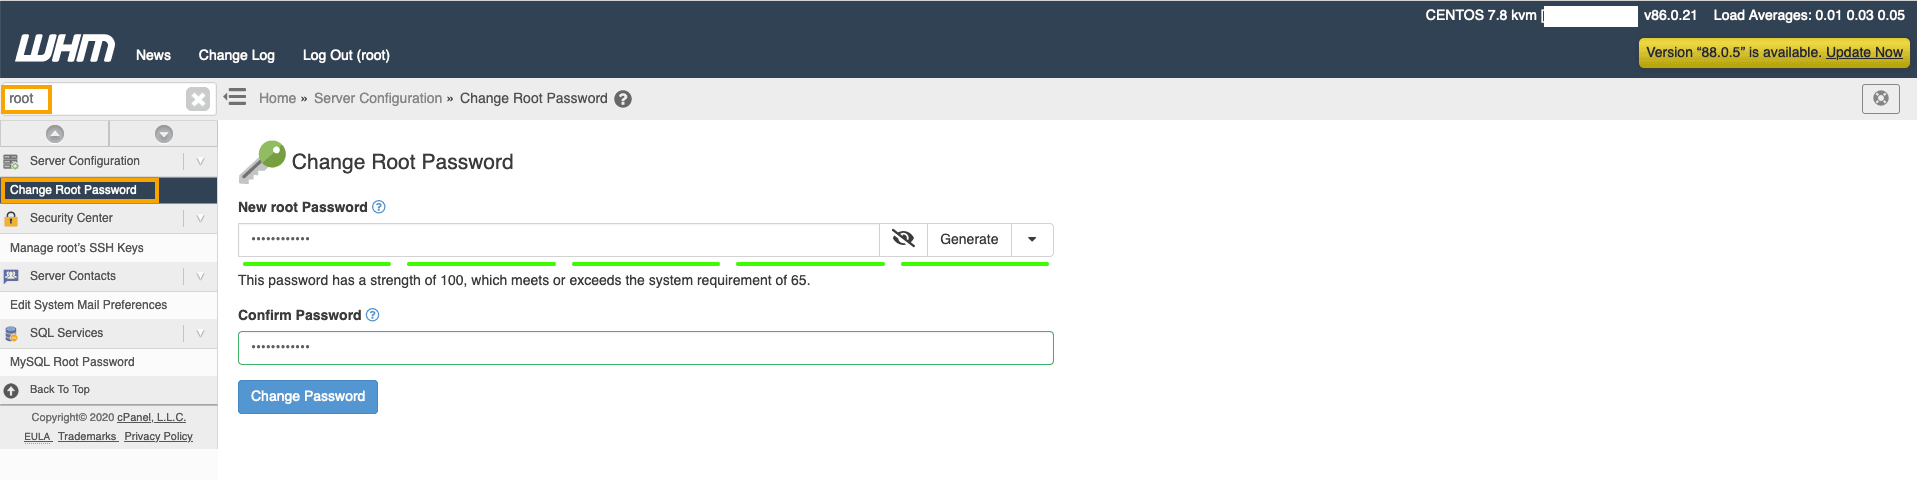
Now you should be able to login to WHM and SSH using the root user with the password that was just set.
Setting the Root Password on CentOS 7
Note: If you have already performed the steps in the Logging in Using the One-Time Password section, you can skip to the next section.
When you first provision your cPanel VPS, you will receive an email with credentials to your server. By default, OVHcloud will send you an email with credentials for a sudo user we have created for you. Because cPanel is based on CentOS 7, the user created for you will be called centos. By default, a root password won't be set so the first step will be to set one. To do so, SSH into your server using the following command, replacing the IP address in red with your VPS's IP address.
Next, we will set a password for the root user using the following command:
Enter the password you wish to use and then confirm it. Now we will go ahead and update our cPanel license using the following command.
A successful output will appear as follows:
Now navigate to one of the following URLs depending on which user interface you wish to access, replacing the IP address in the link with your VPS's IP address:
WHM - https://203.0.113.1:2087
cPanel - https://203.0.113.1:2083
In the below screenshot we use WHM as an example. Enter the username "root" and the password you set for this user.
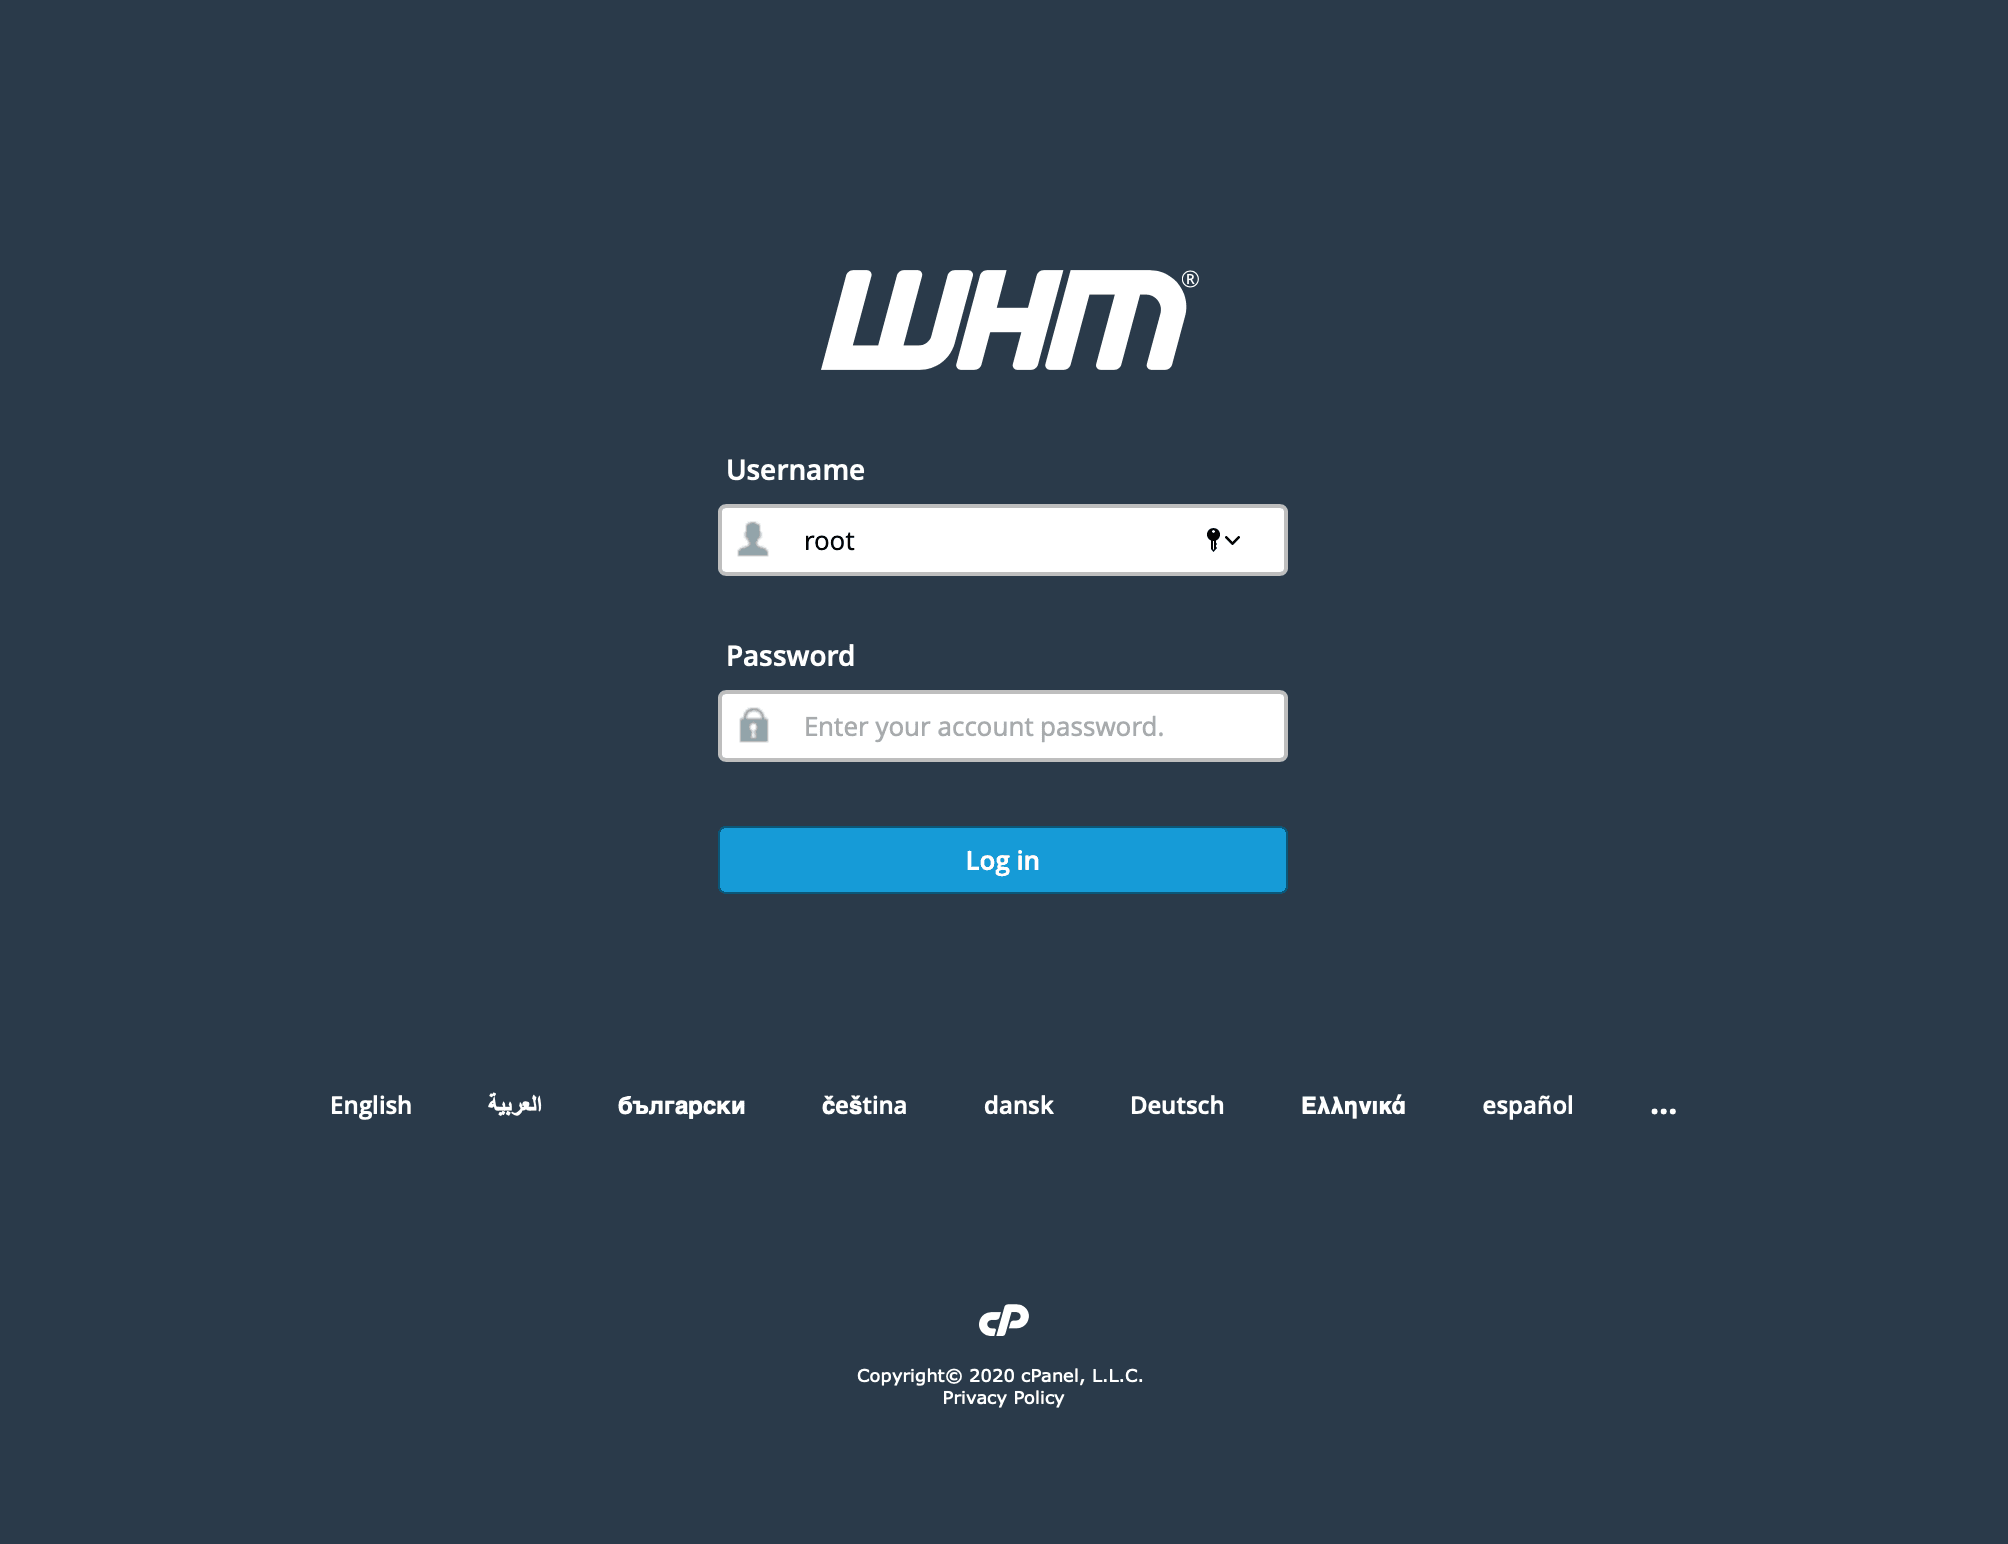
You have now successfully accessed WHM and cPanel.
Conclusion
Having read this guide, you should be able to configure the credentials necessary to access cPanel and WHM on a VPS.