Deploying a Helm Chart from Your Private Registry in Kubernetes
Learn how to deploy a Helm chart from your OVHcloud Managed Private Registry in a Kubernetes cluster. OVHcloud Managed Private Registry service is a composite cloud-native registry that supports both container image management and Helm chart management.
Before you begin
This tutorial assumes that you already have a working OVHcloud Managed Kubernetes cluster and some basic knowledge of how to operate it. If you want to know more about those topics, please look at the deploying a Hello World application documentation. You will need to have Helm installed on your cluster (see the installing Helm guide for more information).
You also need to have a working OVHcloud Managed Private Registry and have followed the guide on managing Helm charts in the OVHcloud Managed Private Registry.
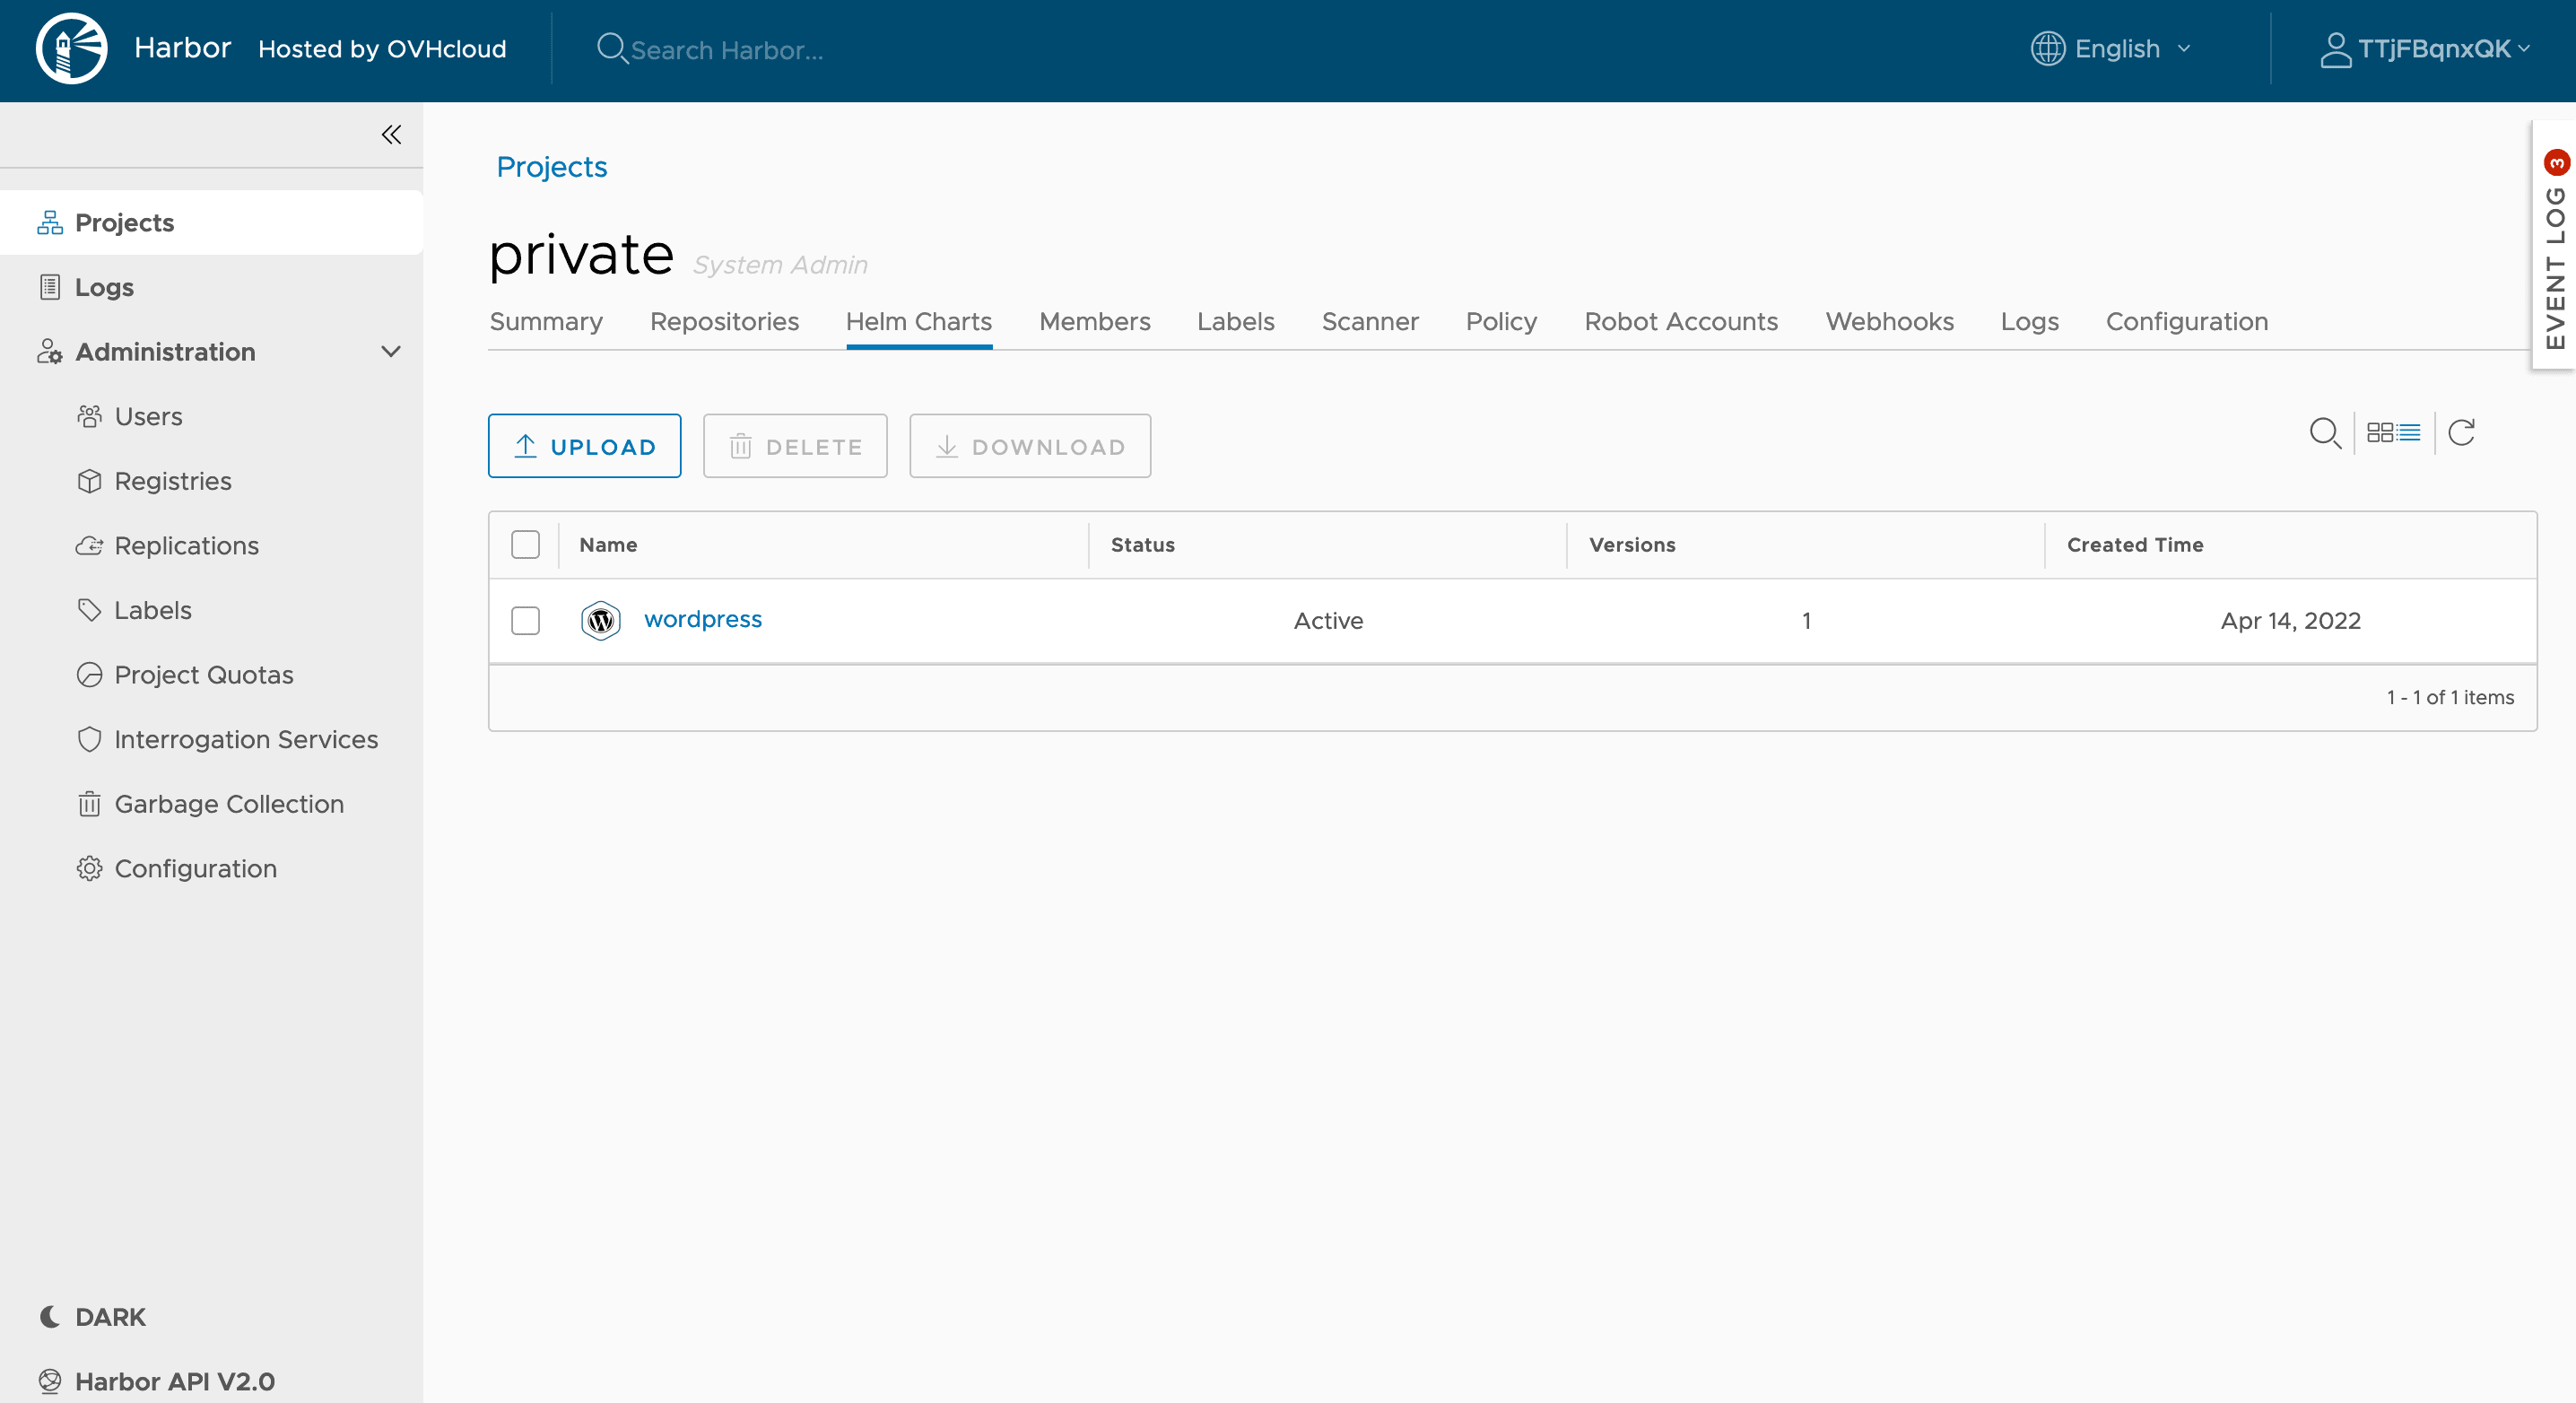
After following the previous guide, you should have at least one WordPress Helm chart in your Managed Private Registry:
Prerequisites
Install Helm 3.8+
Check if Helm is installed in the required version:
$ helm version
version.BuildInfo{Version:"v3.12.0", GitCommit:"c9f554d75773799f72ceef38c51210f1842a1dea", GitTreeState:"clean", GoVersion:"go1.20.3"}
If the version is less than v3.8.0, follow the official instructions to install Helm in the latest version.
Instructions
Login to the OVHcloud Managed Private Registry
Before being able to pull or push Helm charts, log in to Harbor:
helm registry login <registry url>
For example:
$ helm registry login https://8xghzr01.c1.va1.container-registry.ovh.us
Username: MbwQLGCglA
Password:
Login Succeeded
Install charts
Deploy the WordPress Helm chart inside the Kubernetes cluster:
helm install myrelease oci://<registry url>/<project>/<chart name> --version <version>
In this case:
$ helm install my-wordpress-release oci://8xghzr01.c1.va1.container-registry.ovh.us/private/wordpress --version 18.1.14
Pulled: 8xghzr01.c1.va1.container-registry.ovh.us/private/wordpress:18.1.14
Digest: sha256:89afb47c221899db67c7b125f49394eecd078245181715337b5691a0ee199cb7
NAME: myrelease
LAST DEPLOYED: Mon Nov 20 17:46:16 2023


NAMESPACE: default
STATUS: deployed
REVISION: 1
TEST SUITE: None
NOTES:
CHART NAME: wordpress
CHART VERSION: 18.1.14
APP VERSION: 6.4.1

** Please be patient while the chart is being deployed **

Your WordPress site can be accessed through the following DNS name from within your cluster:

    myrelease-wordpress.default.svc.cluster.local (port 80)

To access your WordPress site from outside the cluster follow the steps below:

1. Get the WordPress URL by running these commands:

  NOTE: It may take a few minutes for the LoadBalancer IP to be available.
        Watch the status with: 'kubectl get svc --namespace default -w myrelease-wordpress'

   export SERVICE_IP=$(kubectl get svc --namespace default myrelease-wordpress --template "{{ range (index .status.loadBalancer.ingress 0) }}{{ . }}{{ end }}")
   echo "WordPress URL: http://$SERVICE_IP/"
   echo "WordPress Admin URL: http://$SERVICE_IP/admin"

2. Open a browser and access WordPress using the obtained URL.

3. Login with the following credentials below to see your blog:

  echo Username: user
  echo Password: $(kubectl get secret --namespace default myrelease-wordpress -o jsonpath="{.data.wordpress-password}" | base64 -d)
Check that WordPress is running correctly:
$ kubectl get pod -l app.kubernetes.io/instance=my-wordpress-release
NAME                                    READY  STATUS   RESTARTS  AGE
my-wordpress-release-796cc4d6b8-ckb6c   1/1    Running  0         3m25s
my-wordpress-release-mariadb-0          1/1    Running  0         3m25s
Go further
Browse all the Managed Private Registry (MPR) guides.
Browse the rest of the OVHcloud US documentation for guides on our other products and services.
Learn more about Managed Private Registry on the OVHcloud US website.
