
Setting up Veeam Backup & Replication
Veeam Backup & Replication is a data protection software. It offers its users a wide range of options for backing up, replicating, and restoring their data.
NOTE: If a virtual machine is protected using multiple backup methods (for example, VM backup and Agent backup), each method consumes a separate license and is billed independently.
To avoid additional charges, protect each virtual machine using only one backup method.
Requirements
-
Windows Server 2012 or a newer version
-
Veeam Backup & Replication v12.3 or earlier
-
For Hosted Private Cloud customers willing to use their private infrastructure: outbound/established TCP traffic must be allowed towards the service IP and the port range 950-999
InfoExample: For the service pcc-1.2.3.4.ovh.us with IP 1.2.3.4, the customer's network appliance should have an outbound rule allowing TCP traffic against port range 950-999 and IP 1.2.3.4 to allow NFC communication to the ESXi hosts.
Instructions
Setting up Veeam Backup & Replication
Download and install the Veeam Backup & Replication 12.0 solution from the Veeam website. If you do not have an account, you will need to set one up (account setup is free). Once you have logged in, your download should start automatically.
The files will appear in ISO disk image format. Double-click the ISO image and run the installation setup.
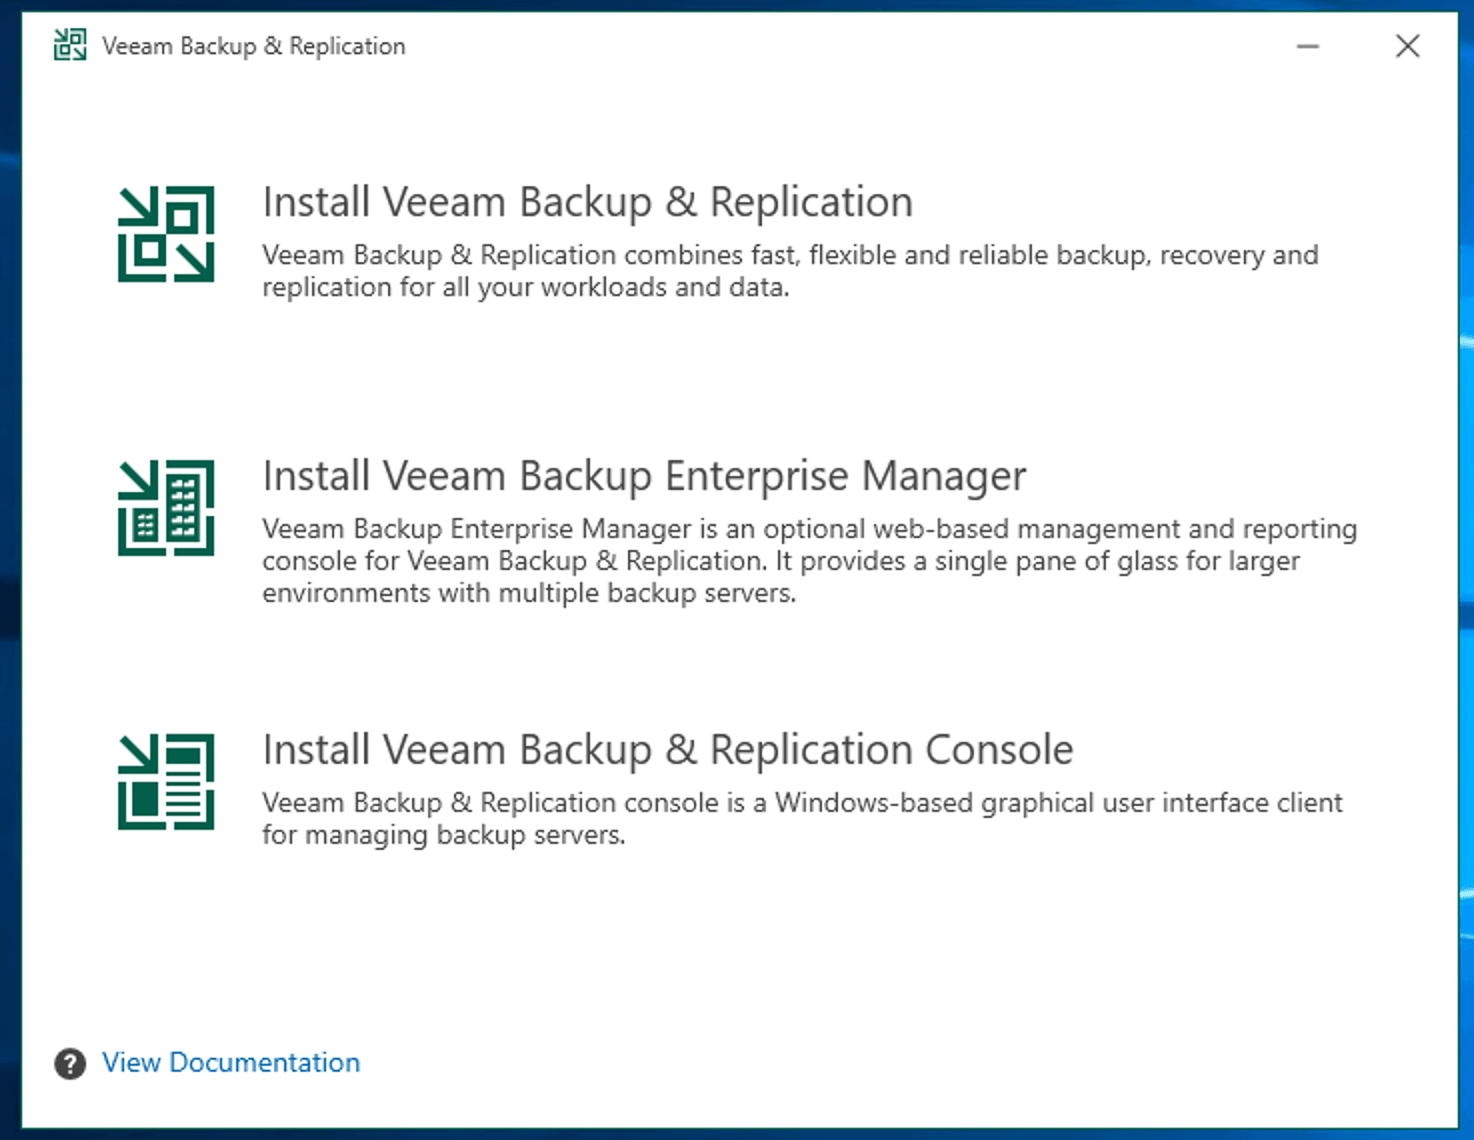
On the server, you can then launch the installation wizard. Select Install Veeam Backup & Replication.
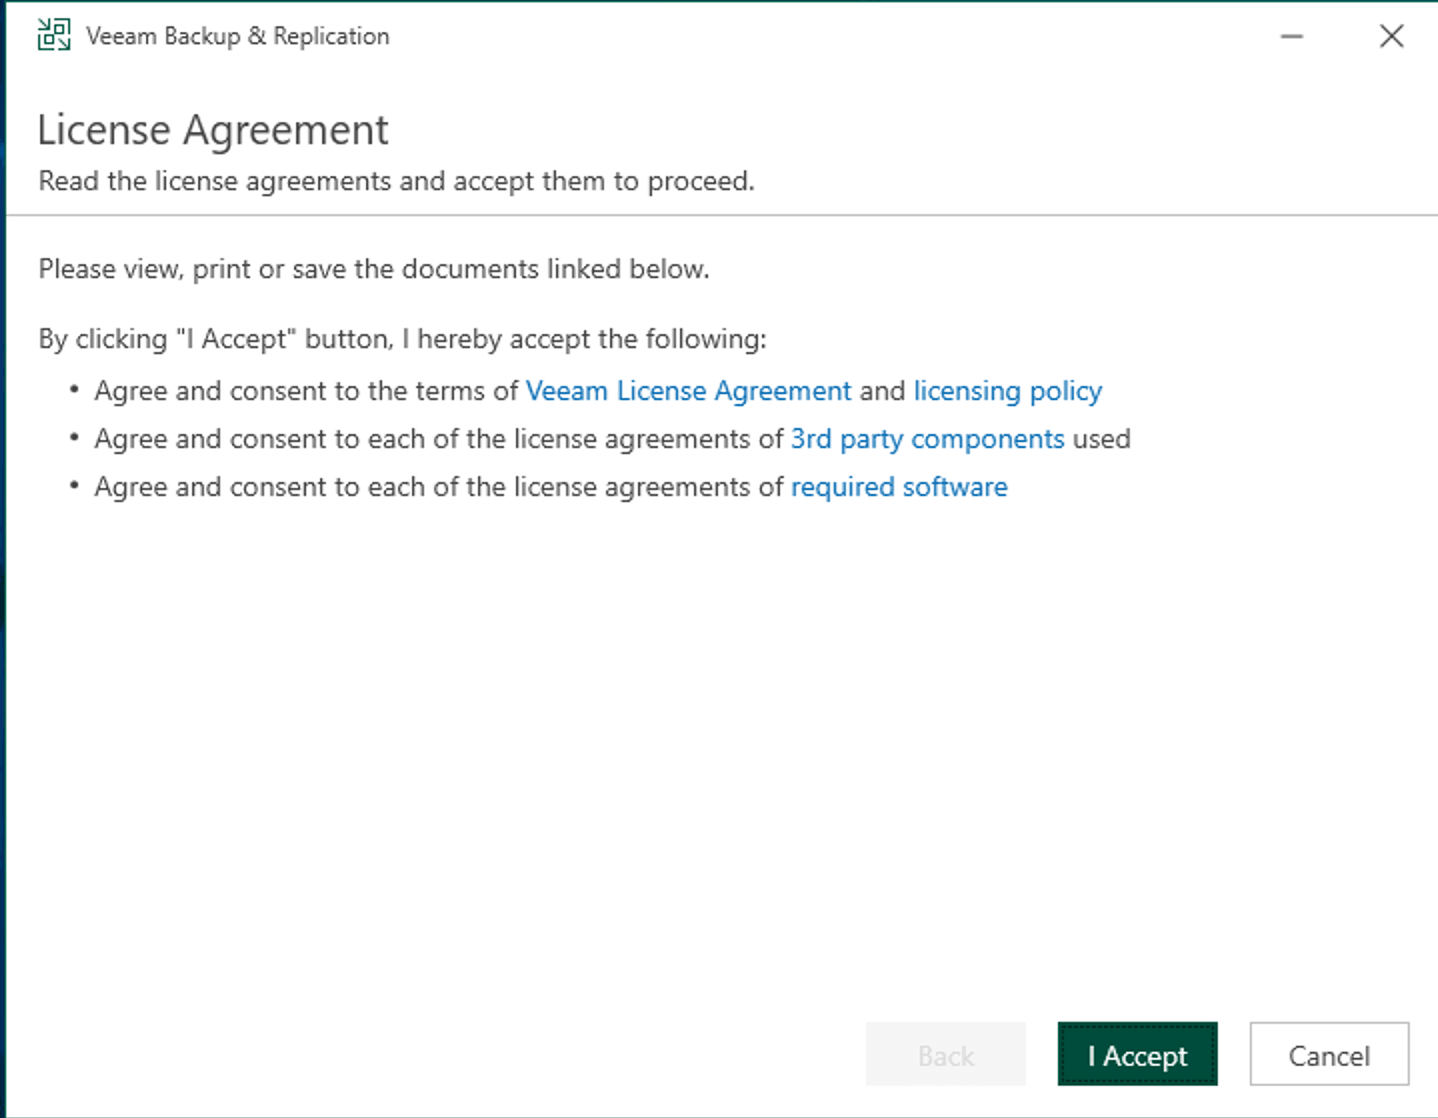
After you have read the license agreement, click I Accept.
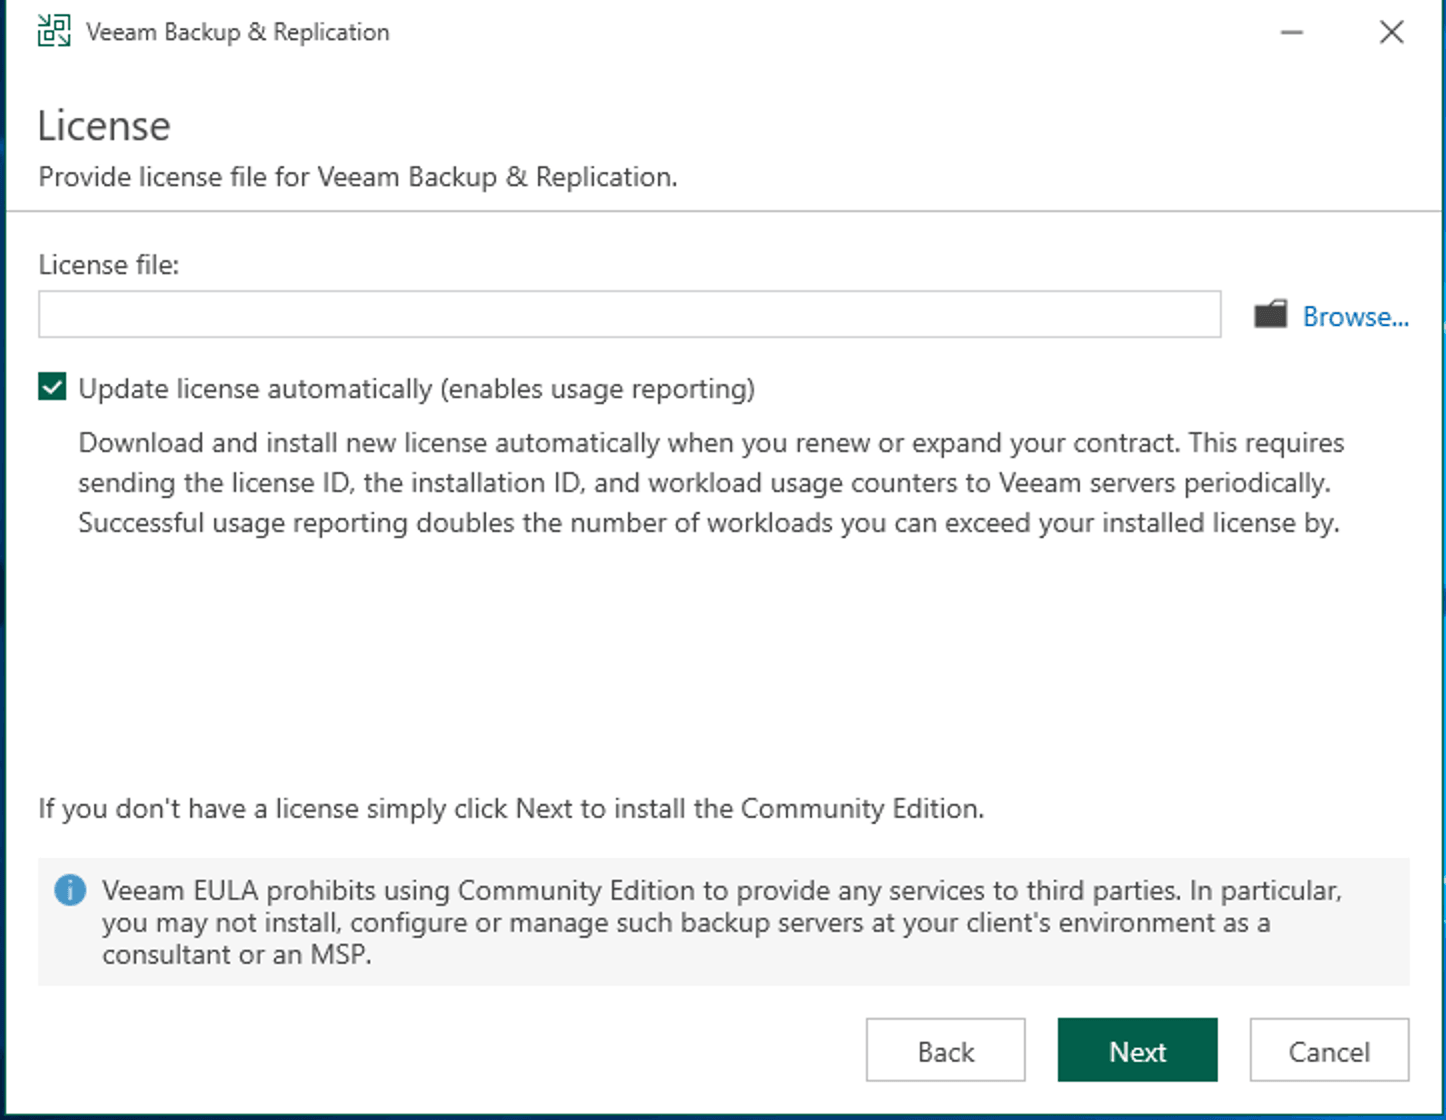
Click Next to skip the step of opening a license file.
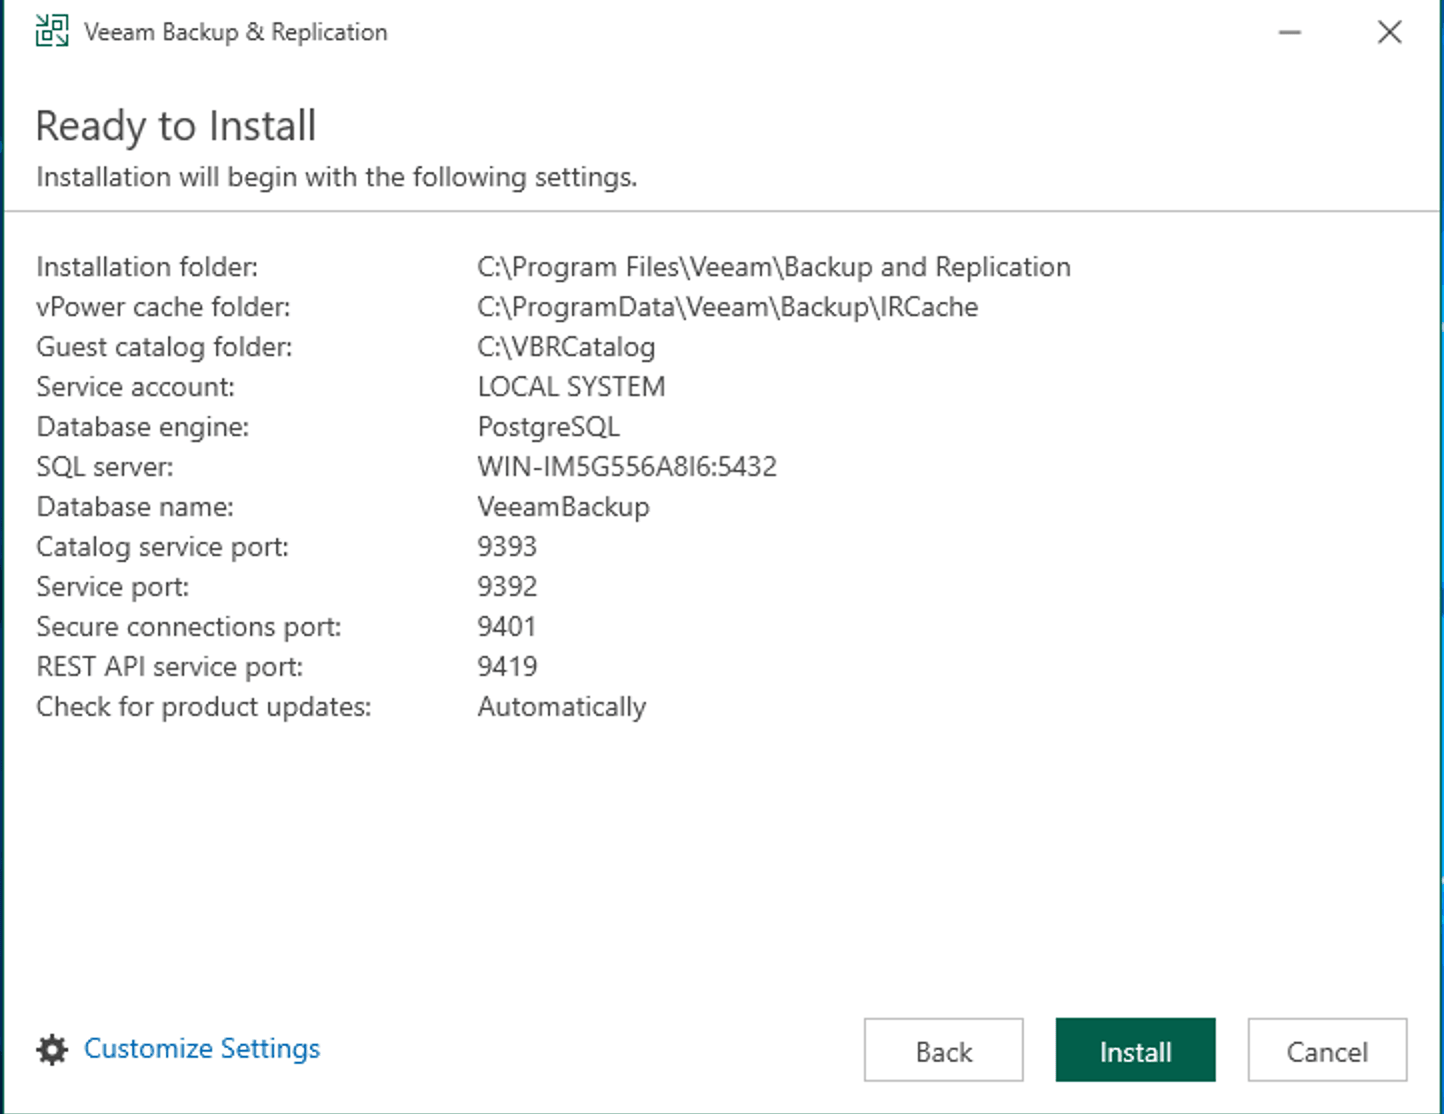
Review the installation settings and click Install.
Next, wait for the installation to complete.
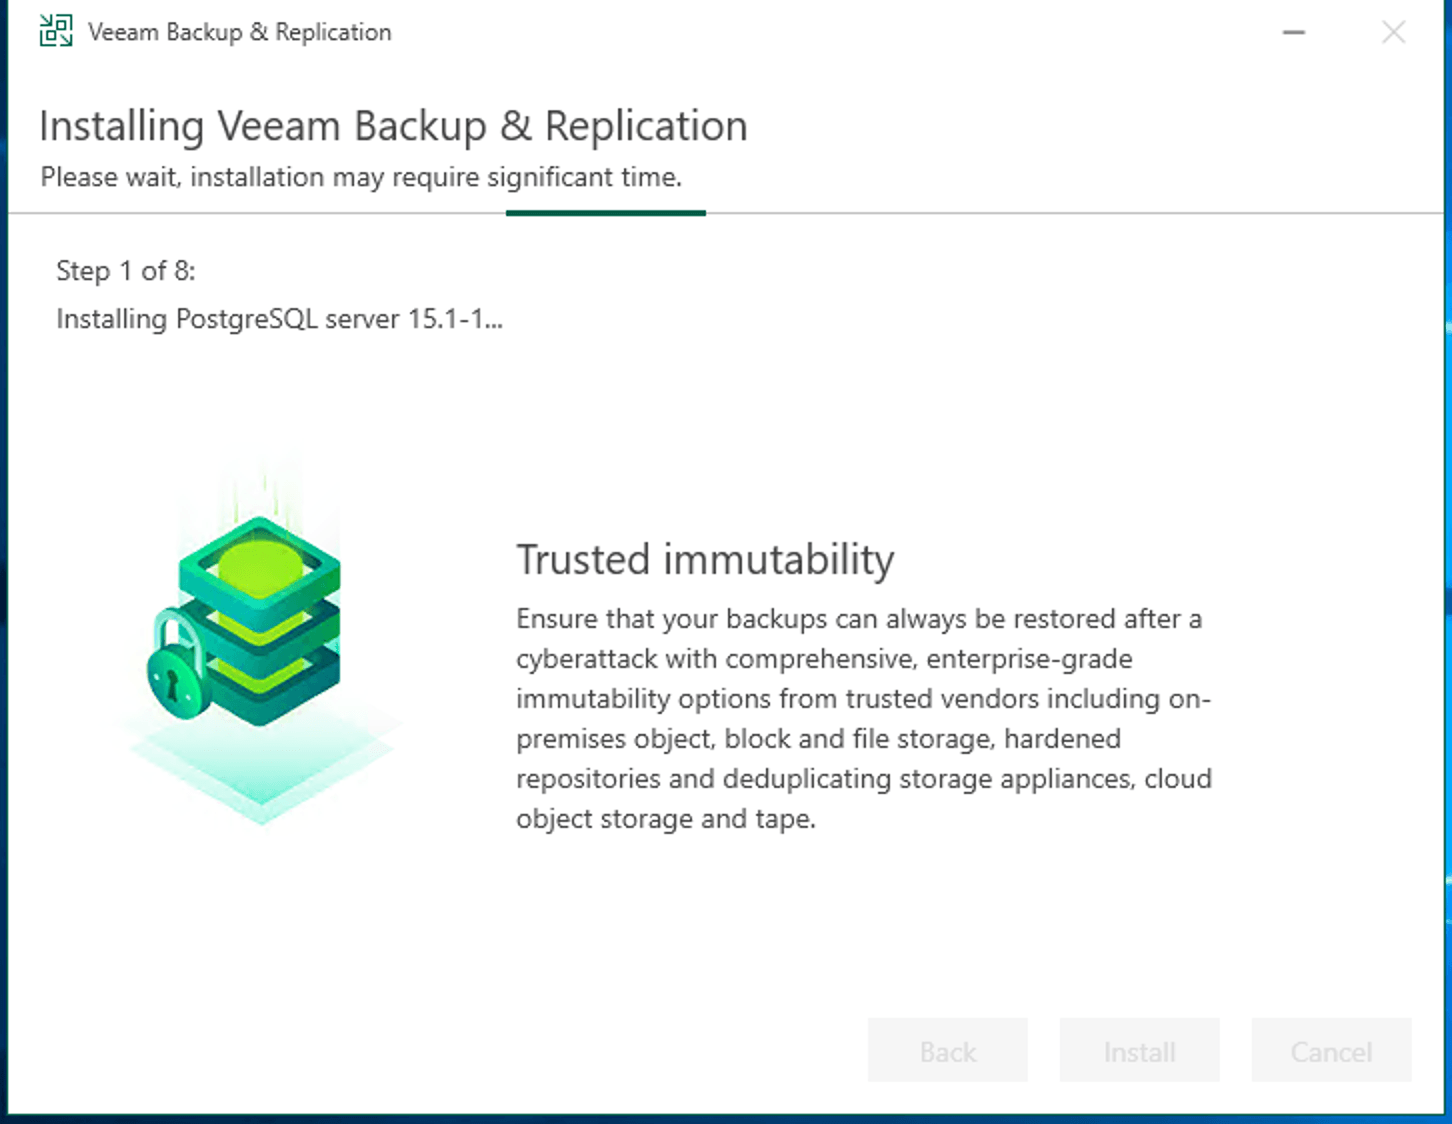
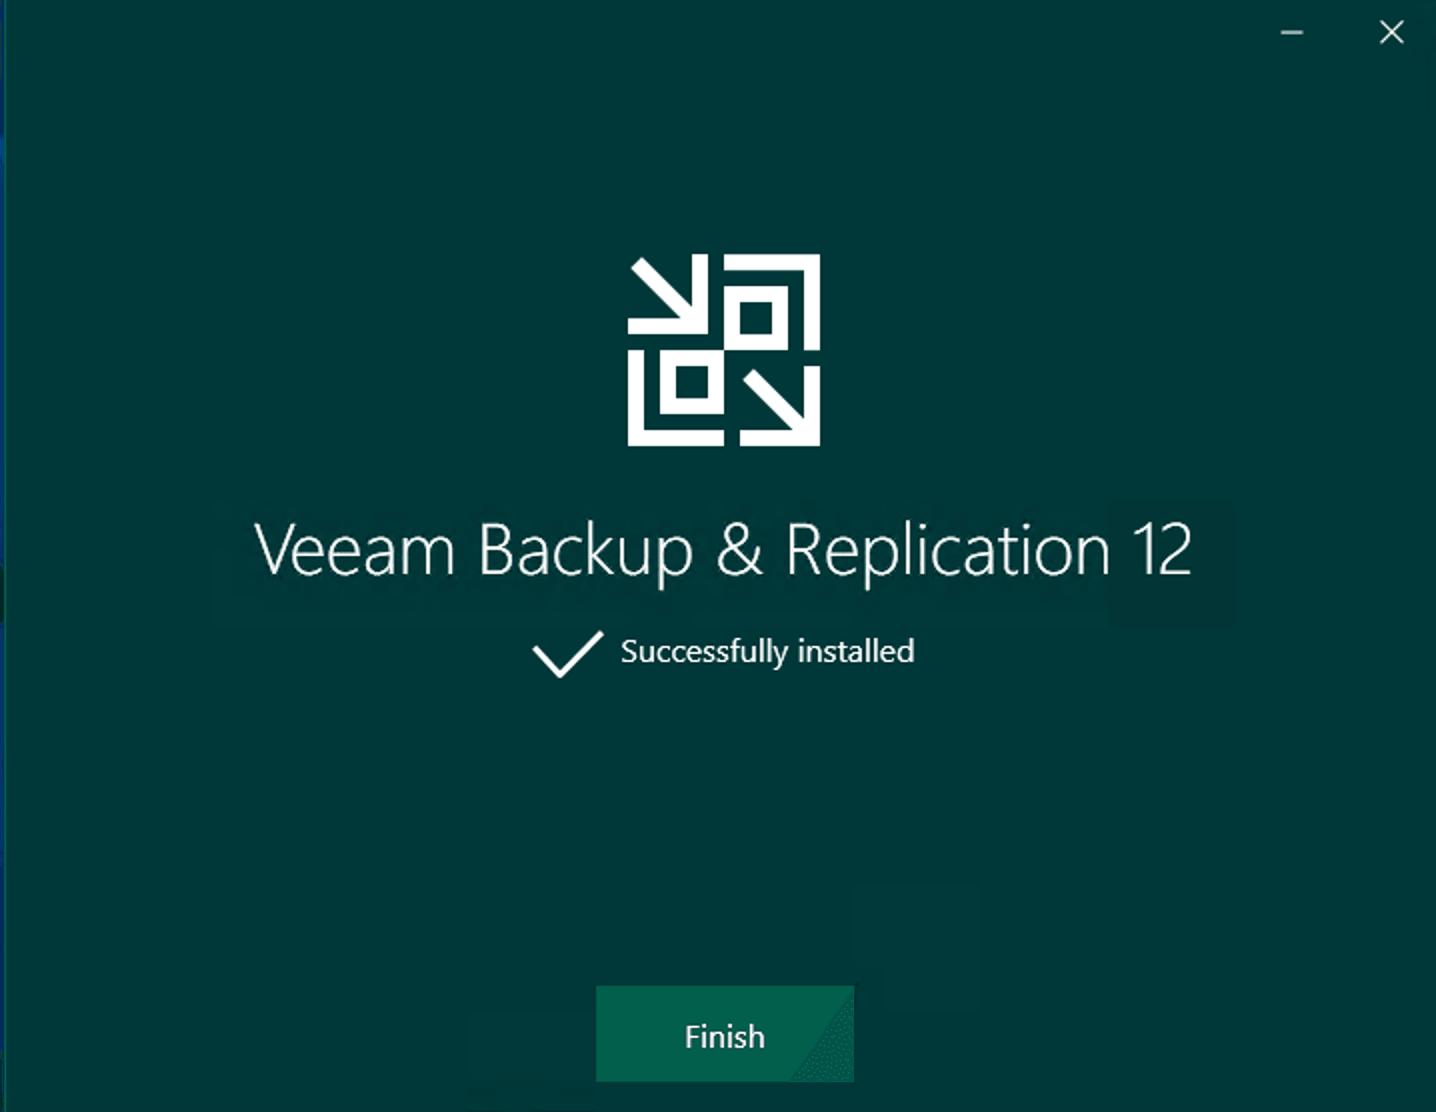
Once it is complete, exit the installation wizard by clicking Finish.
Creating a Veeam Enterprise service account
Step 1: Launch a service account
Generate a complex password for your service account.
To ensure that the Veeam licence activation works correctly, the username and password must use only supported characters:
- Lowercase and uppercase letters without accents (a-z, A-Z)
- Numbers (0-9)
- Special characters:
! @ = # % & ' " { } * ( ) [ ] ? . , ; : - _ \ / +
NOTE: If the username or password contains unsupported characters, the license activation may fail.
Next, launch Windows PowerShell as an administrator and create the service account, for example:
Please note that the account name and password shown here are examples, and must be replaced with your own details:
- Account name: OVHVeeamEnterprise
- Password: P@ssword01
Step 2: Define the service account authorizations
Launch the Veeam console.
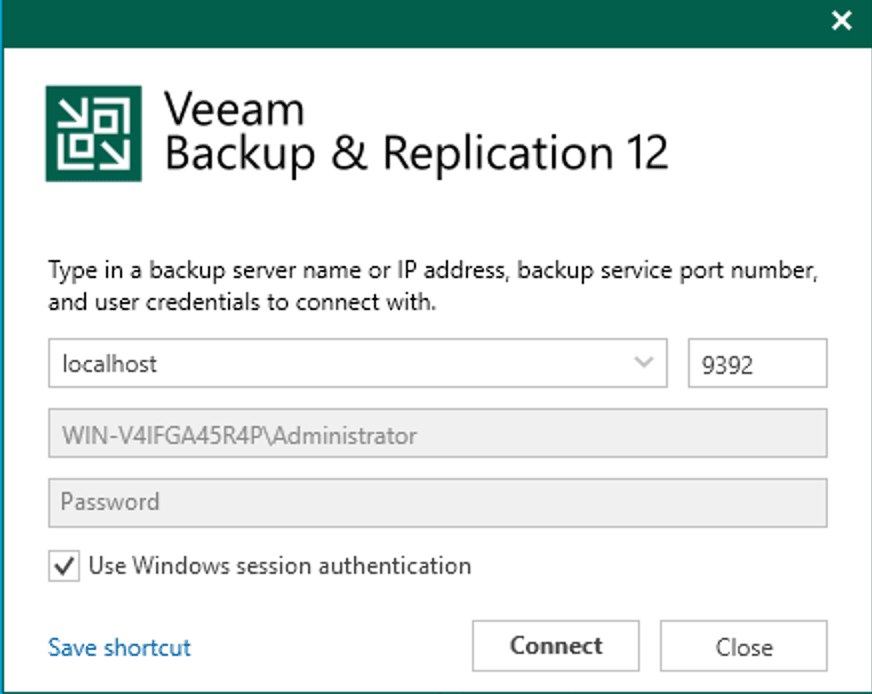
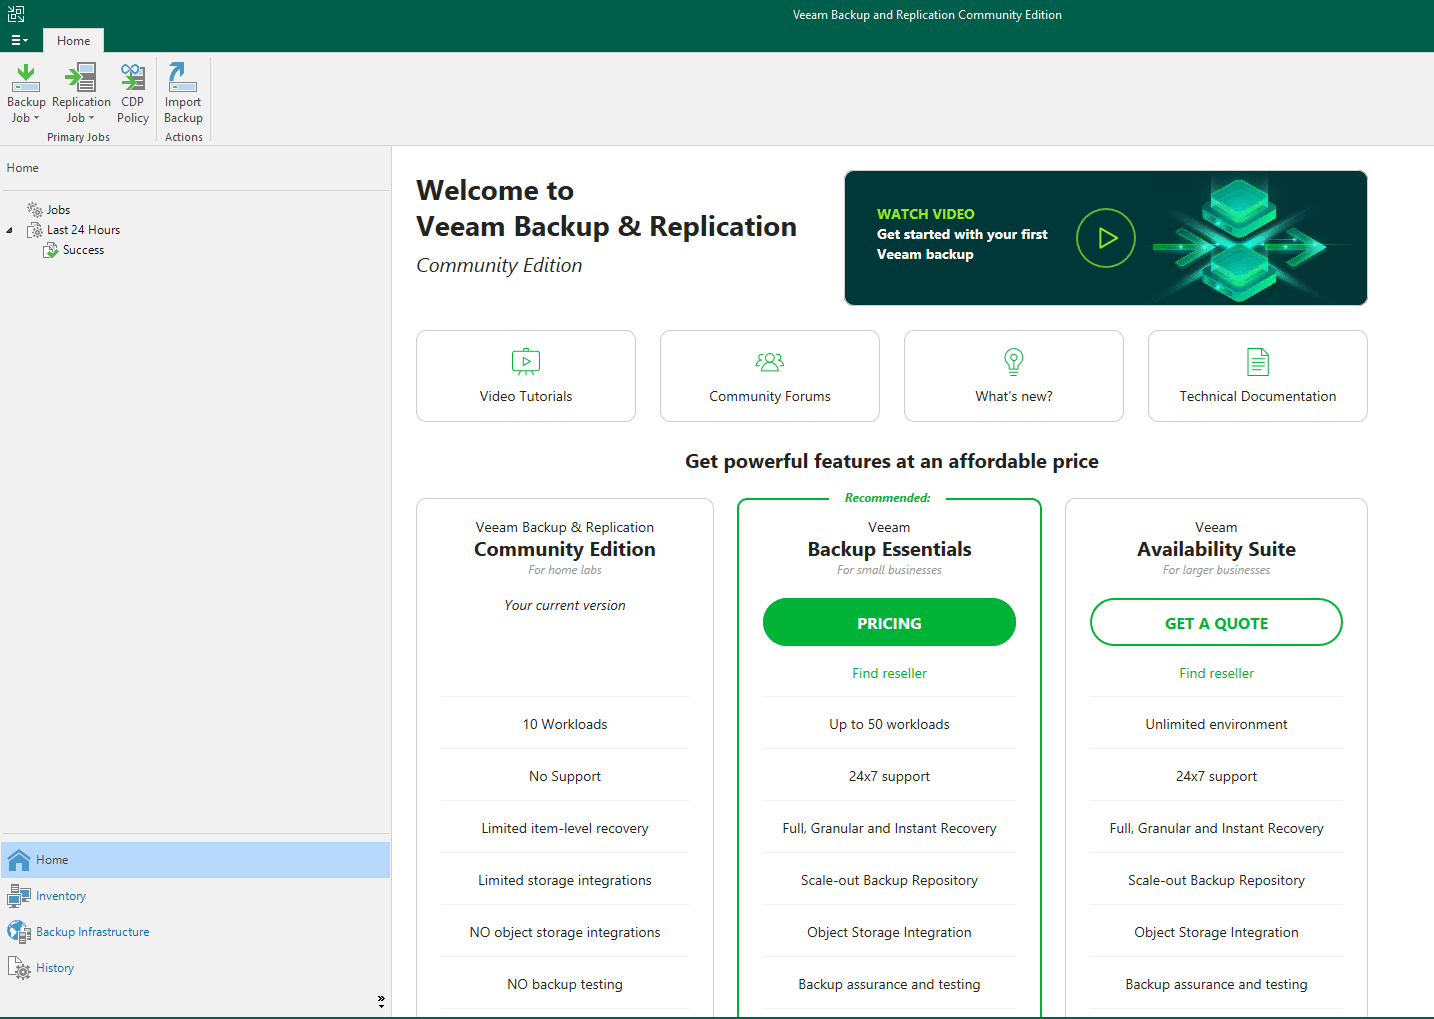
Check that it is in Community Edition mode.
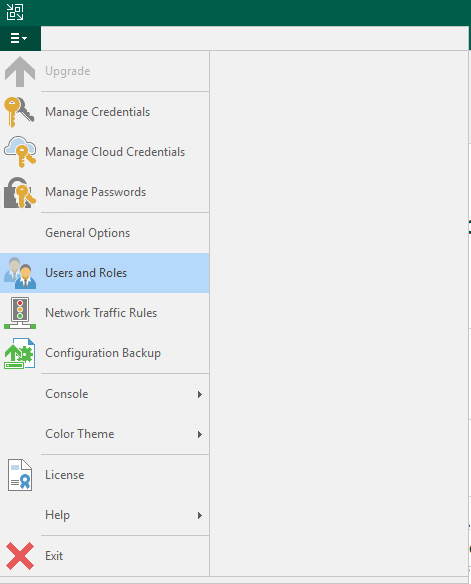
Go to the menu, and click Users and Roles.
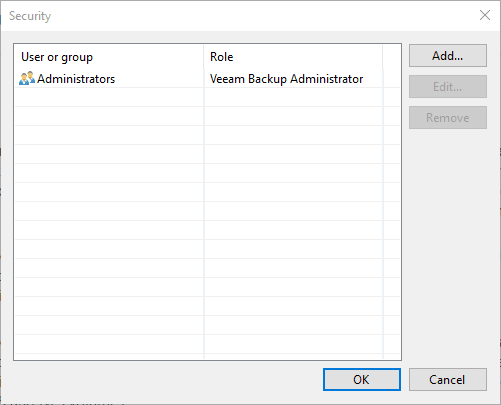
In the Security window, select Add....
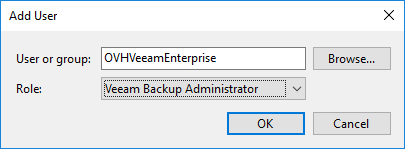
Then, in the Add User window, enter the service account name you have created. Select the Veeam Backup Administrator role and confirm by clicking OK.
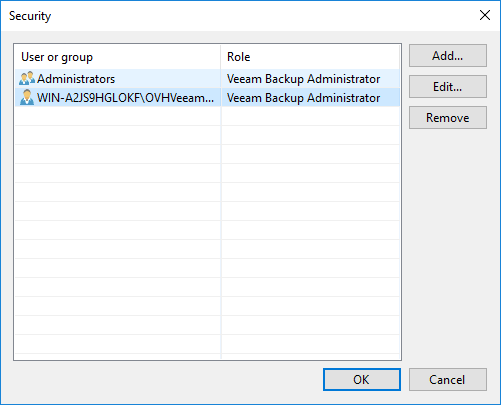
If you go back to the Security window, you can check that the account has been defined properly.
Launch and Activation Permissions
The OVHVeeamEnterprise user is only accessible locally, so it is necessary to add permissions in the Windows graphical user interface to enable the remote connection.
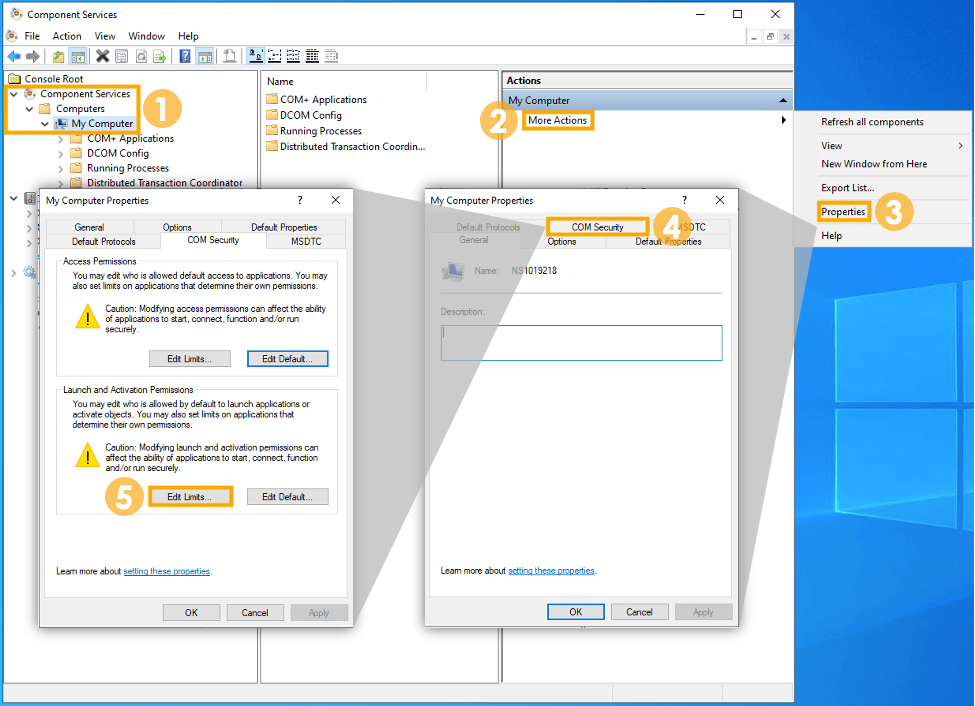
In your Windows search bar, type "Component Services" and launch the service.
- On the left menu and following the tree structure, click on
Component Services,Computers, and thenMy Computer. - Under the Actions tab, click on
More Actions. - Select
Properties. - Go to
COM Security. - In the Launch and Activation Permissions section, click
Edit Limits.
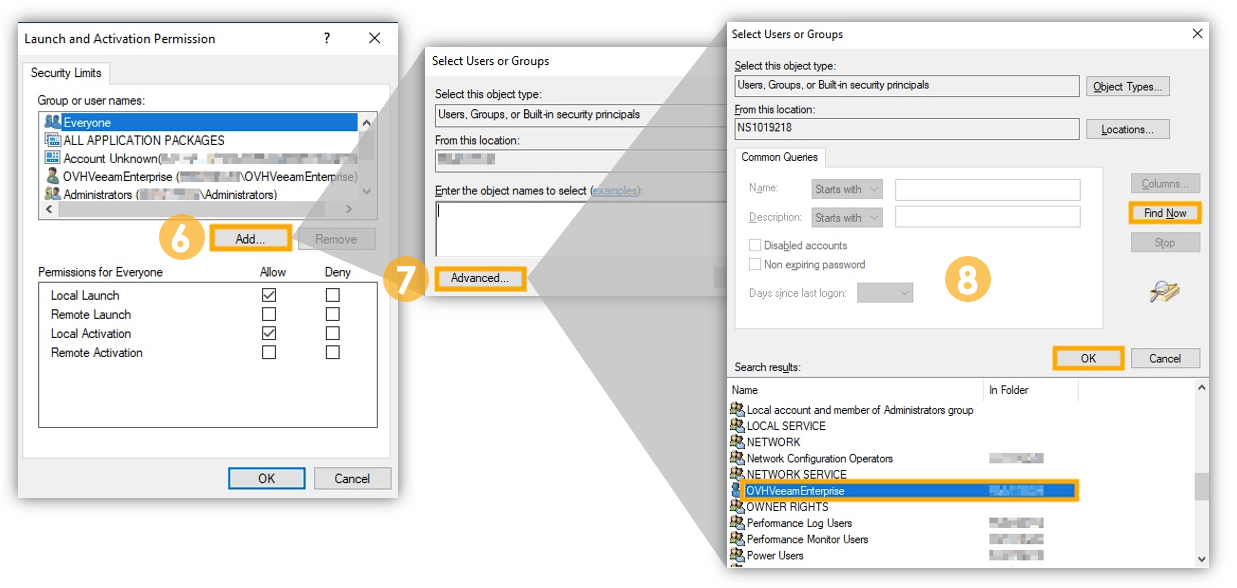
- Click on
Add.... - Click on
Advanced. - Click on
Find Now, select theOVHVeeamEnterpriseuser from the list below, and then clickOKto confirm the selection.
- Select the
OVHVeeamEnterpriseuser from the list, Allow☑all permissions, and clickOK. - Click
Applyto validate the changes.
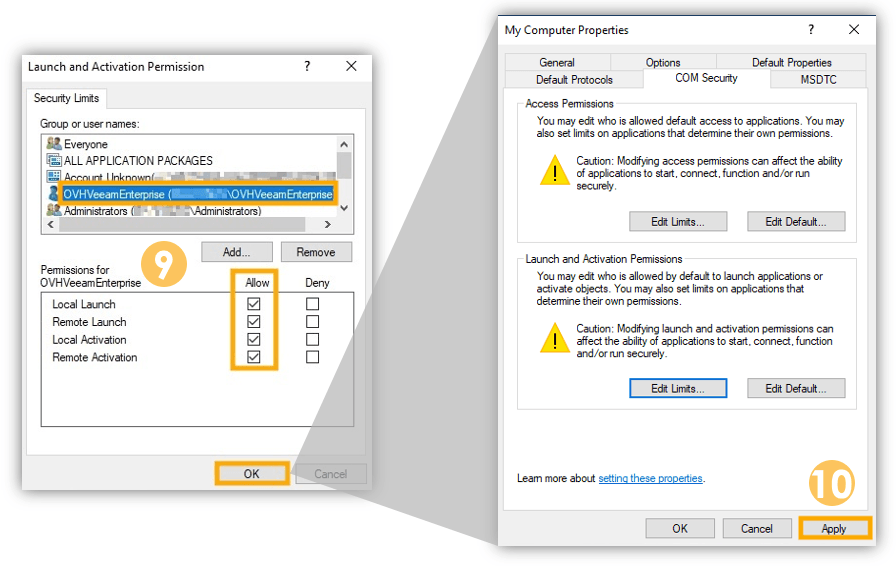
SUCCESS! Your OVHVeeamEnterprise user is now accessible locally and remotely.
Step 3: Register the Veeam Backup & Replication server
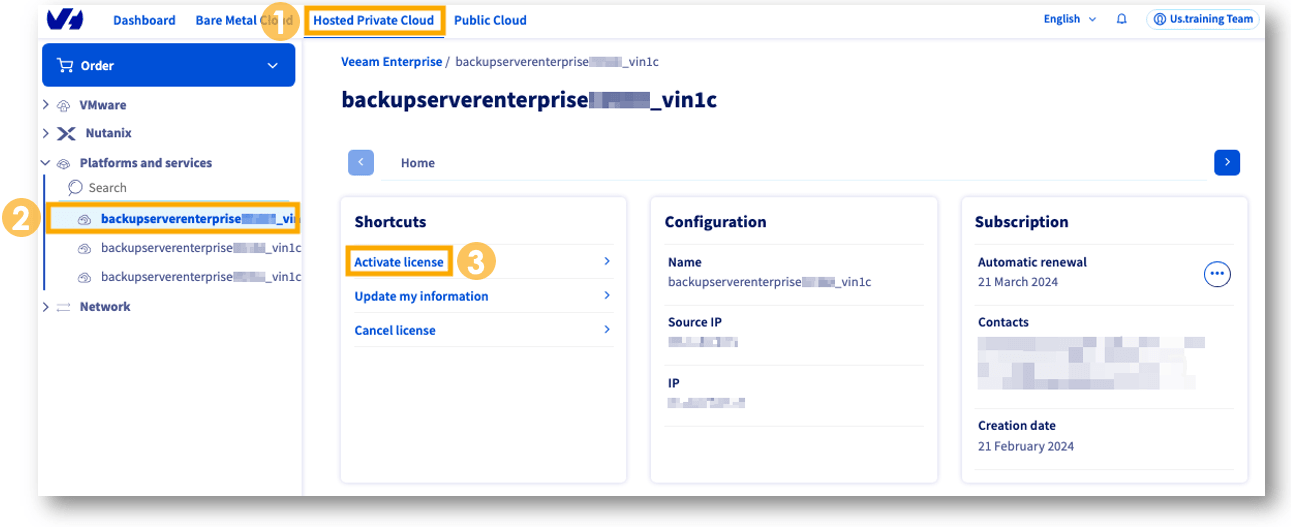
In the OVHcloud Control Panel:
- Click
Hosted Private Cloudtab in the top navigation menu. - Select your
backupserverenterprise...service in the Platforms and services section. - Click
Activate licensein the Shortcuts box.
NOTE: The Shortcuts panel is also where you can cancel your license.
In the new window, enter the following information:
- The public IP address through which your Veeam Backup & Replication server can be reached.
- The login credentials you previously created (user name and password).
Validate by clicking OK.
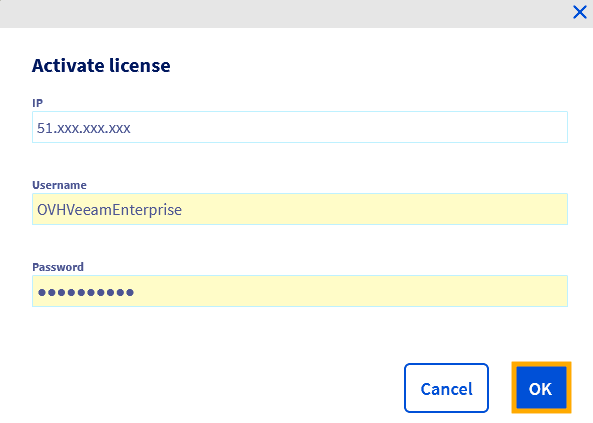
NOTE: Activation can take up to an hour.
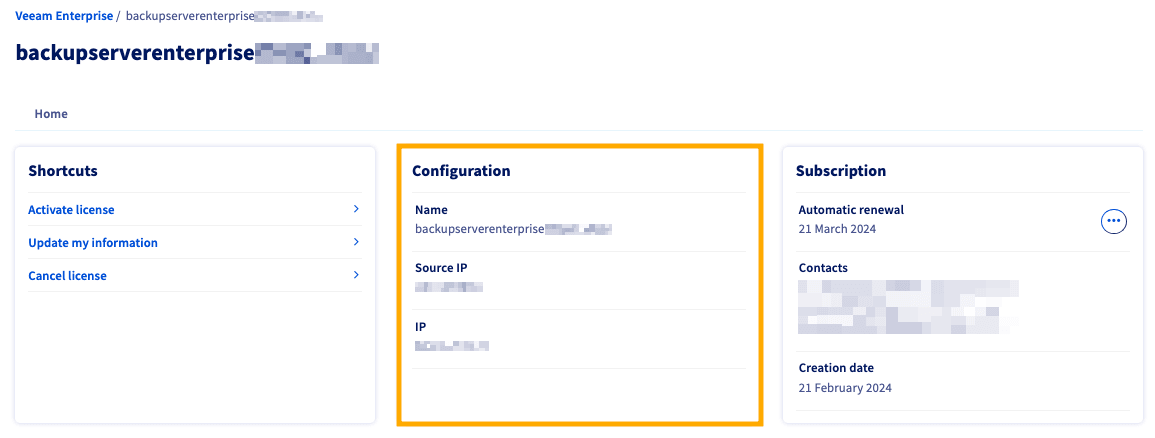
Once the activation is complete, you will find the configuration information on the service page.
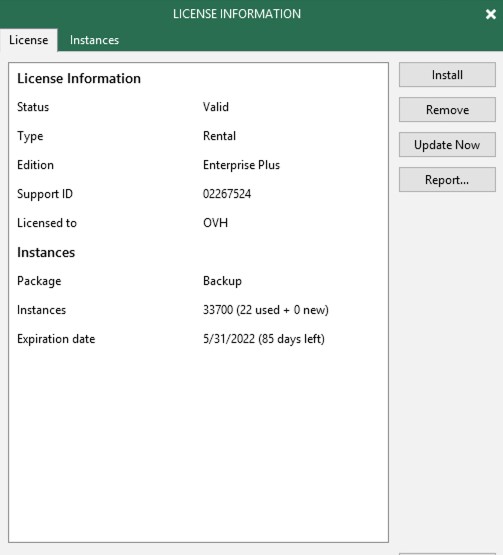
Step 4: Verify the registration
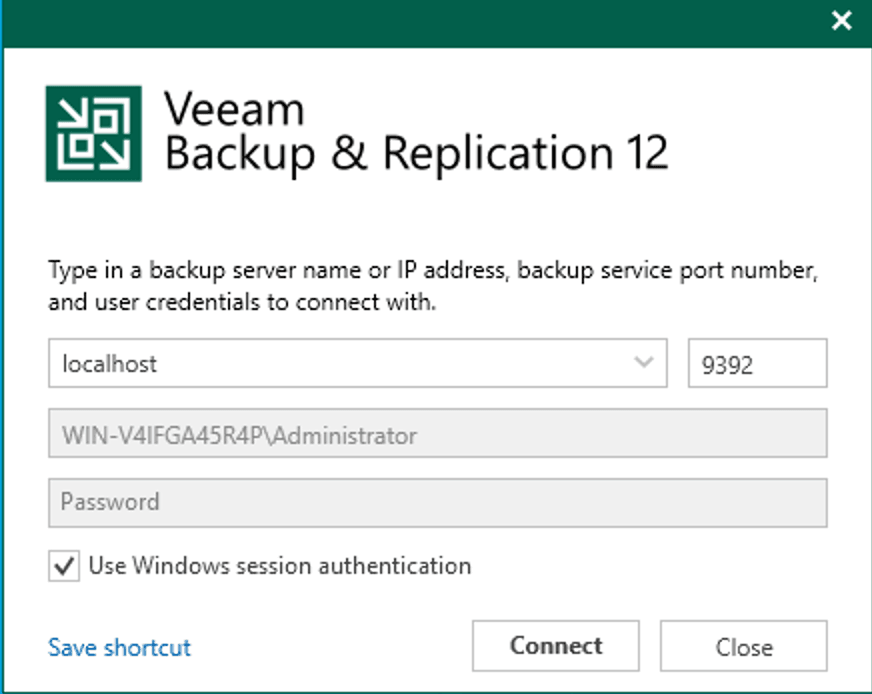
Launch the Veeam console.
Go to the menu, then click License.
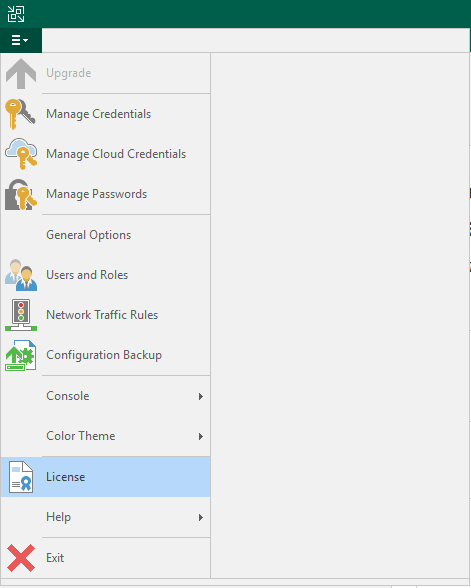
Please confirm that the information displayed is for your OVHcloud license.
Go further
Browse all the VMware on OVHcloud guides.
Browse the rest of the OVHcloud US documentation for guides on our other products and services.
Learn more about VMware on OVHcloud on the OVHcloud US website.