
Valkey - Configure an instance to accept incoming connections
Learn how to configure your Valkey instance to accept incoming connections.
Cloud Databases allow you to focus on building and deploying cloud applications while OVHcloud takes care of the database infrastructure and maintenance in operational conditions.
Requirements
- A Public Cloud project in your OVHcloud account
- Access to the OVHcloud Control Panel
- A Valkey service running on your OVHcloud Cloud Databases (this guide can help you to meet this requirement)
Instructions
Configure your Valkey instance to accept incoming connections
Before making a connection, we need to verify that our Valkey instance is correctly configured.
Log in to your OVHcloud Control Panel and open your database instance via the Public Cloud and Databases menus.
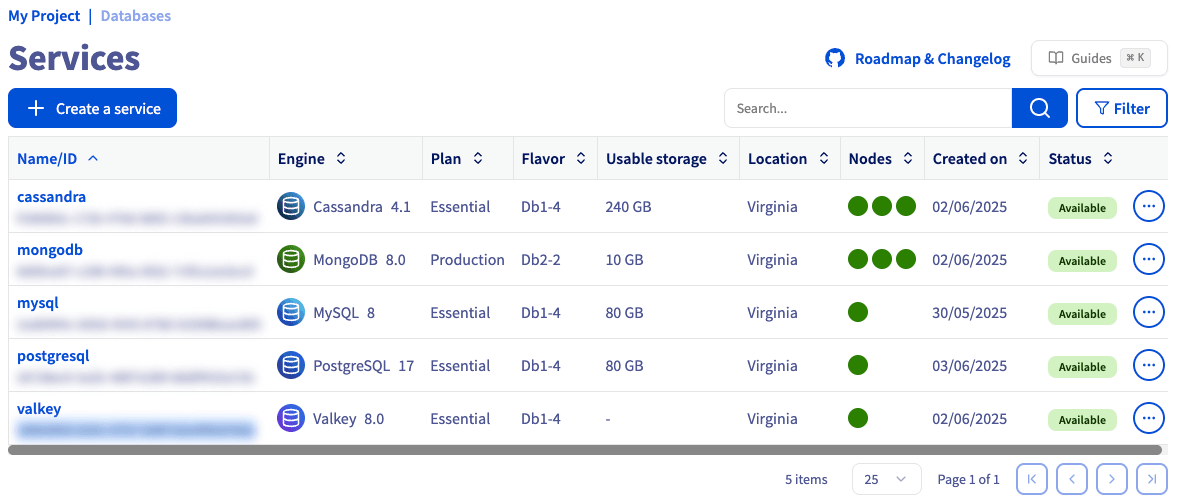
Step 1: Verify your user roles and password
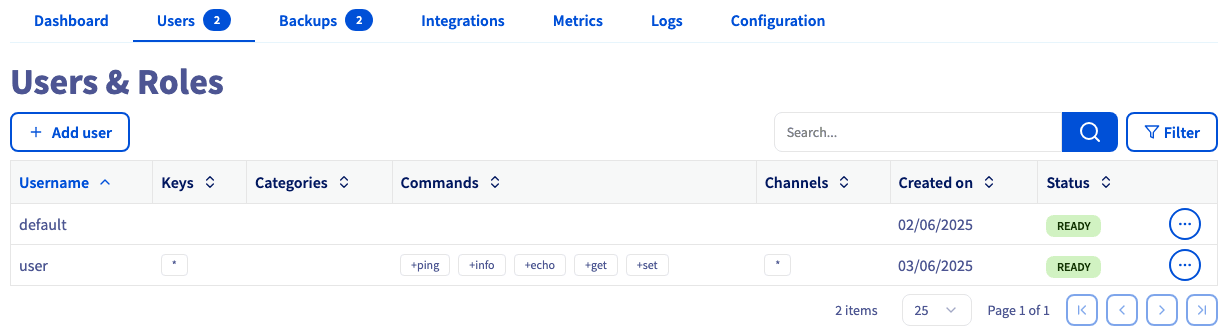
Select the Users tab. Verify that you have a user with sufficient rights and a password. If you don't remember the user's password, you can either create a new user or regenerate the password of an existing user. Be careful! By doing so, you will need to update all the places where you already use this user/password pair.
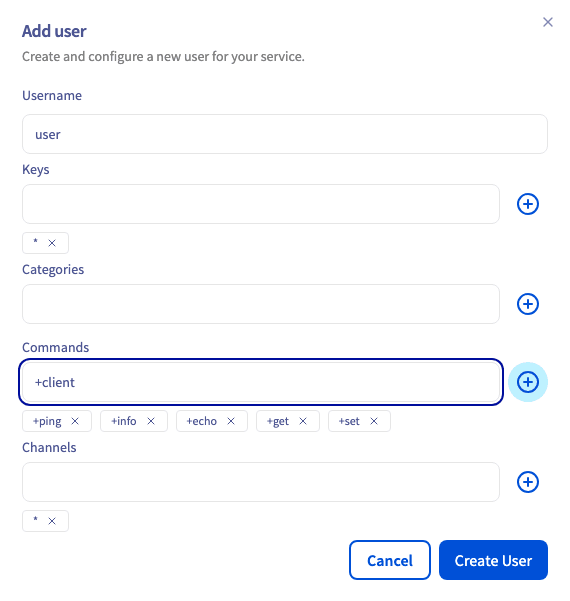
In our example, we will create a user called User and rights for:
- Keys:
* (for all keys) - Commands:
+ping (for the ping command)
+info (for the info command)
+echo (for the echo command)
+get (for the get command)
+set (for the set command)
+client (for the client command) - Channels:
* (for all channels)
Once created or updated, the user has to be ready and with the "READY" status in the Control Panel.
Follow the Commands Official Documentation to learn more.
Follow this guide to learn more about users, roles, capabilities, and limitations.
Step 2: Authorize incoming connections from the service
NOTE: For security reasons, the default network configuration doesn't allow any incoming connections. You must authorize suitable IP addresses to successfully access your database.
In this step, select the Configuration tab. IP addresses must be authorized here before they can connect to your database.
Add the IP(s) you wish to authorize and click the add + button.
Click Saved changes when you are finished.
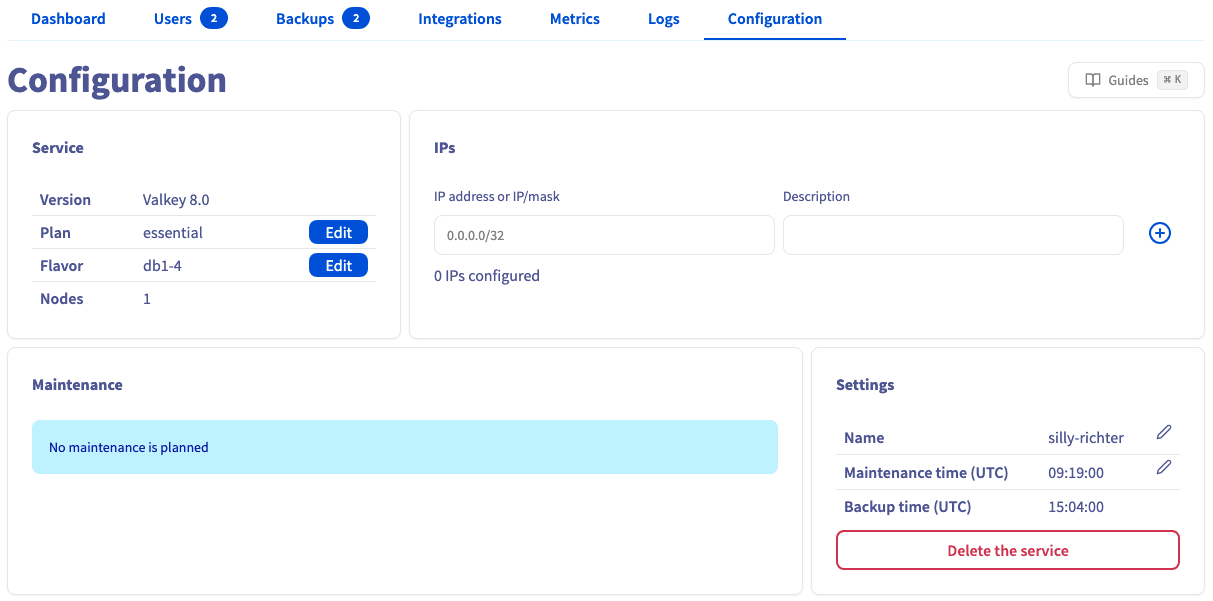
If you want to allow connections from the outside, you can enter the IP 0.0.0.0/0. Please use it carefully.
Collect required information
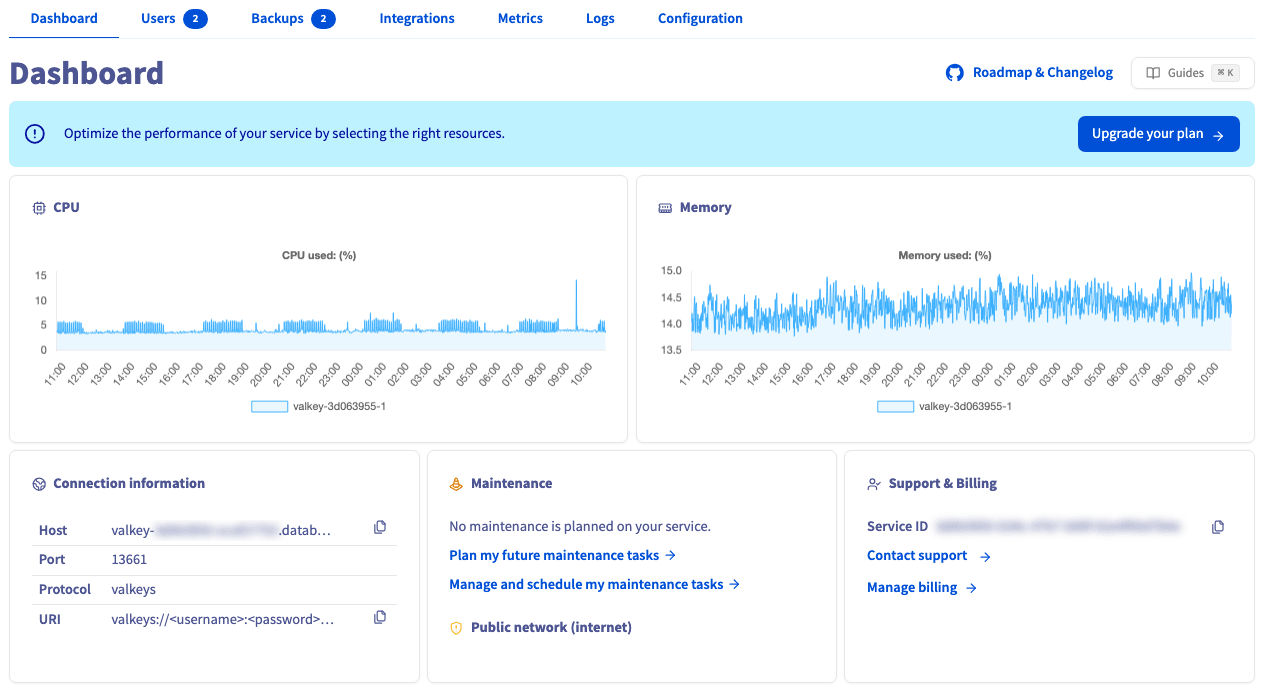
Select the Dashboard tab to find the required login credentials in the Connection information section.
Go further
Visit the GitHub examples repository to find out how to connect to your database with several languages.
Browse all the Databases guides.
Browse the rest of the OVHcloud US documentation for guides on our other products and services.
Learn more about Managed Databases on the OVHcloud US website.