
Valkey - Manage ACLs via API
Learn how to update your user ACLs with the OVHcloud API.
Users and roles
As explained on this page: Valkey Capabilities, Users & roles, the users' ACLs can not be updated via the OVHcloud Control Panel.
You must therefore use the OVHcloud API.
Requirements
- A Public Cloud project in your OVHcloud account.
- An up-and-running Cloud Database for Valkey.
If you have never used the OVHcloud API before, then follow this tutorial: First Steps with the OVHcloud APIs.
For this tutorial, we assume that you are logged in to the OVHcloud API.
Instructions
Get your service, Valkey cluster, and user IDs
You first need to identify the service, the Valkey cluster, and the user you want to apply the changes to.
Get the desired service ID
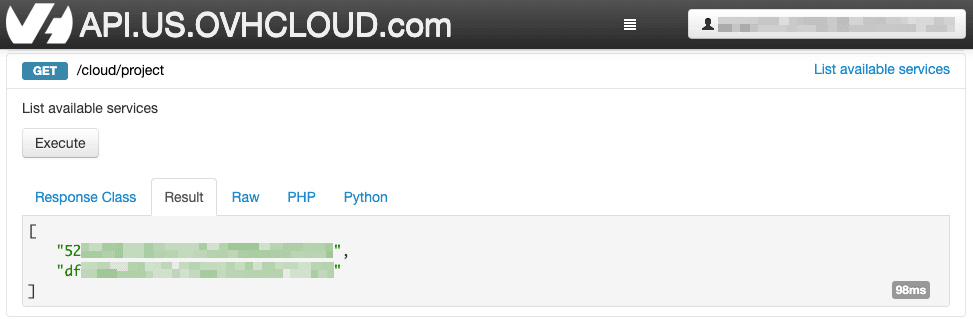
Execute the following API call:
From the resulting list, select and copy the service identifier corresponding to the desired service, also known as serviceName.
Get the desired cluster ID
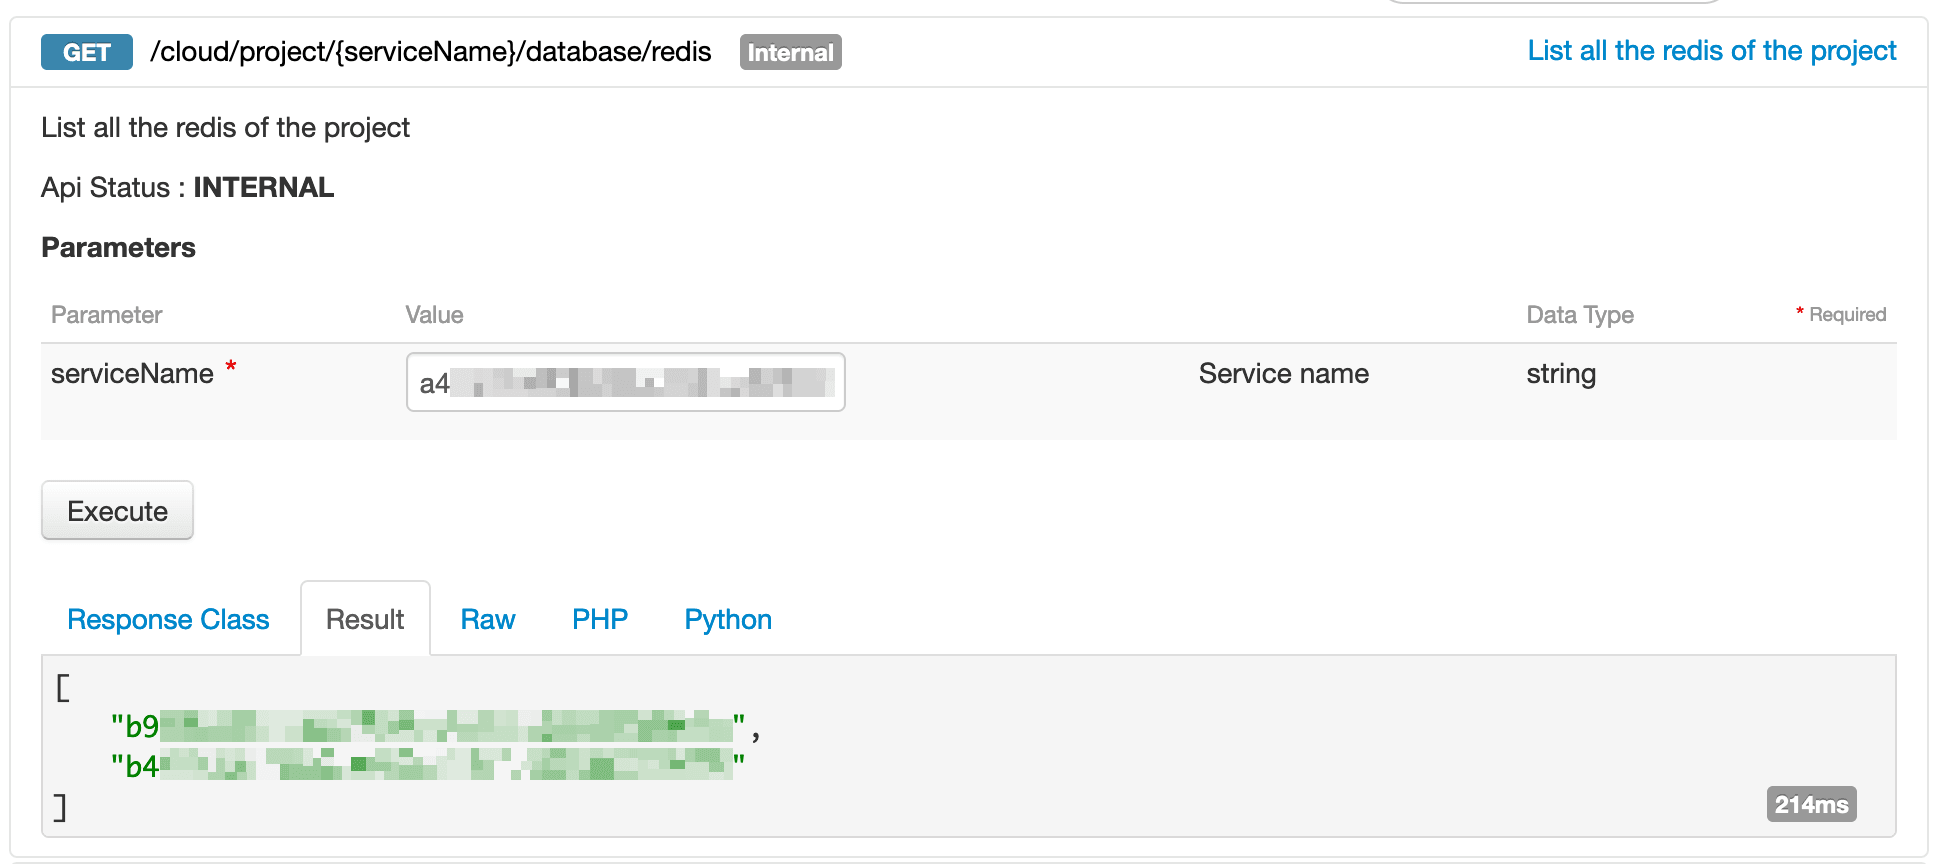
Open the following API call, paste your service ID into the serviceName input field and click Execute:
From the resulting list, select and copy the cluster ID, also known as clusterId.
Get the desired user ID
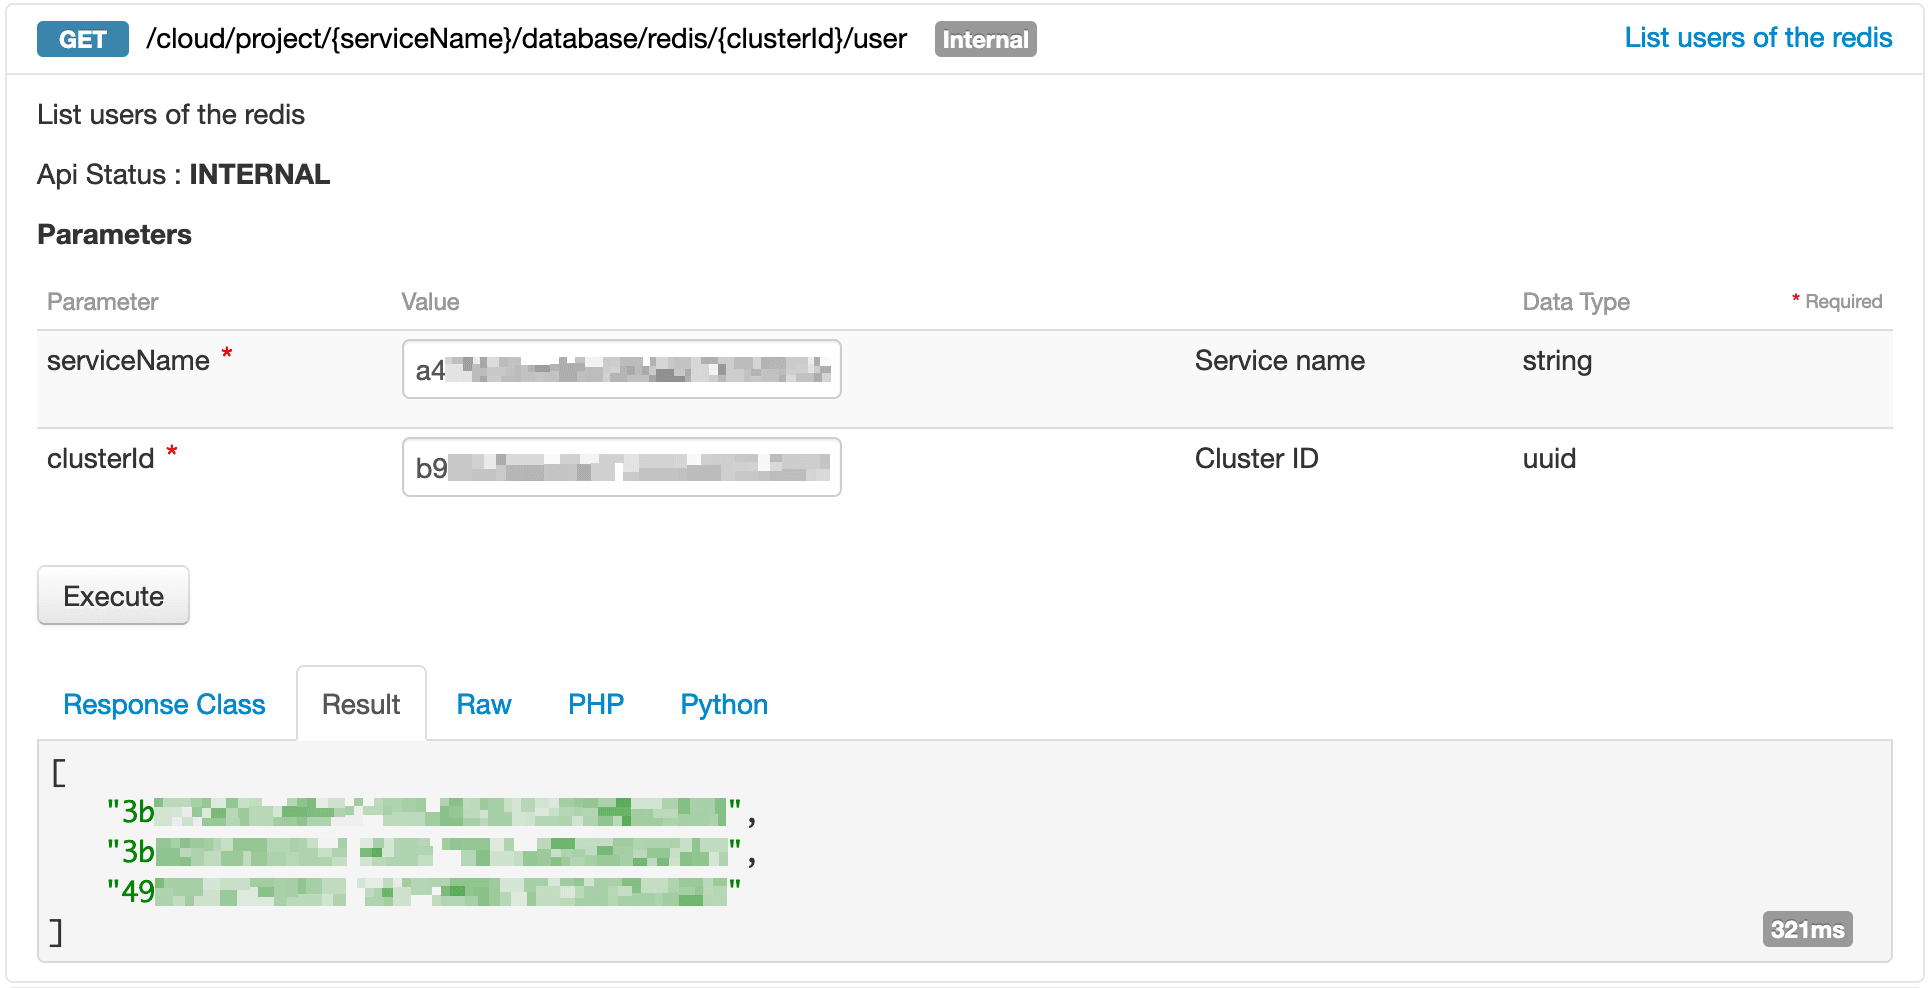
Open the following API call and do the following steps:
- paste your service ID into the serviceName input field
- paste the cluster ID into the clusterId input field
- click
Execute
From the resulting list, find and select the desired user.
To get more details on a user, open the following API call and do the following steps:
- paste your service ID into the serviceName input field
- the user ID into the userId input field
- the cluster ID into the clusterId input field
- click
Execute
Example:
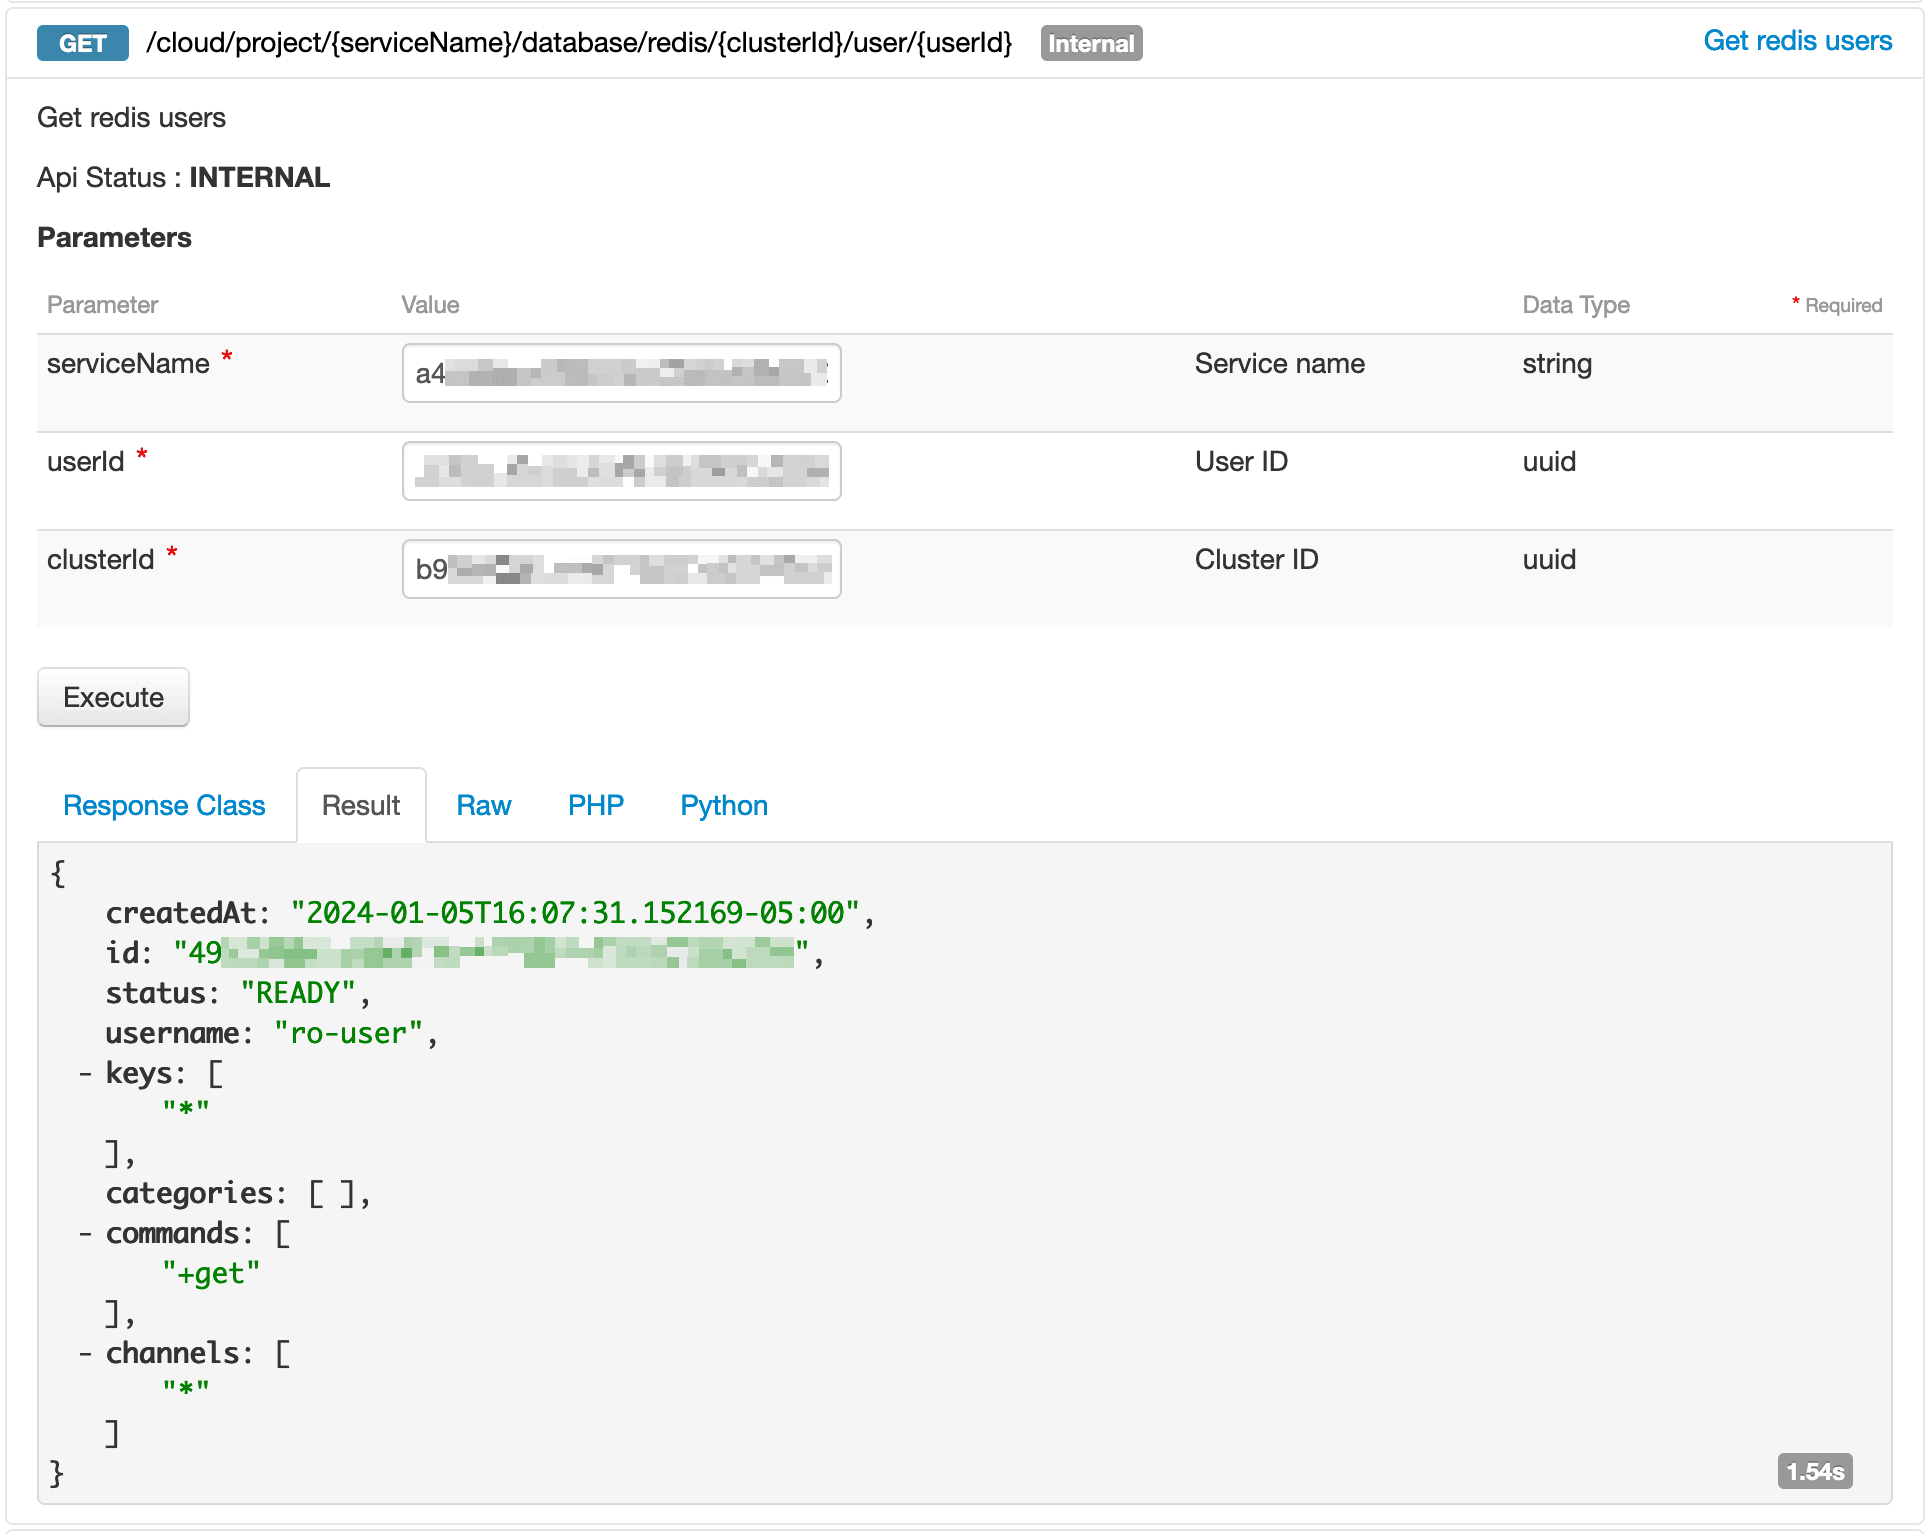
The result shows four string arrays, which represent the ACLs defined for the given user.
- Keys: Allow and disallow certain keys and key permissions.
- Categories: Add all the commands in such category to be called by the user, with valid categories being like @admin, @set, @sortedset,...
- Commands: Add or remove the command to the list of commands the user can call.
- Channels: Allow and disallow Pub/Sub channels.
You can follow the official Redis® documentation about users and ACL.
Update an ACL with the API
Open the following API call and paste the corresponding inputs (serviceName, clusterId, user).
Now, according to the strategy you choose, set the different values into the string arrays, such as in the example below:
NOTE: Running this API call will completely overwrite existing permissions set in the OVHcloud Control Panel.
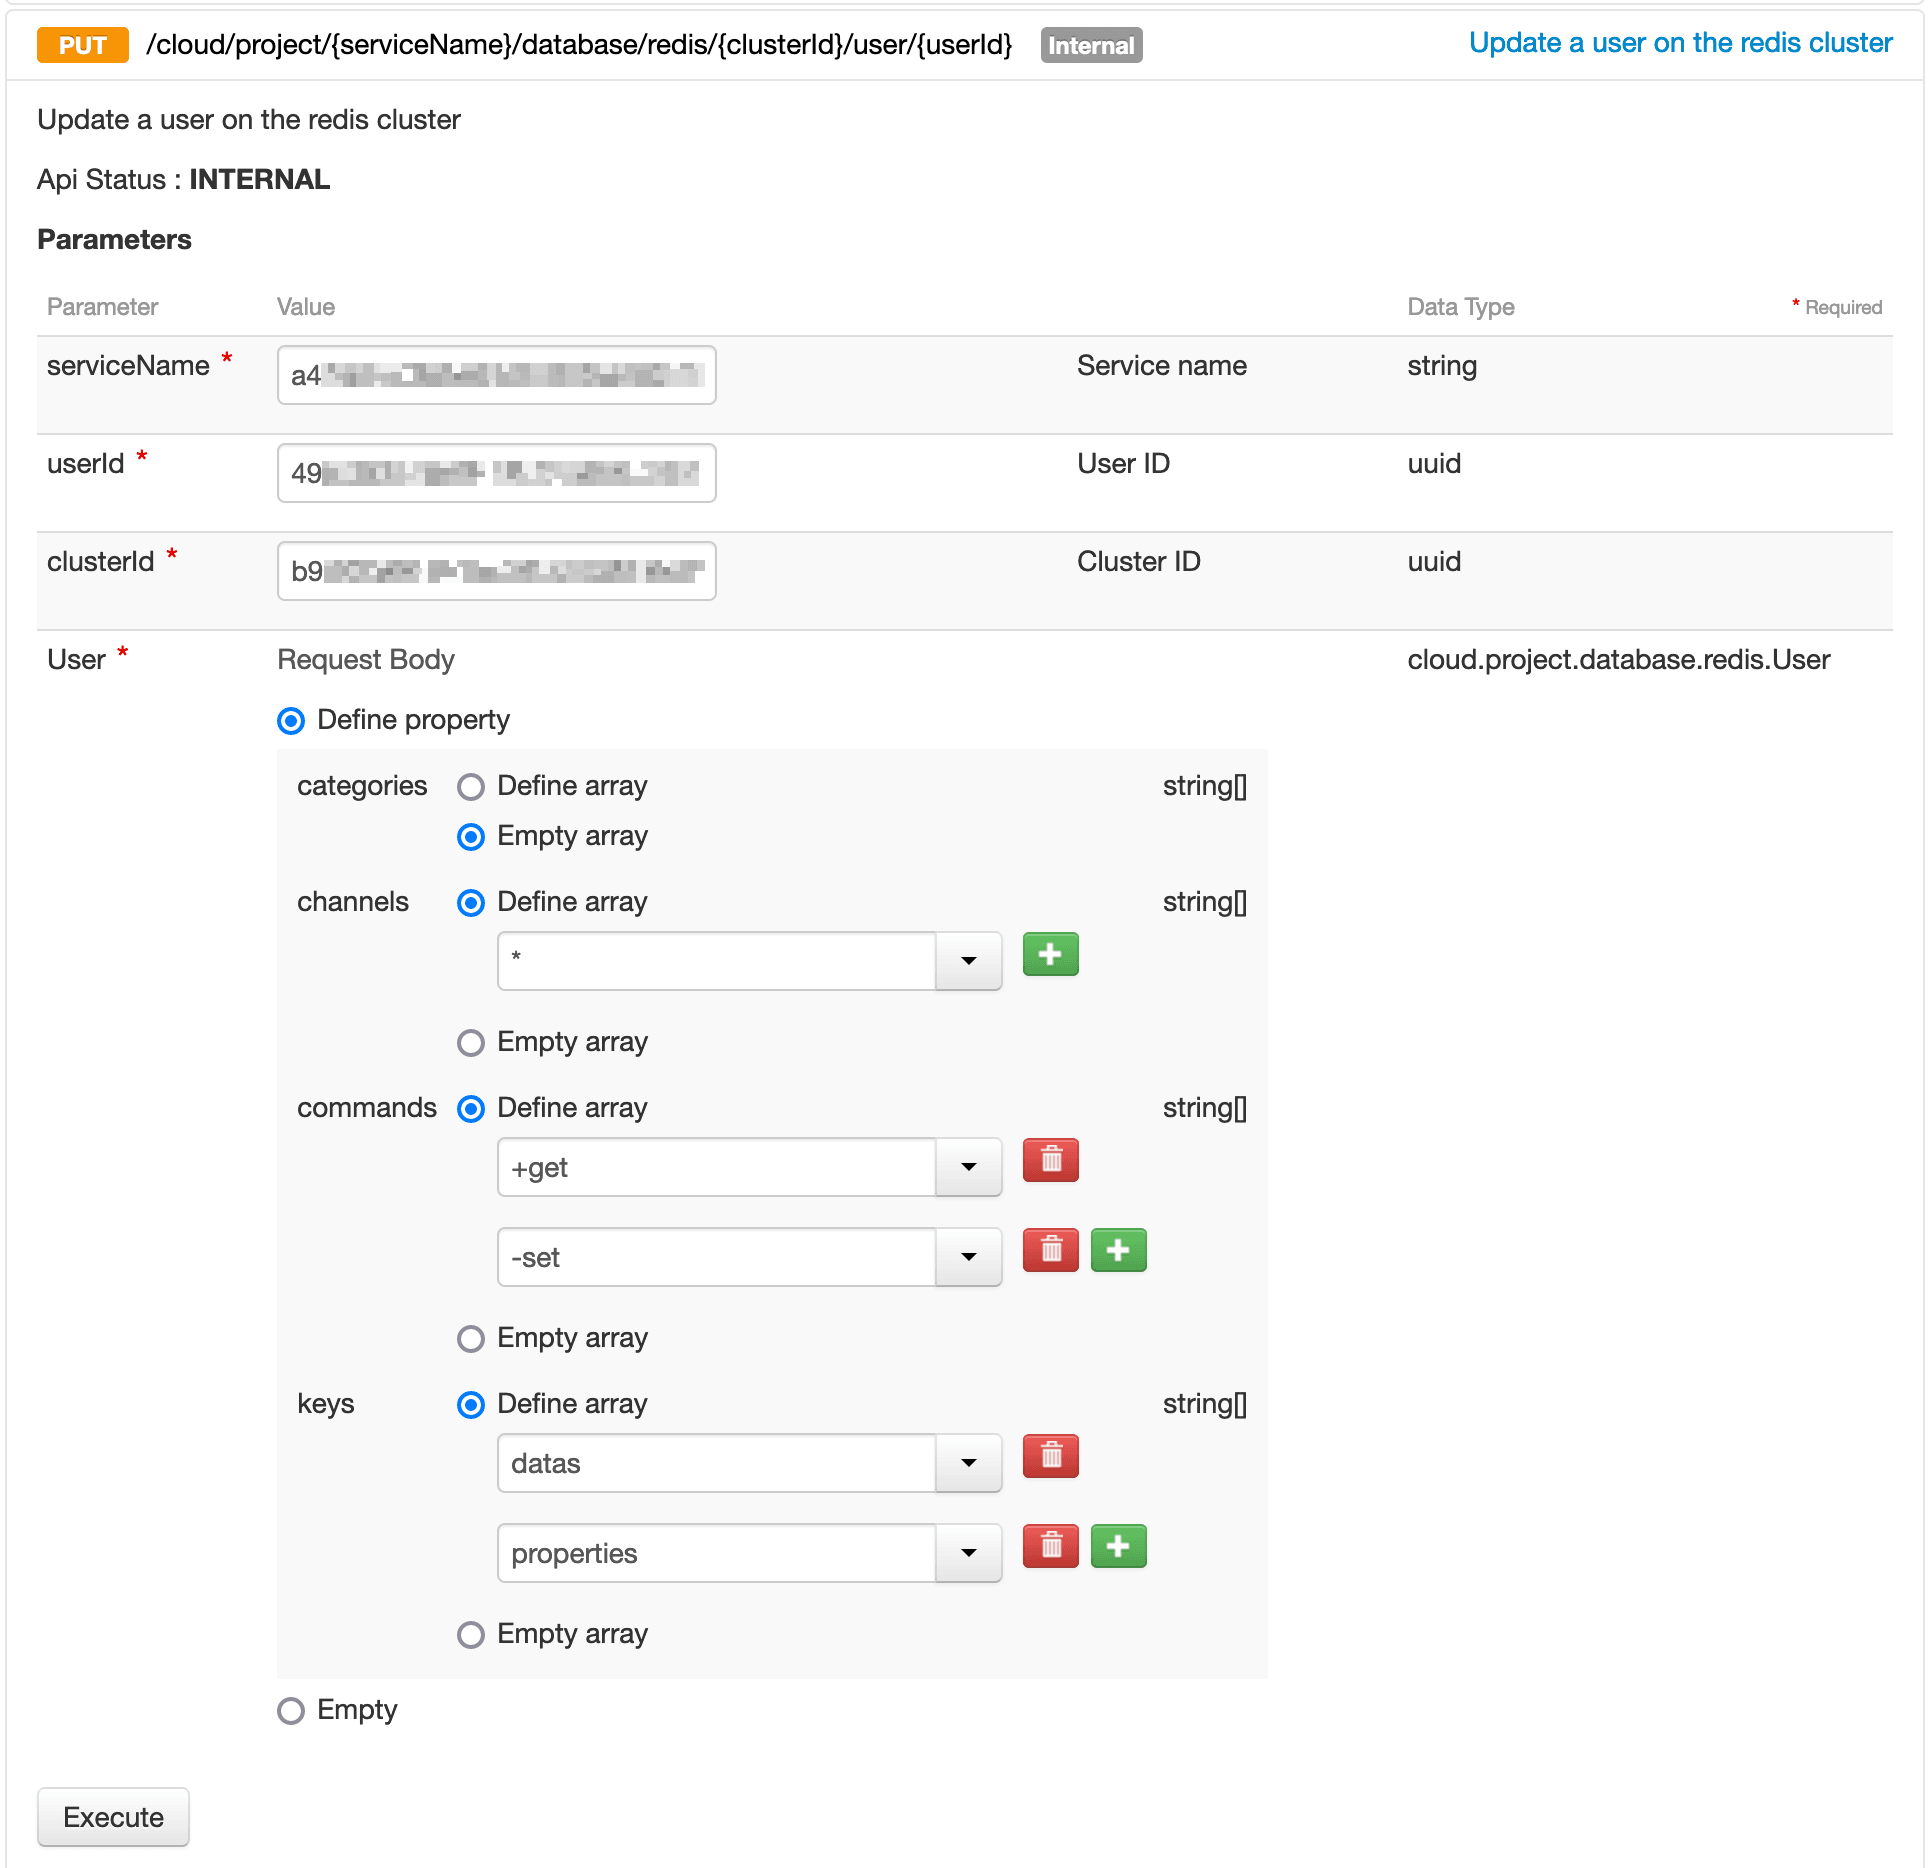
When ready, click Execute to update the ACL.
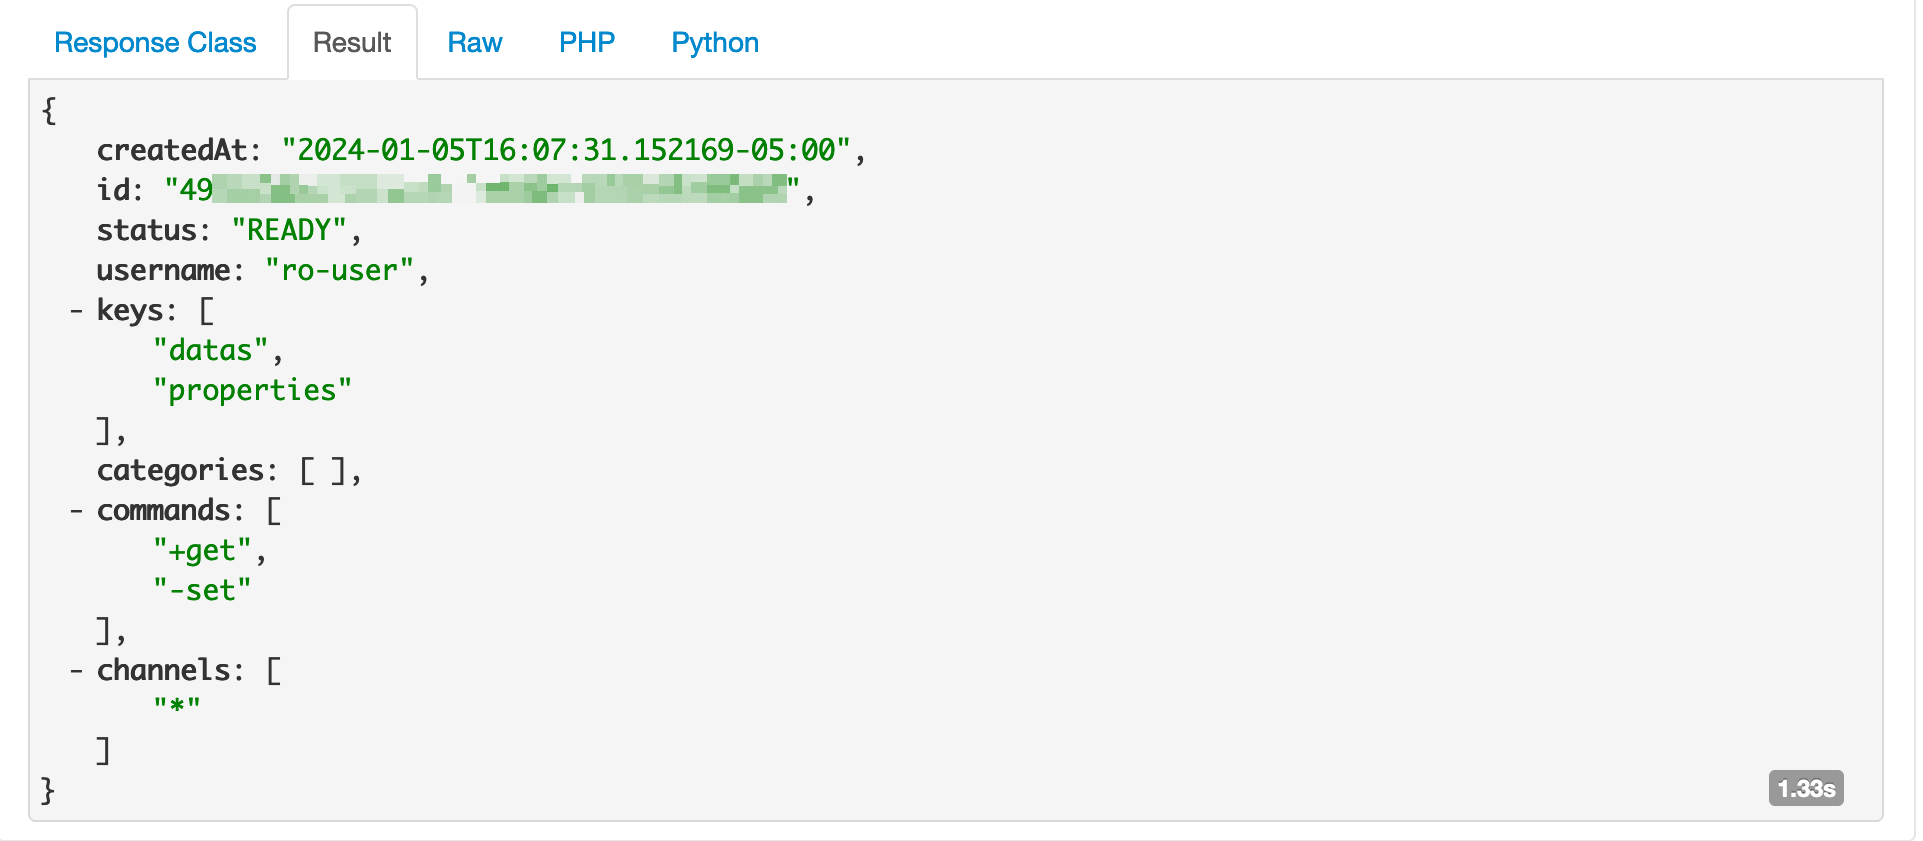
The result should be displayed similarly to the example below.
Go further
Browse all the Databases guides.
Browse the rest of the OVHcloud US documentation for guides on our other products and services.
Learn more about Managed Databases on the OVHcloud US website.