
Configure Your Windows Server for the BYOI API in QCOW2
Learn how to set up your Windows virtual machine for compatibility with the BYOI API in QCOW2.
BYOI stands for Bring Your Own Image this is a common method for customers to bring their own pre-configured cloud-init capable ISO provided in QCOW2 or raw format to the OVHcloud environment.
Requirements
- virtual software capable of running a Windows server (Virtual Box, VMware Workstation, etc.)
- qemu-img for Windows or Linux
- a Bare Metal Server
- Cloudbase-Init Installer
Instructions
Set up your virtual environment
Mount your Windows Server installation via your virtualization software and configure the virtual hardware to fit your needs.
Once configured and booted, you can install Windows updates, configure SSH, etc.
Create your image
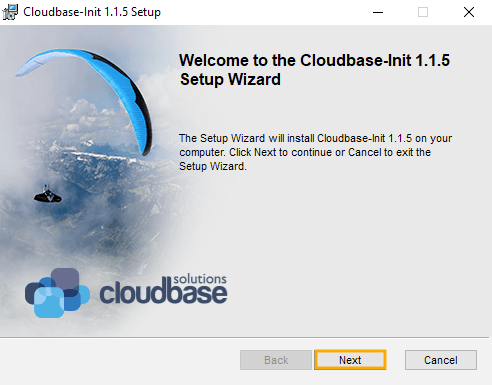
Download Cloudbase-Init, open the setup wizard, and click Next.
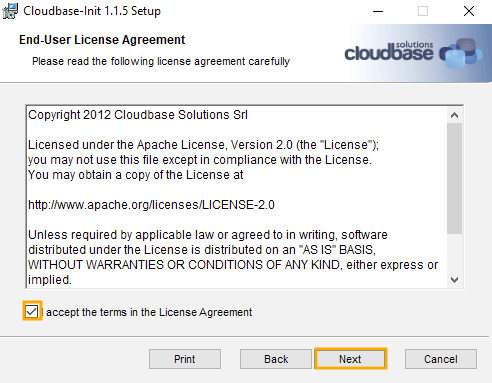
Accept ☑ the License Agreement and click Next.
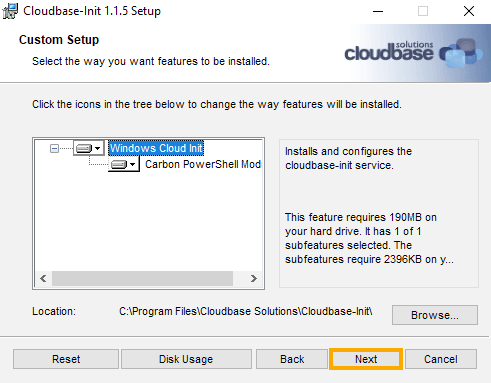
Select your installation preferences and click Next.
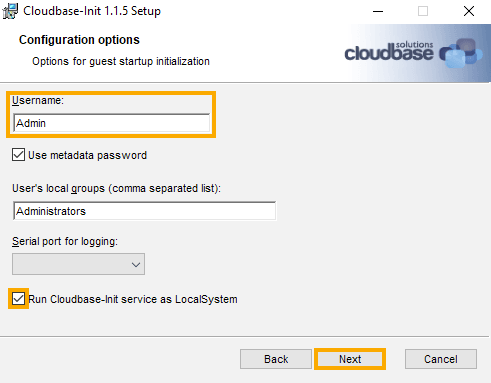
Choose a username, check the box ☑ to enable the Cloudbase-Init service to run as LocalSystem, and click Next.
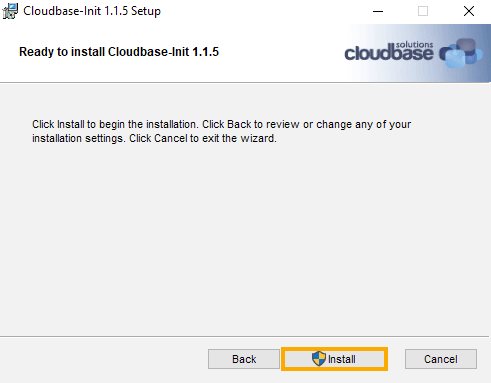
Select Install on the next screen.
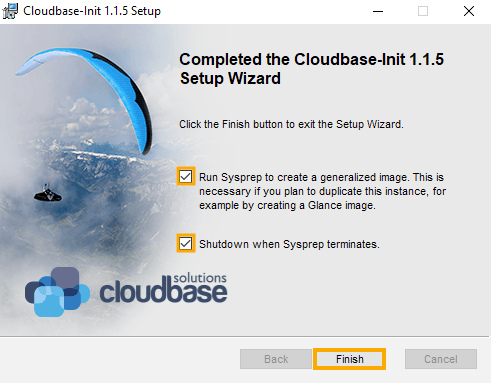
Check the boxes ☑ to Run Sysprep to create a generalized image and to Shutdown when Sysprep terminates, then click Finish.
Convert your image
Once your VM has shut down, you can use qemu-img - a powerful and simple tool - to convert your image to QCOW2 format.
Click each tab for your operating system.
- Download qemu-img using this link.
- Open PowerShell and navigate to the qemu-img.exe.
- We recommend copying an extract of the qemu-img download contents to the directory of the source image.
- Convert your source image to dest.qcow2 using the command below, where
-Ois the output format.
After converting your image, you are now ready to self-host and use BYOI to install via the link. More information can be found in this guide.
Go further
Browse all the Dedicated Servers guides.
Browse the rest of the OVHcloud US documentation for guides on our other products and services.
Learn more about Dedicated Servers on the OVHcloud US website.