
How to Configure Reverse DNS
DNS (Domain Name System) translates an easily memorized domain name into an IP address, allowing the Internet to work. Reverse DNS simply maps the IP address back to the domain name. In this article, we will be showing you how to configure reverse DNS in the OVHcloud Control Panel.
Prerequisites
- An A-record resolving to an OVHcloud IP address
Topics
- Configuring Reverse DNS on an IP
Configuring Reverse DNS on an IP
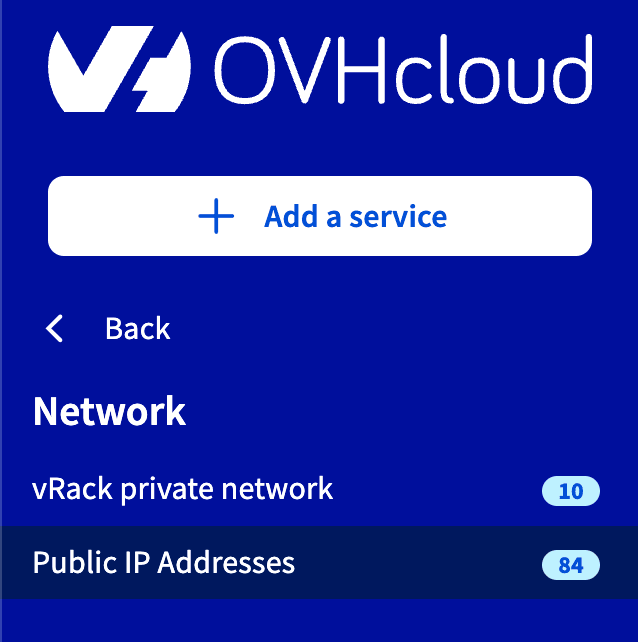
To configure reverse DNS on an individual IP address, log in to the OVHcloud Control Panel, then click the Network option in the left-hand sidebar. Next, select Public IP Addresses.
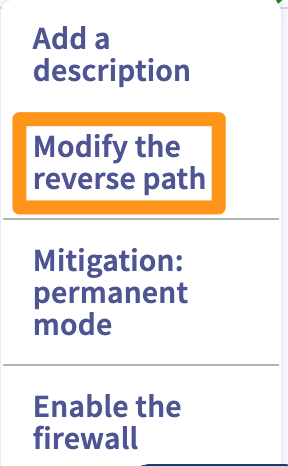
Select the ellipses (...) button to the right of an IP. Then, click the Modify the reverse path option from the drop-down menu.
In the following window, enter the domain name corresponding with the IP address it points to in your A-record and click the Confirm button to save the changes.
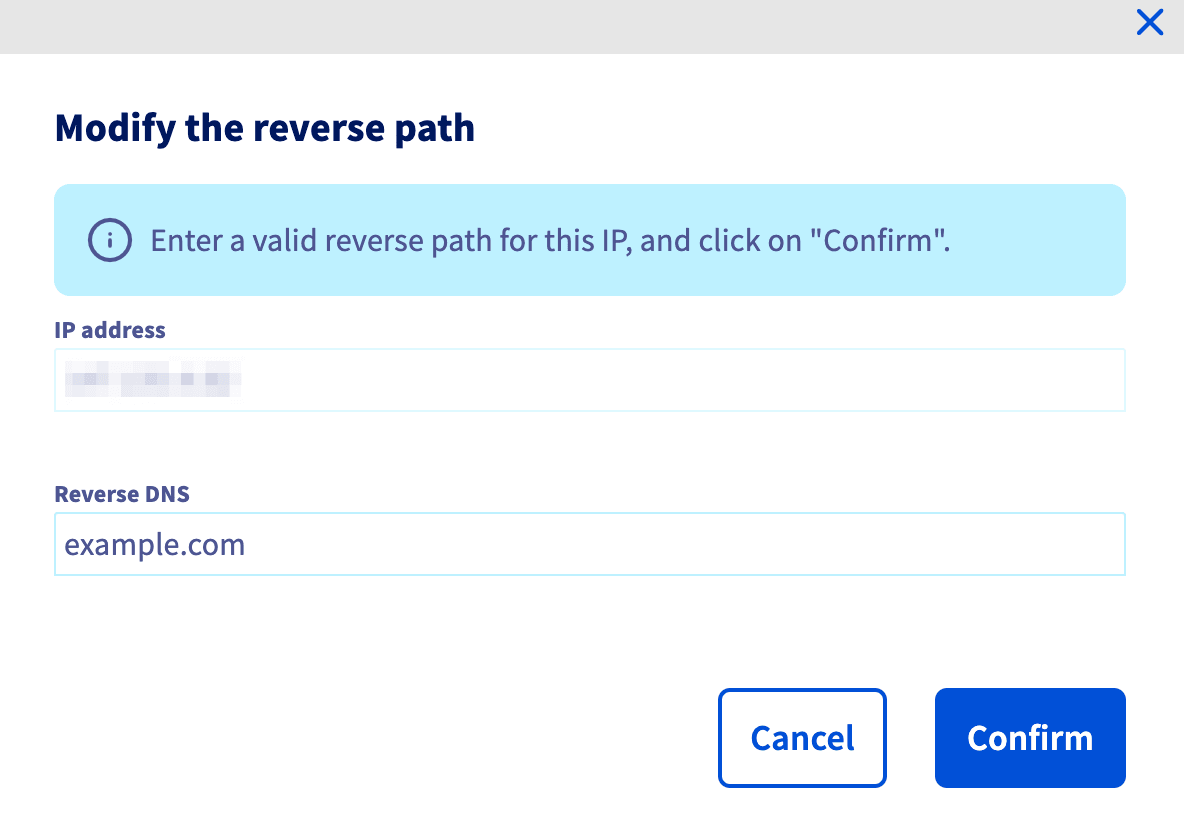
If the change is successfully made, you are all done. If the change is unsuccessful, check your A-record with your DNS host to ensure that the record is properly configured.
Conclusion
With OVHcloud, configuring reverse DNS is streamlined to enable you to optimize your web hosting in as efficient a manner as possible. For more information on DNS, please check out our Getting Familiar with DNS article.